Folger Tech Prusa i3 - 3D Printer
/I have been following 3D printing technology for a few years now. I've always thought it was an expensive technology that required $1,000+ to get into. Recently I stumbled upon the Folger Tech Prusa i3 3D printer kit. This kit was modeled after the open source Rep Rap Prusa i3 printer. It seemed like a very barebones kit with basic documentation. When I saw the price of $315 I decided to take the plunge into the 3D printing world and patiently waited for my kit to be delivered.
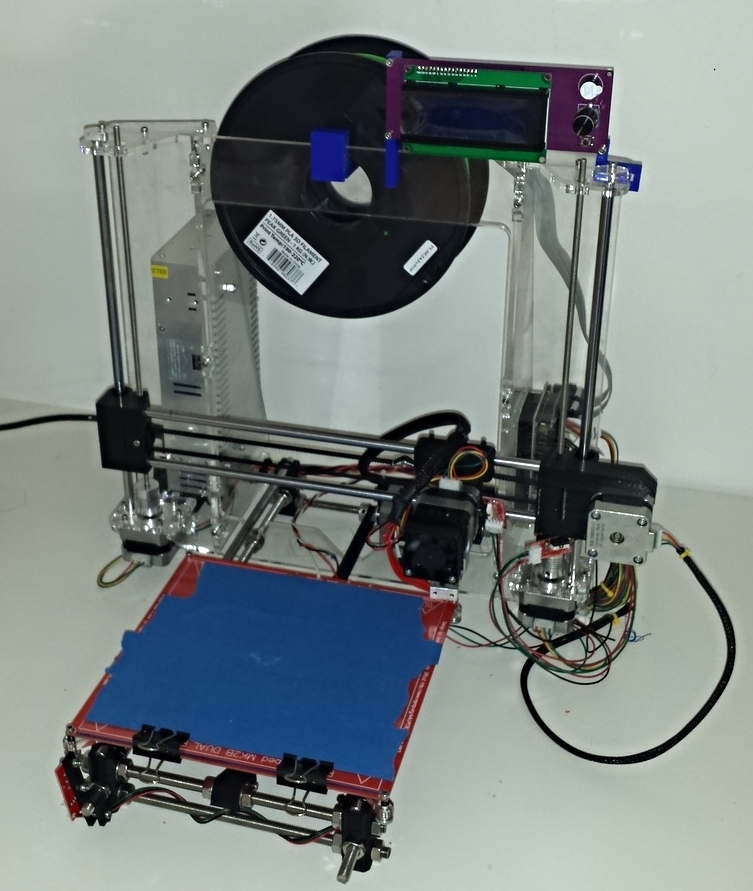
This kit is perfect for people who are good with electronic hobbies, love to tinker, and have basic code knowledge. By no means is this a quick and easy project that you'll be able to build and start printing in a day but it is a fantastic intro into 3D printing components and software. This kit isn't perfect and you will need to make a few modifications (until Folger Tech fixes the problems). You're required to build the frame and mechanical portions of the kit, mount up steppers motors and other electrical components, and wire all of it together to an Arduino and RAMPS driver board. It helps to take your time and double check all your work. Since the Folger Tech documentation has been recently updated with an easy to follow guide and there are plenty of other guides available for Prusa i3 printers, I'm not going to go into every detail of the build process. Instead I'll highlight the tools and hardware that made this build easier as well as the modifications I needed to make to get this kit built up. Most modifications were needed on the 3D printed parts.
Recommended Tools and Hardware:
- Tools
- Allen Wrenches - Used for all bolts used in mounting hardware and frame constructions
- Adjustable Wrenches - Used to tighten down bolts of the bed frame
- Dremel Tool - Some of the 3D printed parts used in the kit need sanding or dremeling to fit together
- Wire Strippers - A nice set of wire strippers facilitate wiring
- Calipers - A good set of digital calipers helps significantly when identifying bolt sizes, mounting various components, and aids in calibration. They can be found for about $15 online or harbor freight
- Various files - Also helps with sanding down components
- Needle nose Pliers
- Solder/Soldering Iron - Nothing should require soldering but I ran into some wires that needed extending or replaced
- Multimeter - Used to check voltages on RAMPs board during initial calibration
- Drill with Drill Bits - Used to drill new power supply mounting holes
- Exacto Knife - Used to modify 3D printed pieces
- Optional Tools
- Heat Gun - Used with heat shrink tubing to aid in wire organization
- Arduino Compatible USB cable - The supplied USB cable is only 12 inches long. A longer cable helps with computer hookup
- Hardware
- Glass Plate and Glass Cutter - This kit requires an 8"x8" glass print plate. Home Depot sells $2 8"x10" glass plates and a $2 glass cutter. I recommend picking up two sheets of glass, since they're cheap, just in case the first trimmed plate does not come out well
- Zip Ties - Cable management
- Heat Shrink - Cable management
- Braided Cable Sleeve - Not completely necessary but helps with cable management and makes the final wiring look more professional
- Painter's Tape - Used to coat glass print plate
- Extra Wire - Kit should be supplied with sufficient wire but having extra on hand is a good idea
Required Modifications:
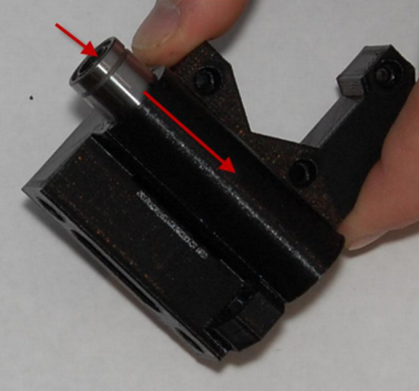
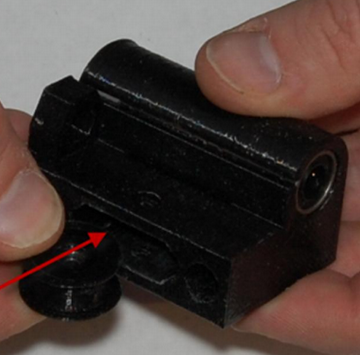
- 3D Printed Pulley Wheels - One of the pulley wheels fit together fine but the other required dremel sanding to fit together
- Z Axis Carriage - These bearings did not fit very well into the 3D Printed Z Axis Carriage. They needed to be tapped into place with a hammer
- Z Axis Idler Bearing - The pulley wheels and Z Axis slot need to be sanded and filled down to get the pulley wheel to fit inside
- Acrylic Frame - A lot of feedback mentions avoiding over tightening the frame nuts. I did not have any issue but acrylic is brittle and over tightening will result in a cracked frame
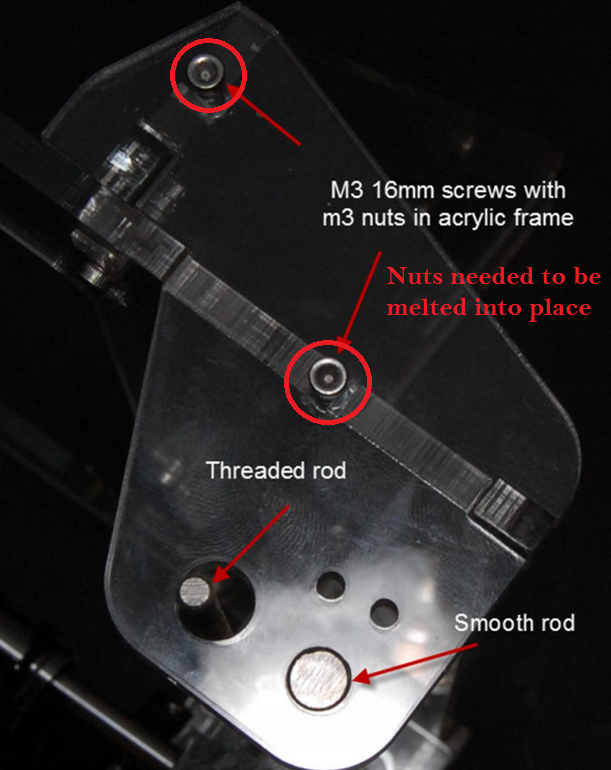
- Frame Nuts - A few of the frame nuts needed to be melted into their place using a hot soldering iron. I placed the nuts in the groove, touched the soldering iron to it, and waited for it to melt into place.
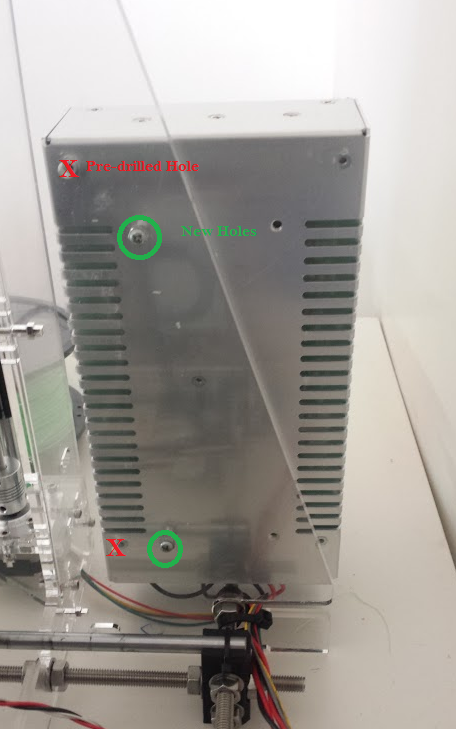
- Power Supply Mount - The pre-drilled holes were incorrect. The threaded holes that match up with the pre-drilled holes are too shallow and incorrect. New frame holes needed to be drilled as shown in the picture below. Drill these slowly so the acrylic does not crack. I also needed to find some nuts to fit the proper holes.
- Various missing screws or wrong size screws included within the kit. I still had enough hardware to get everything put together.

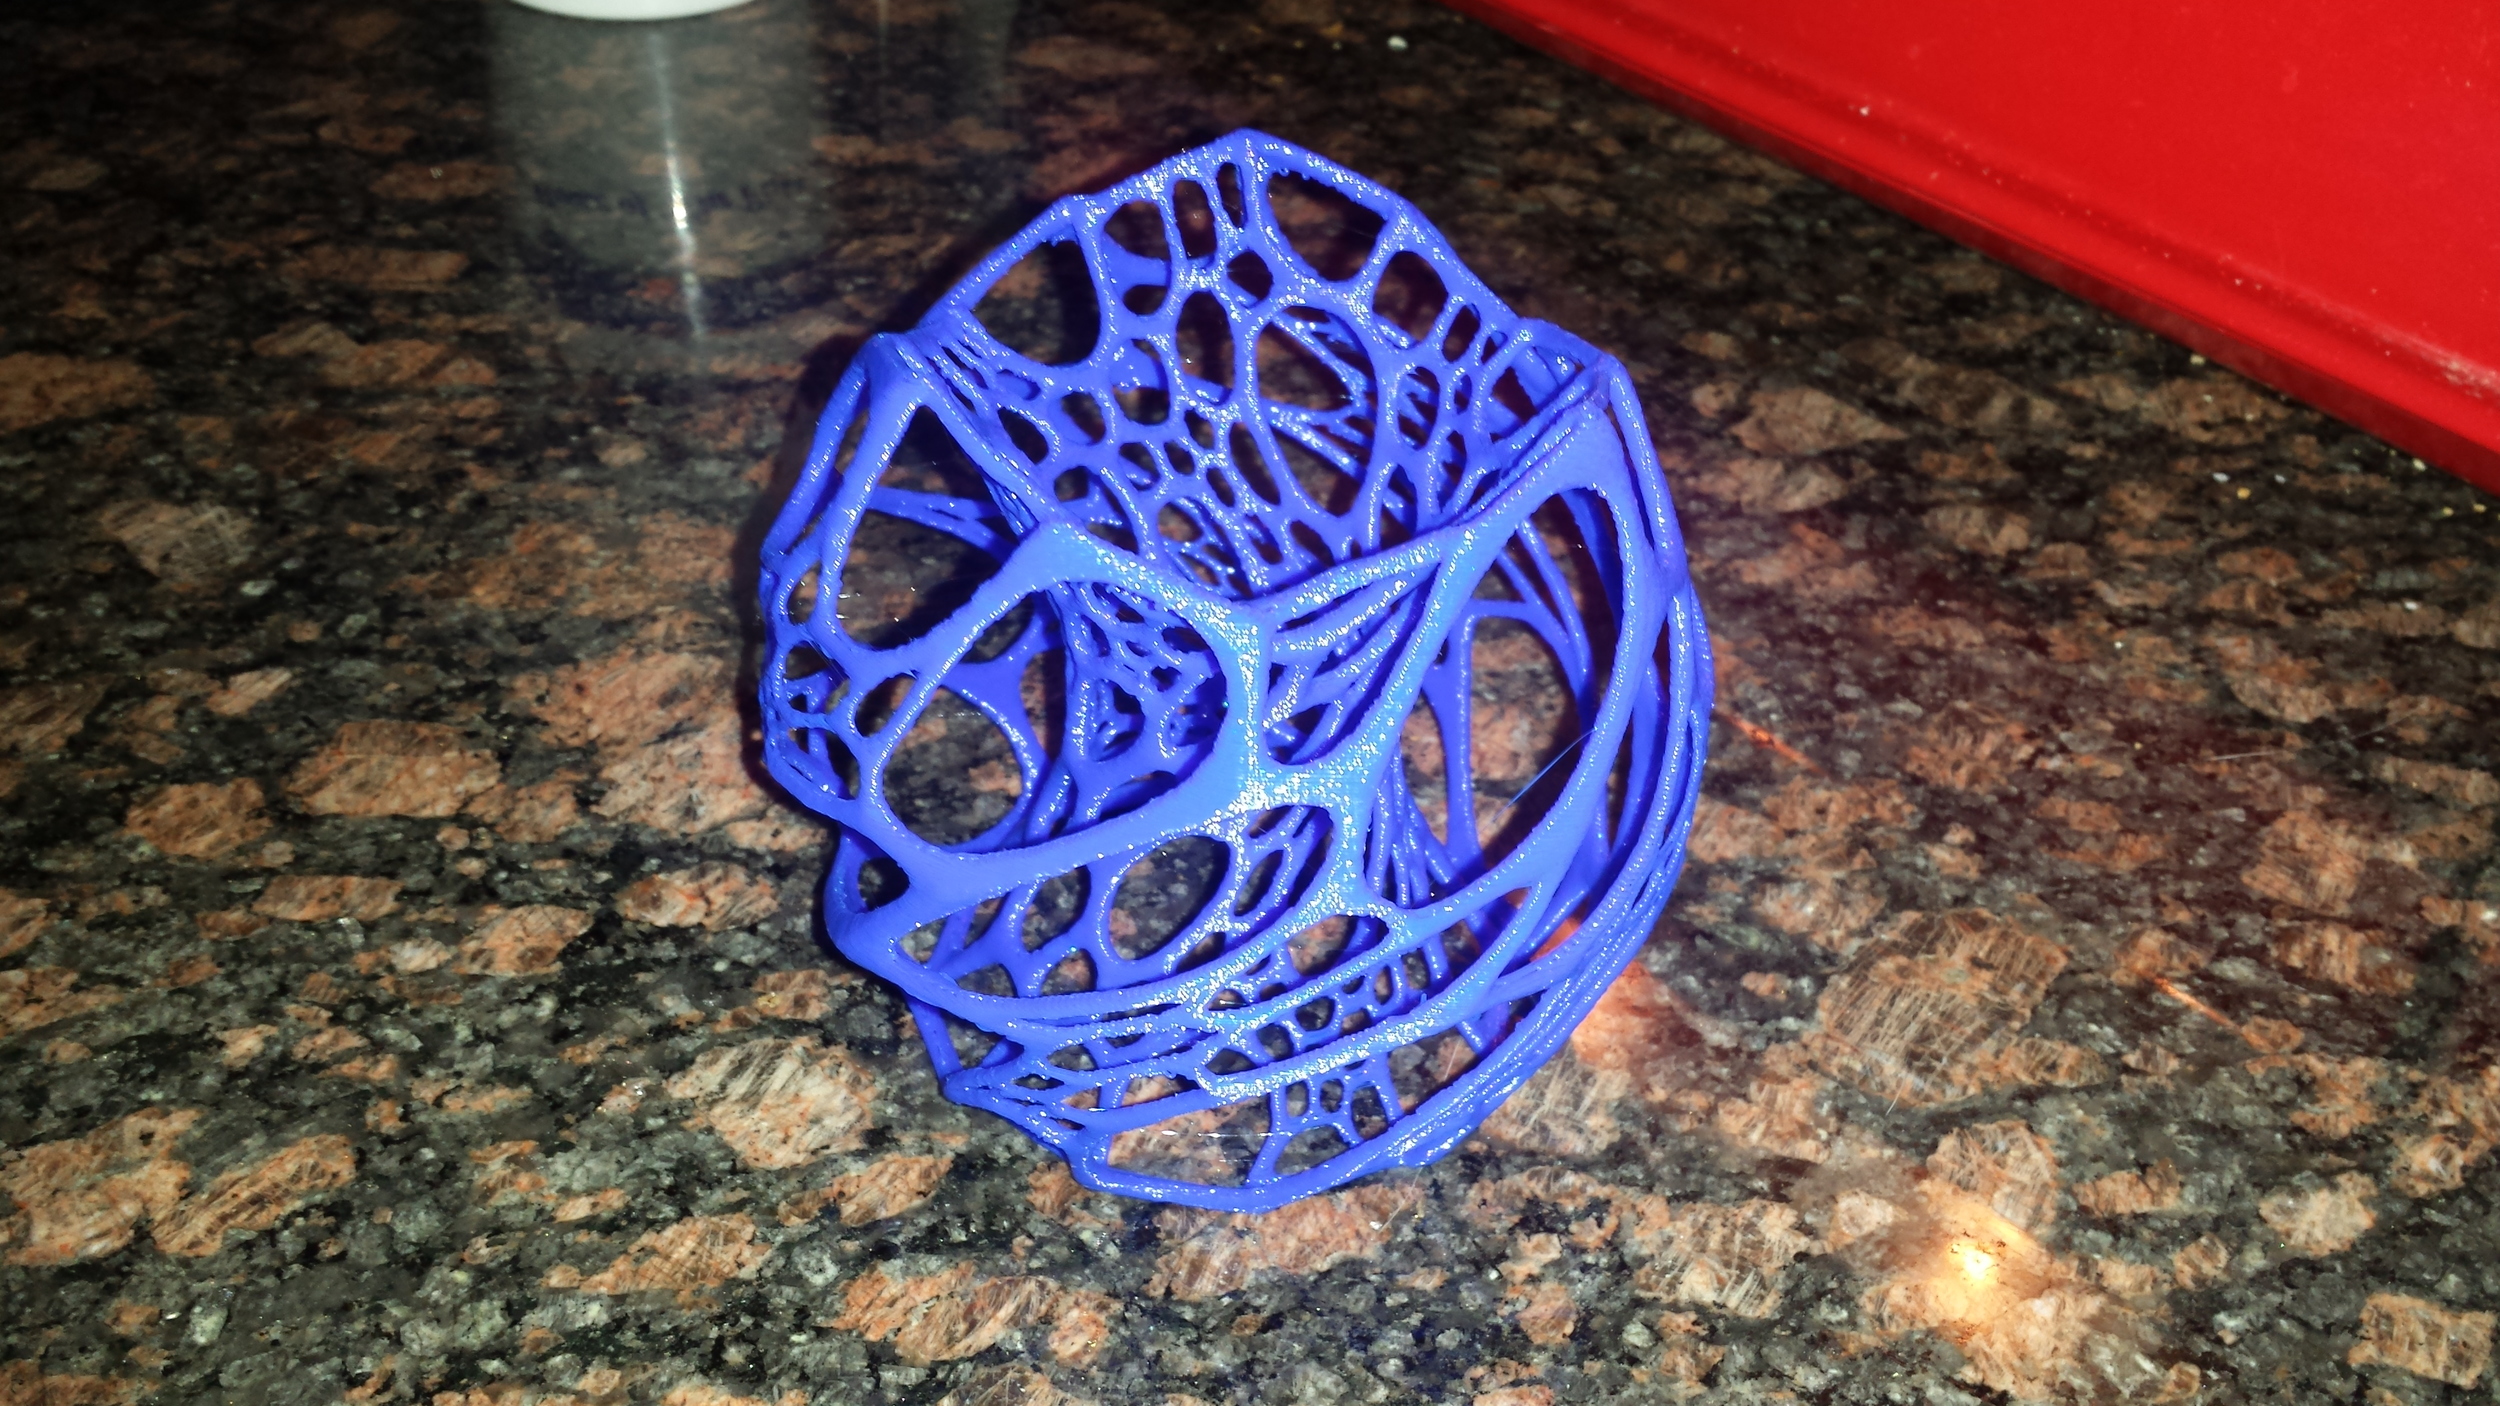
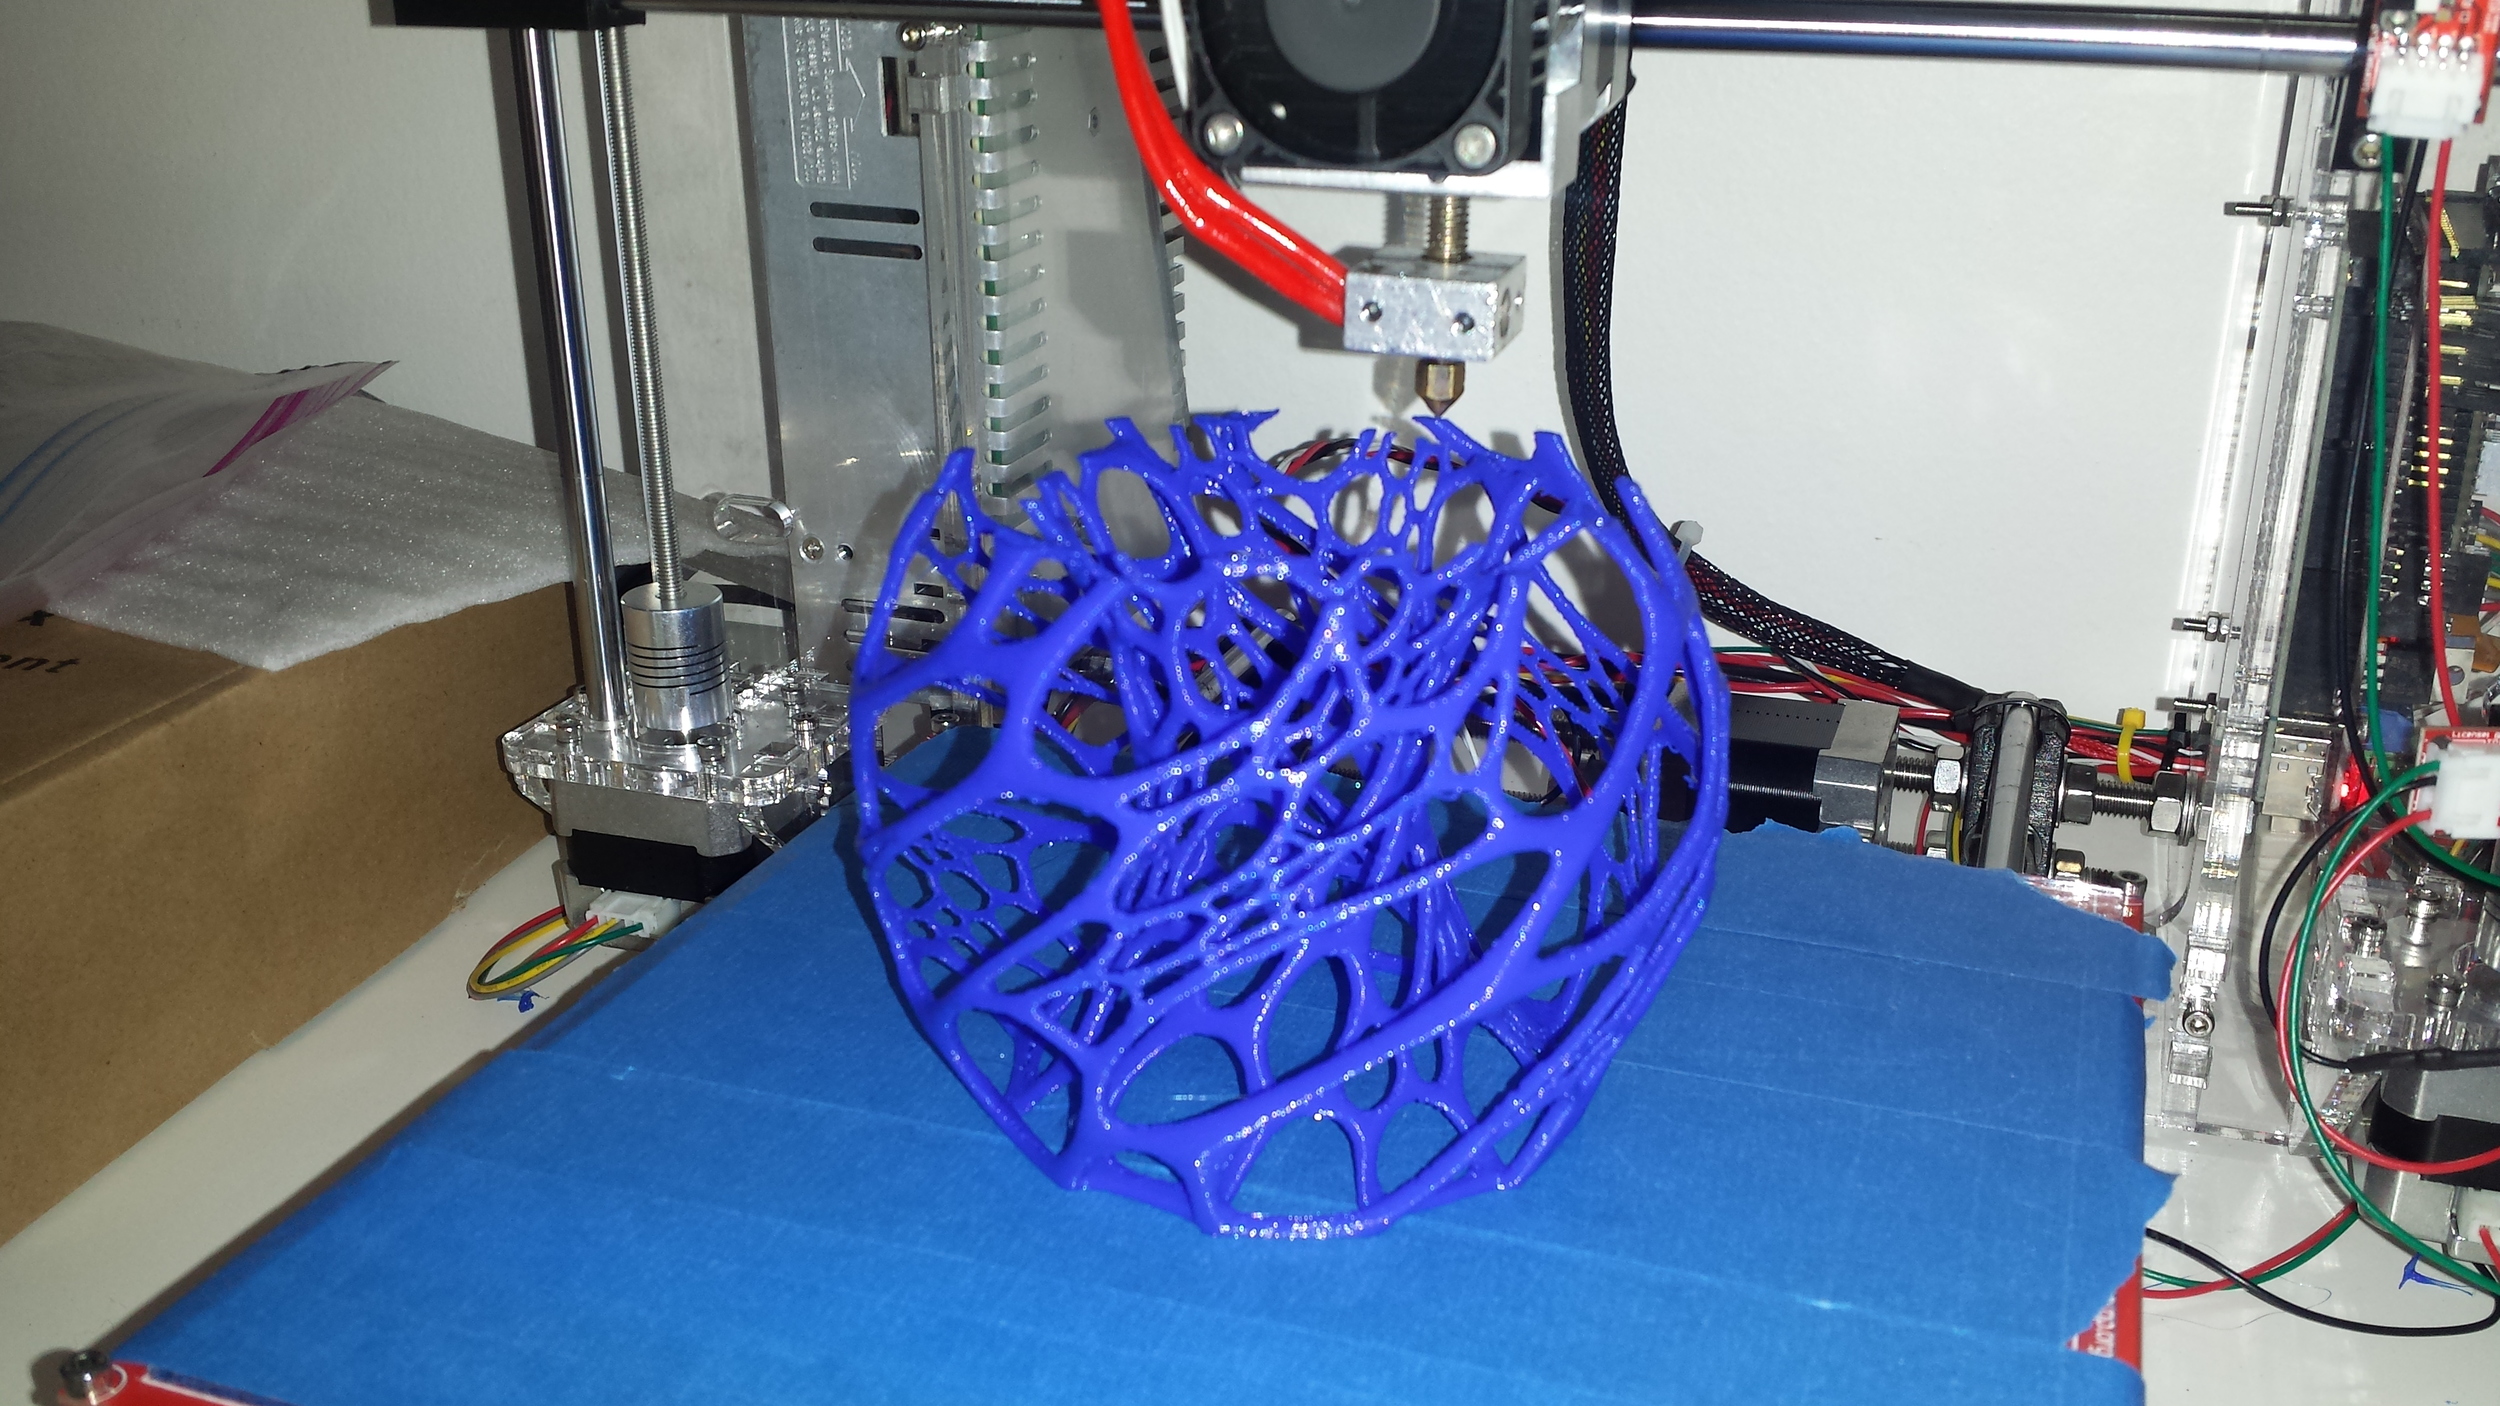
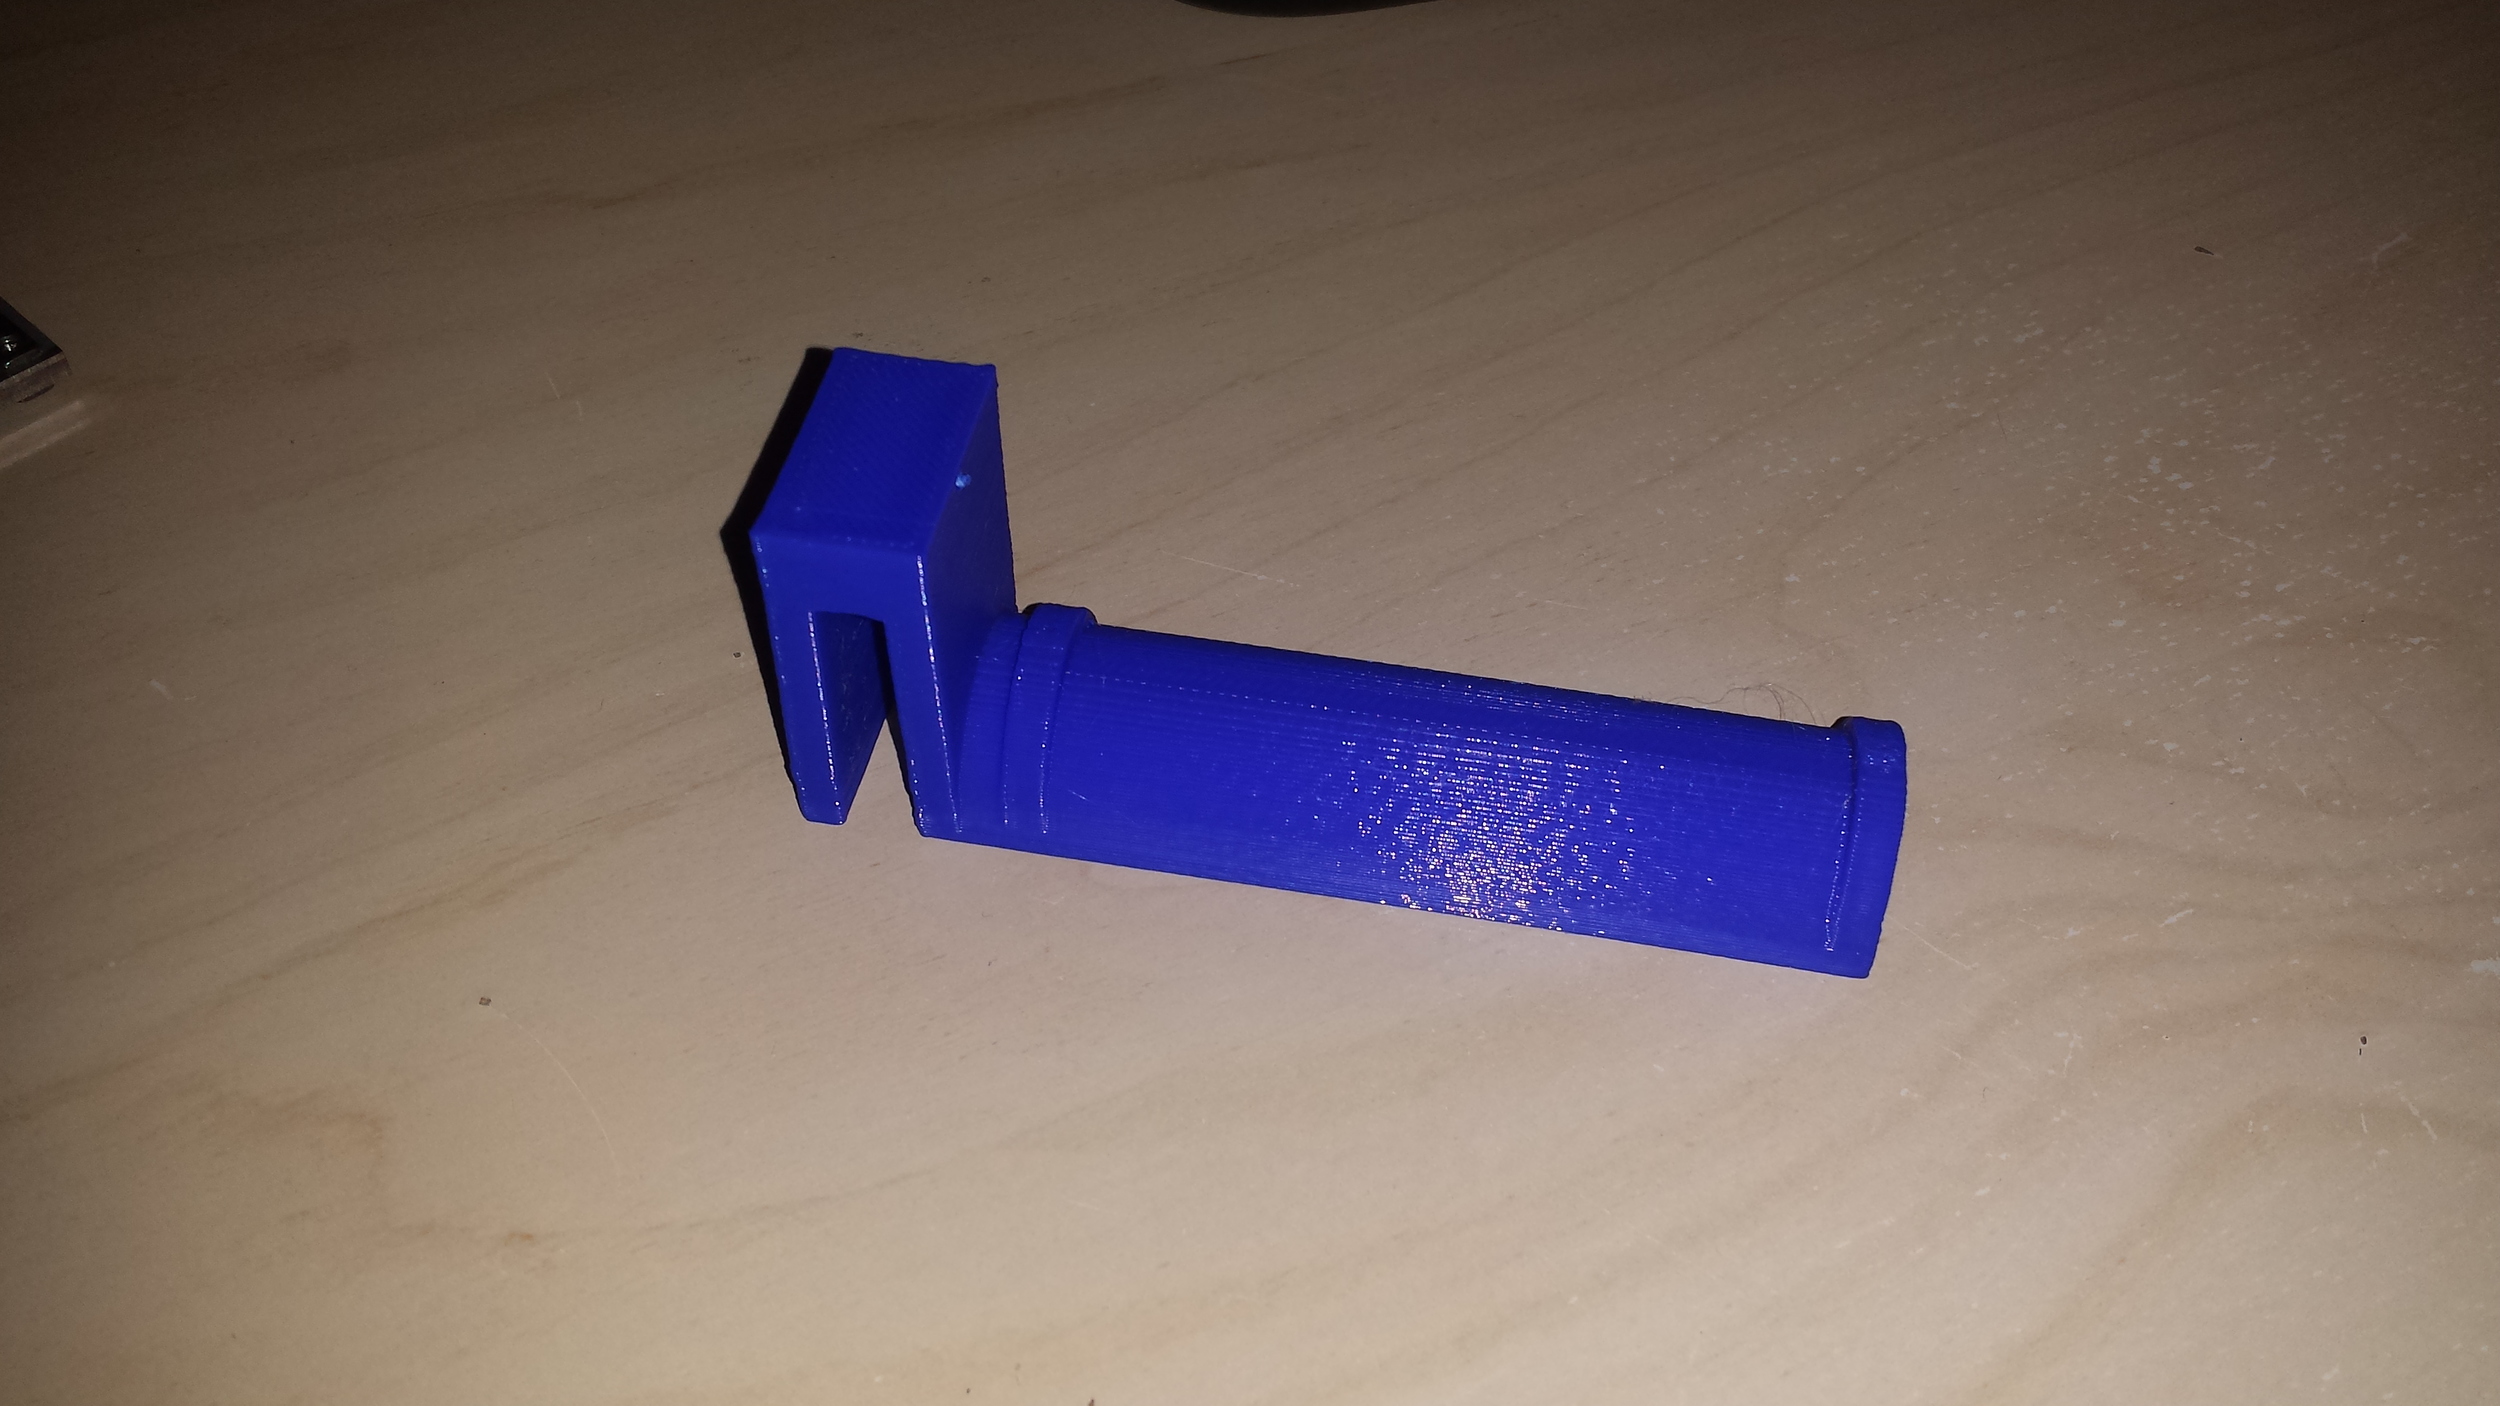
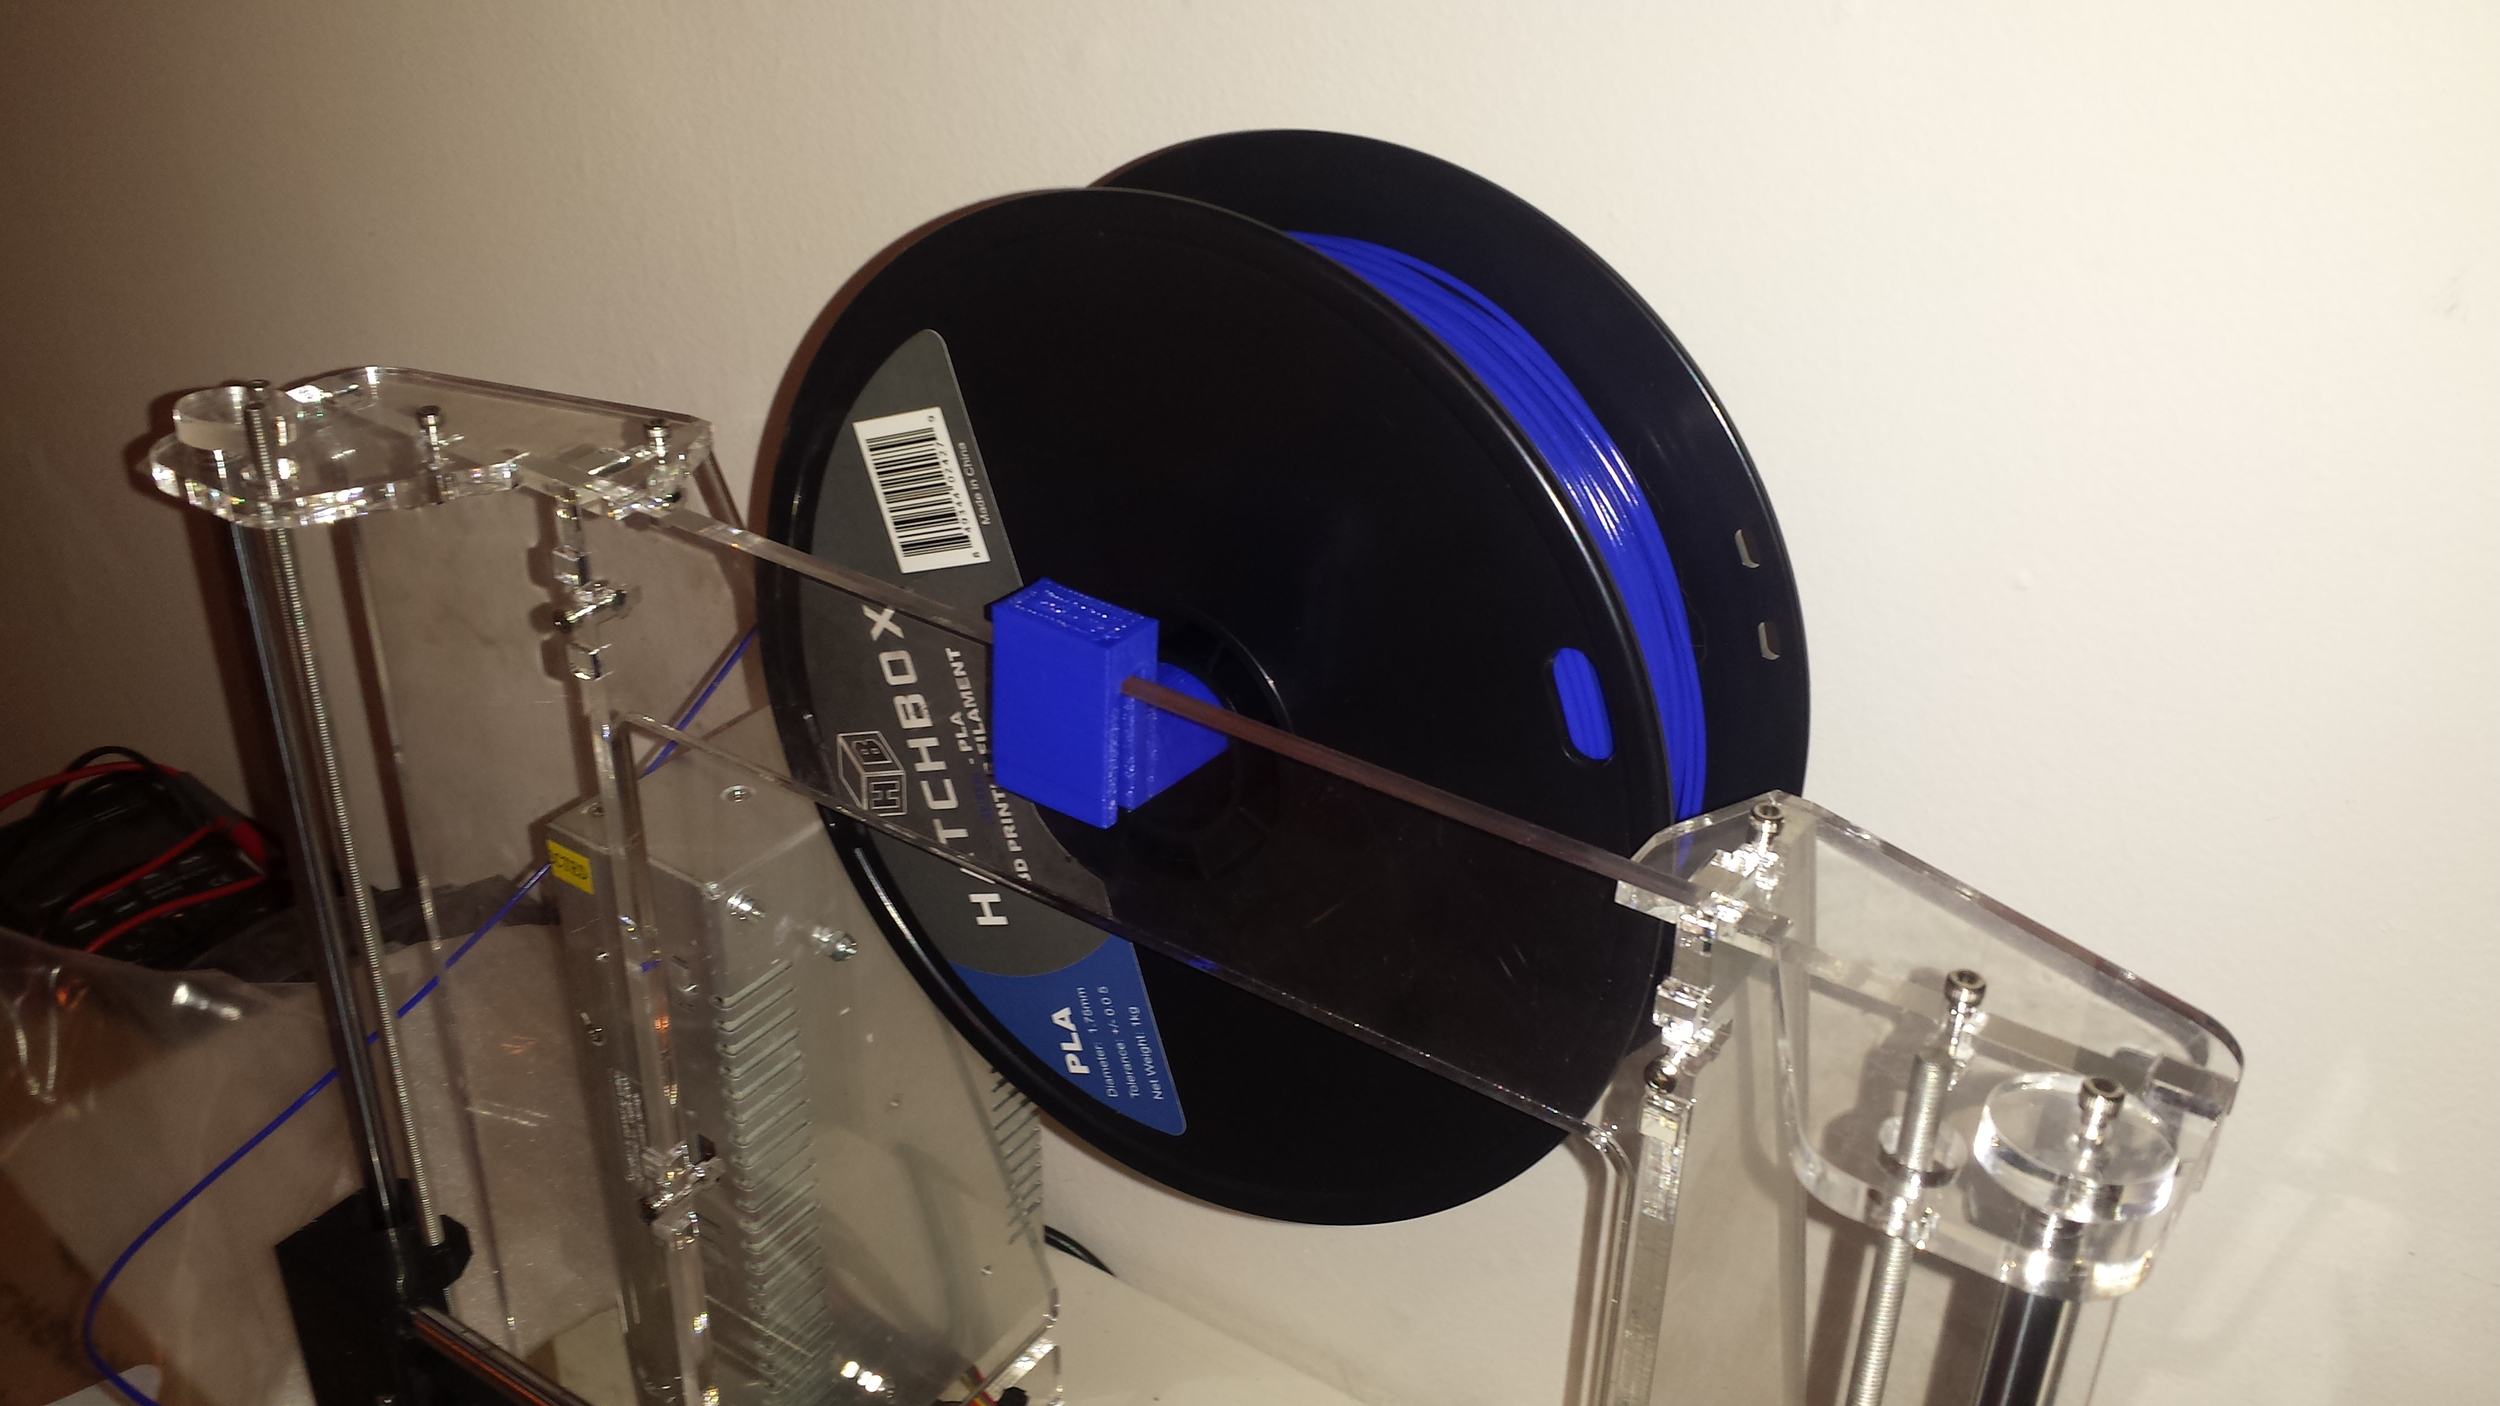
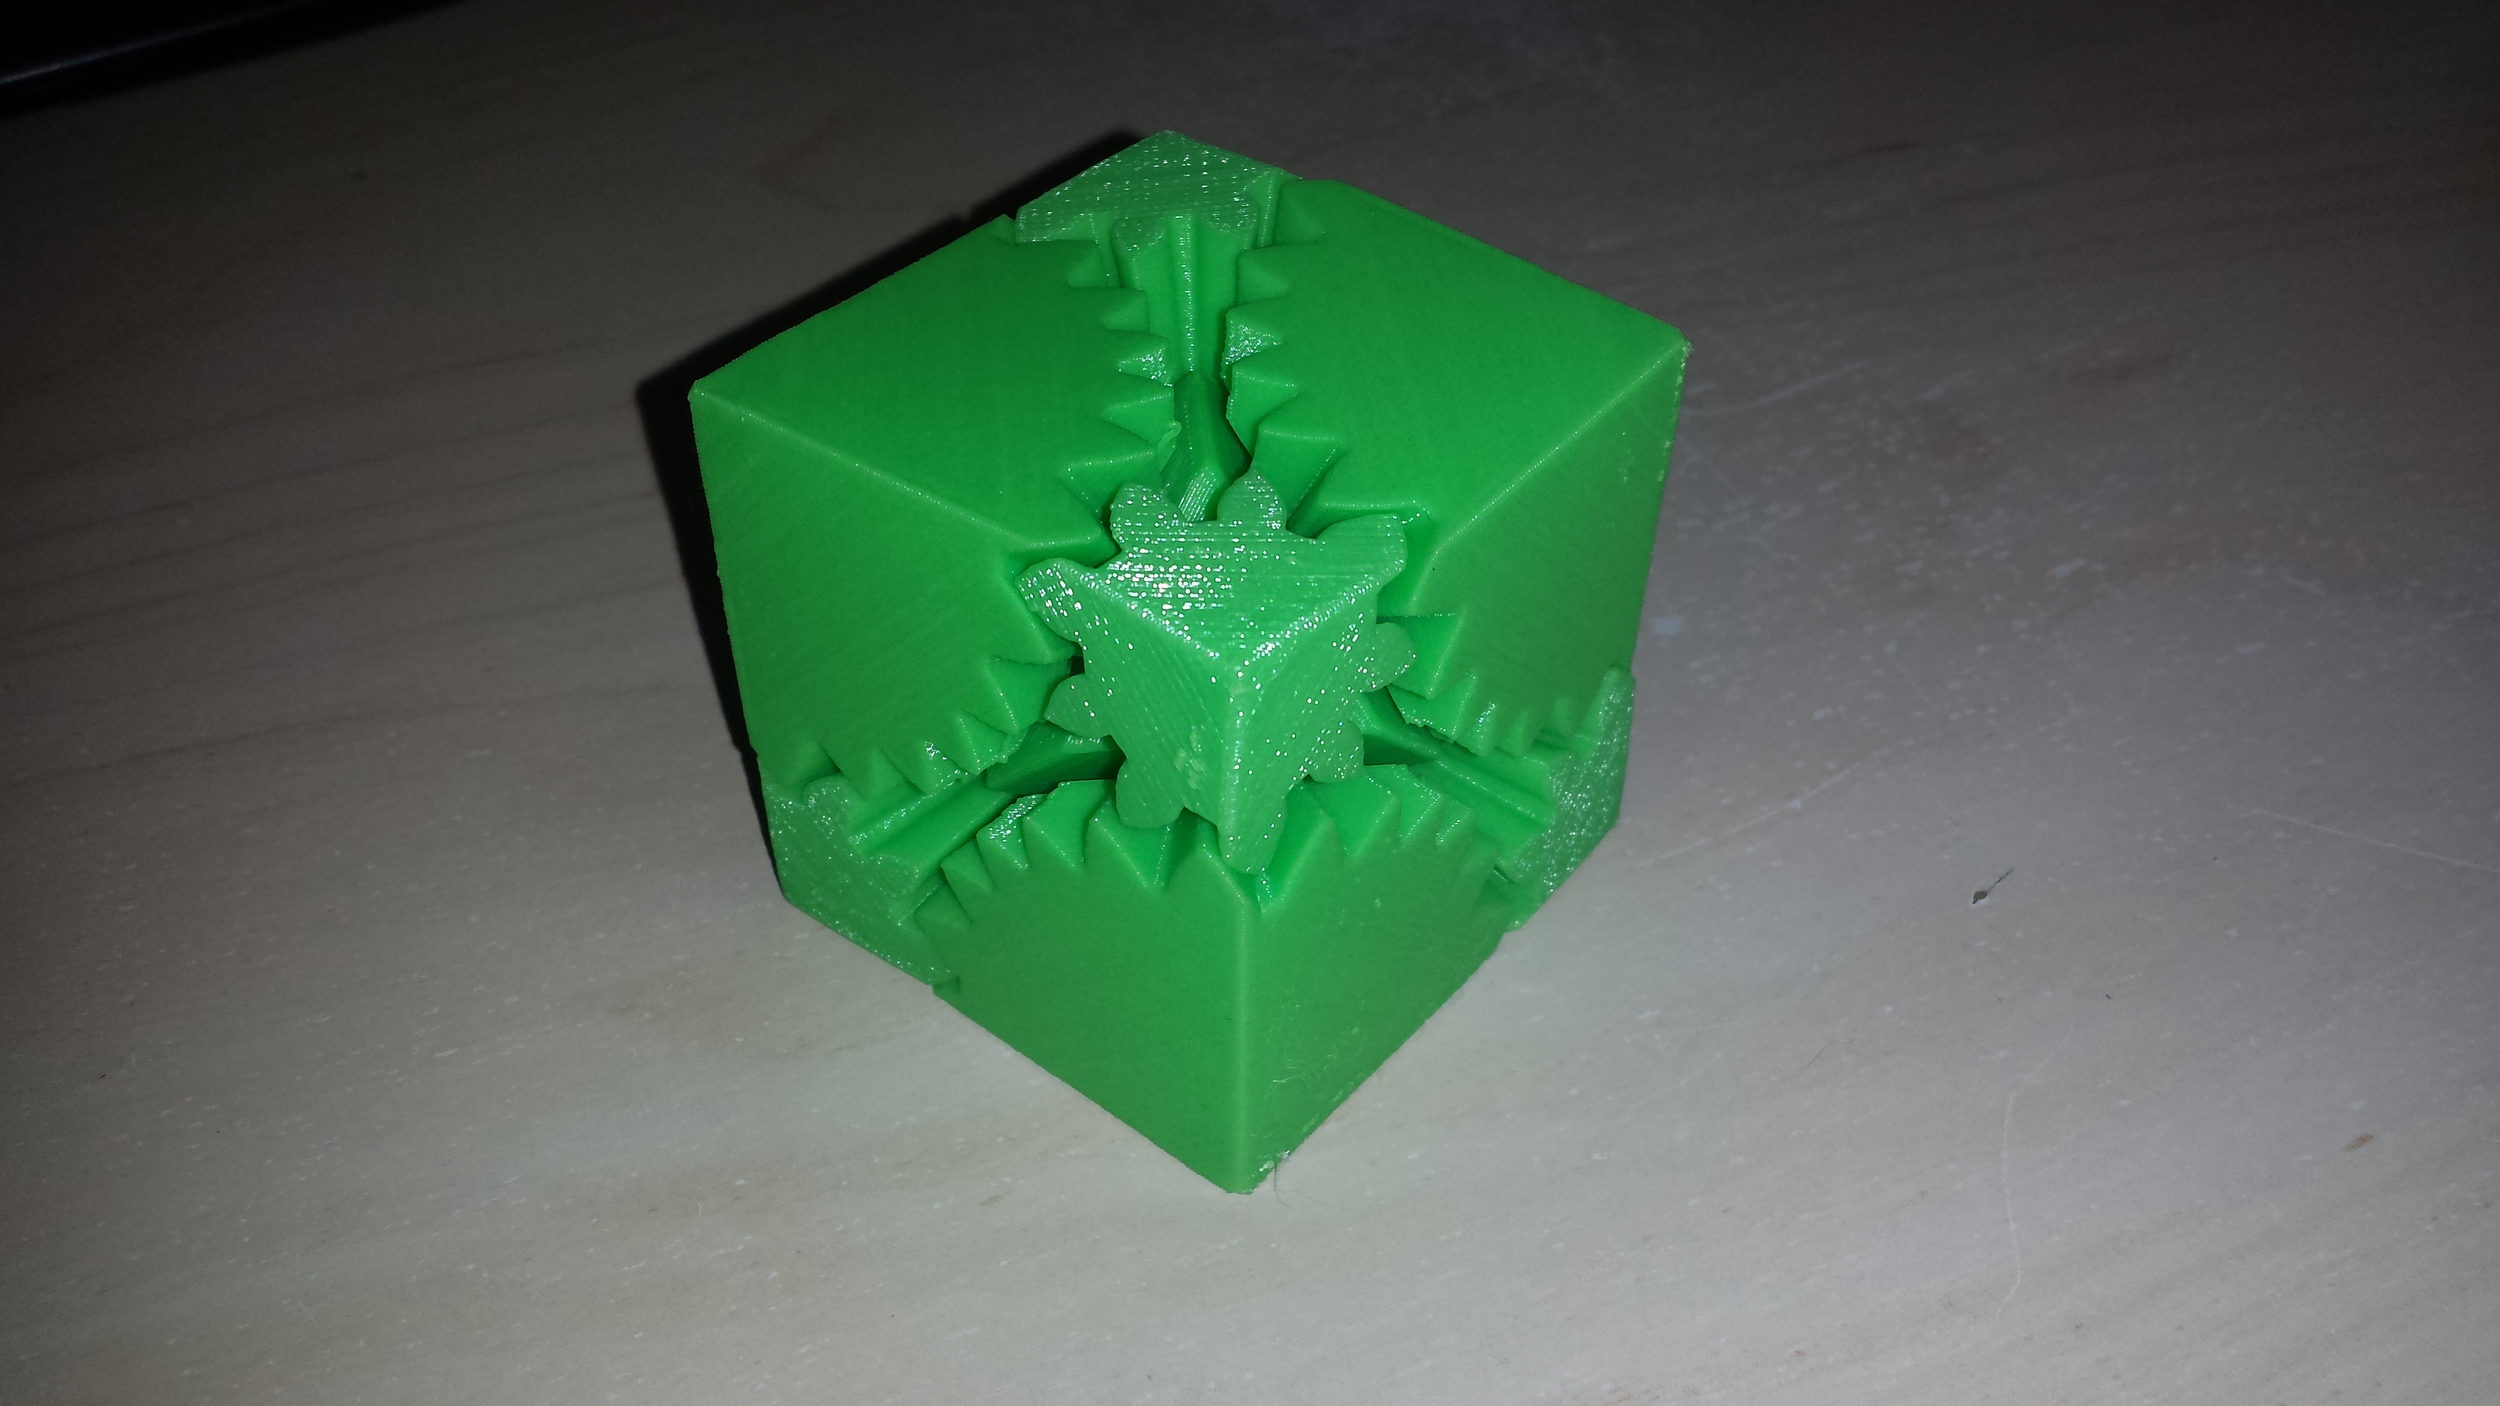
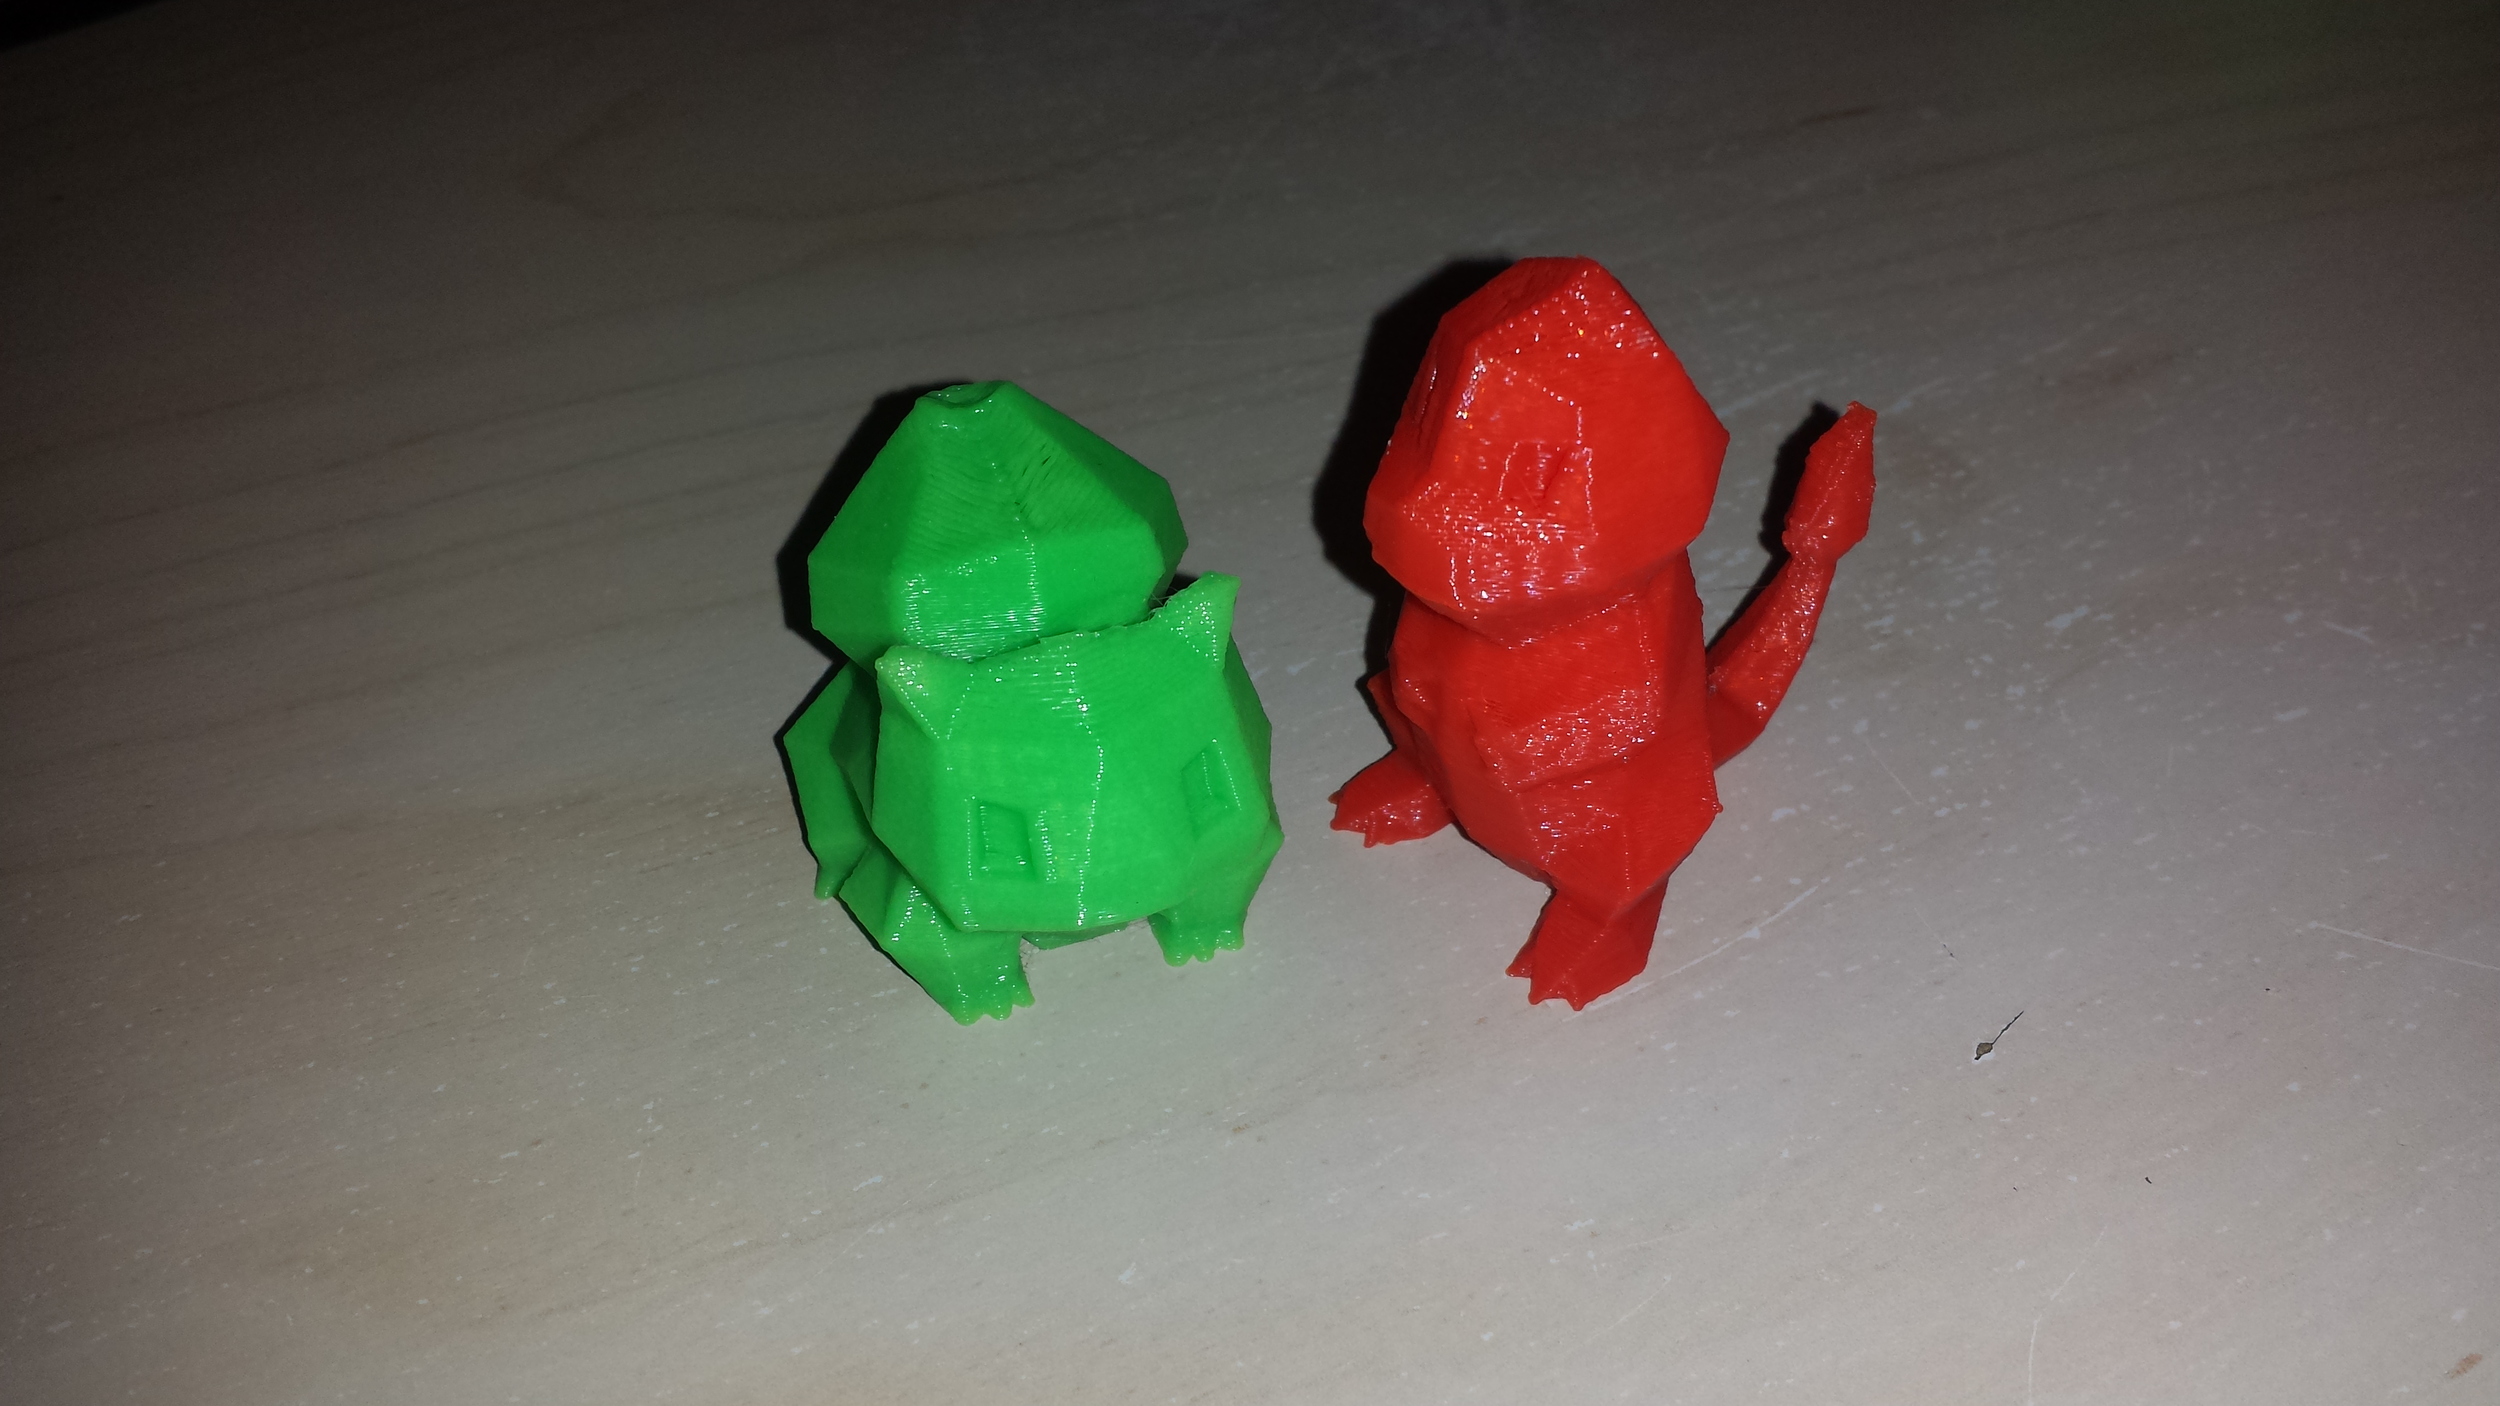
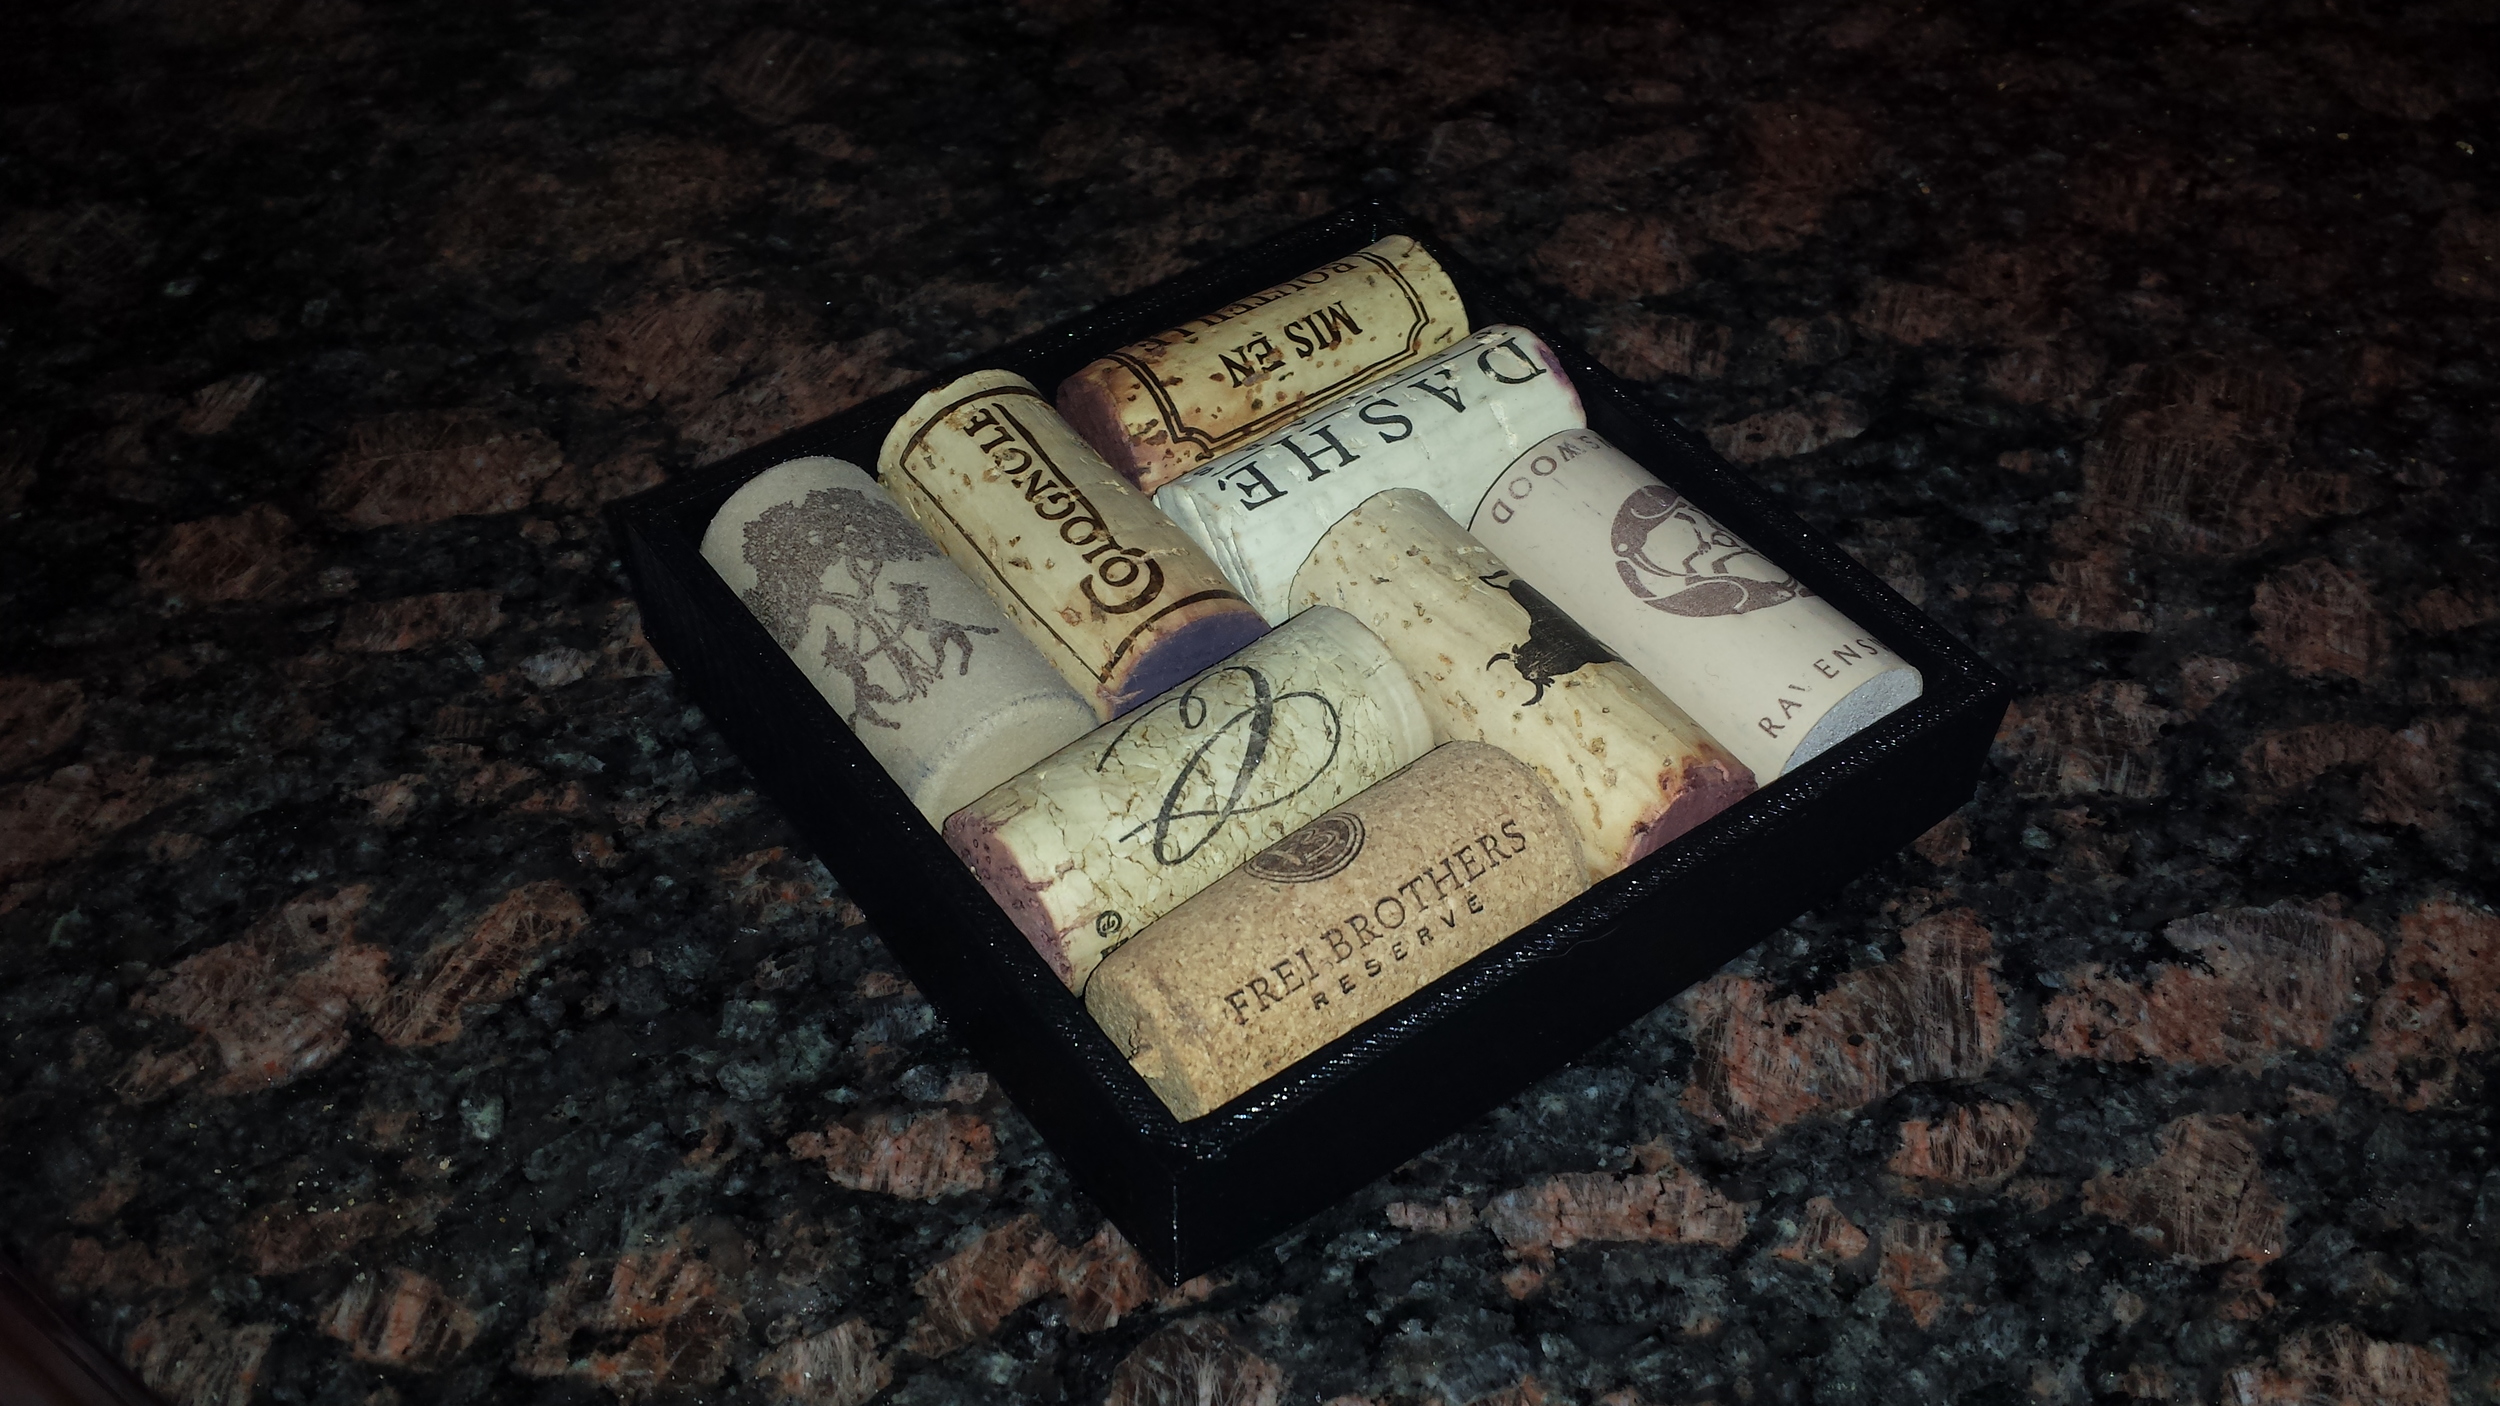
All in all this was a very fun project. I was able to complete the kit in 3 days and I was impressed at the quality for such a cheap kit. One of the first things I printed was a spool holder for filament. I was completely amazed at how easy it was to take an idea, convert it to a 3D drawing, and print it out. I used TinkerCAD software to create a simple design, exported the .stl file, and had a printed part in 30 minutes. I'm really excited to continue to utilize this printer in future projects and it's a great tool to have. Below are a few examples of what I've made so far and a video of an Eiffel Tower model being printed.