Quadcopter Part 2 - The V939 Trainer Copter and Turnigy 9X Transmitter
/V939 Quadcopter with Extra Batteries and Propellers
I decided to purchase a V939 mini quadcopter as a trainer copter to get used to flying. I'm glad I did because if I had crashed the large quadcopter in the sames ways I've crashed this one, I would be out a lot of money. It's taken a beating and keeps on going. Replacement parts, such as batteries and props, are cheap too. The Turnigy 9X transmitter purchased for the main quadcopter can be binded to the V939. This allows you to buy the stand alone quadcopter version (usually comes with a transmitter) and save some money. The Turnigy 9X has multiple profiles or "Modes". I use the first mode for my main quadcopter settings and the second mode for the trainer copter.
Transmitter Settings for the V939:
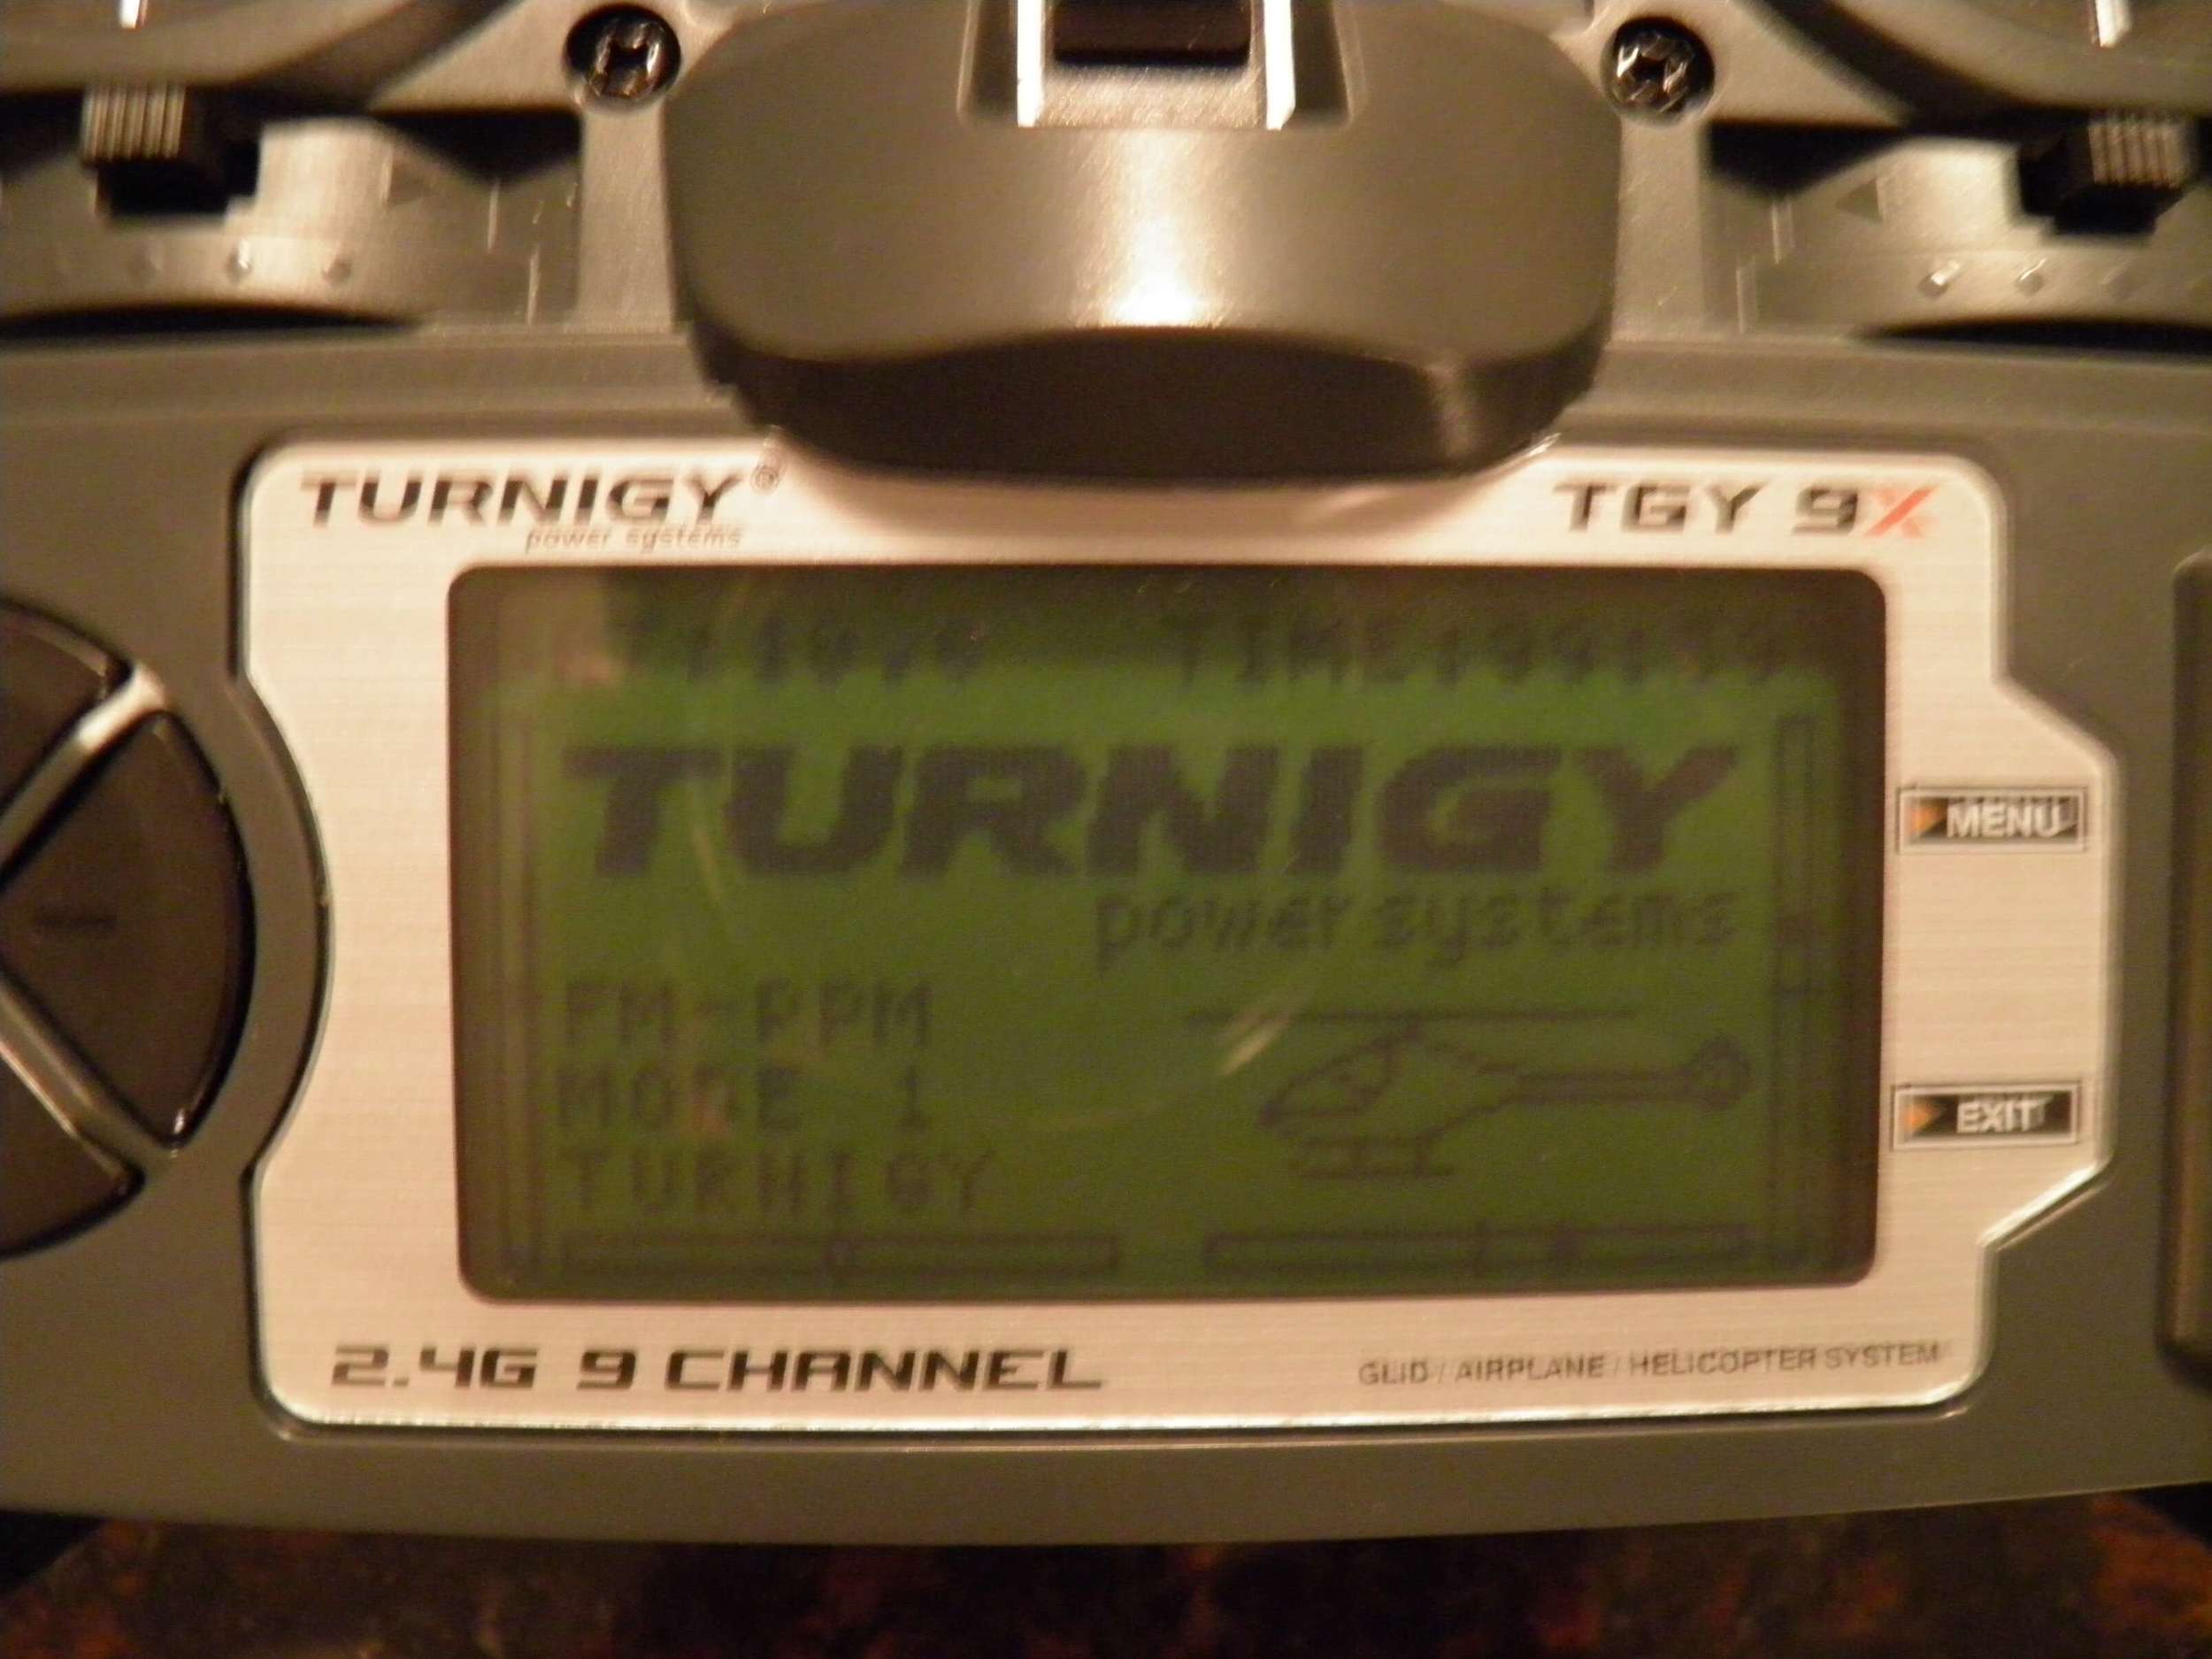
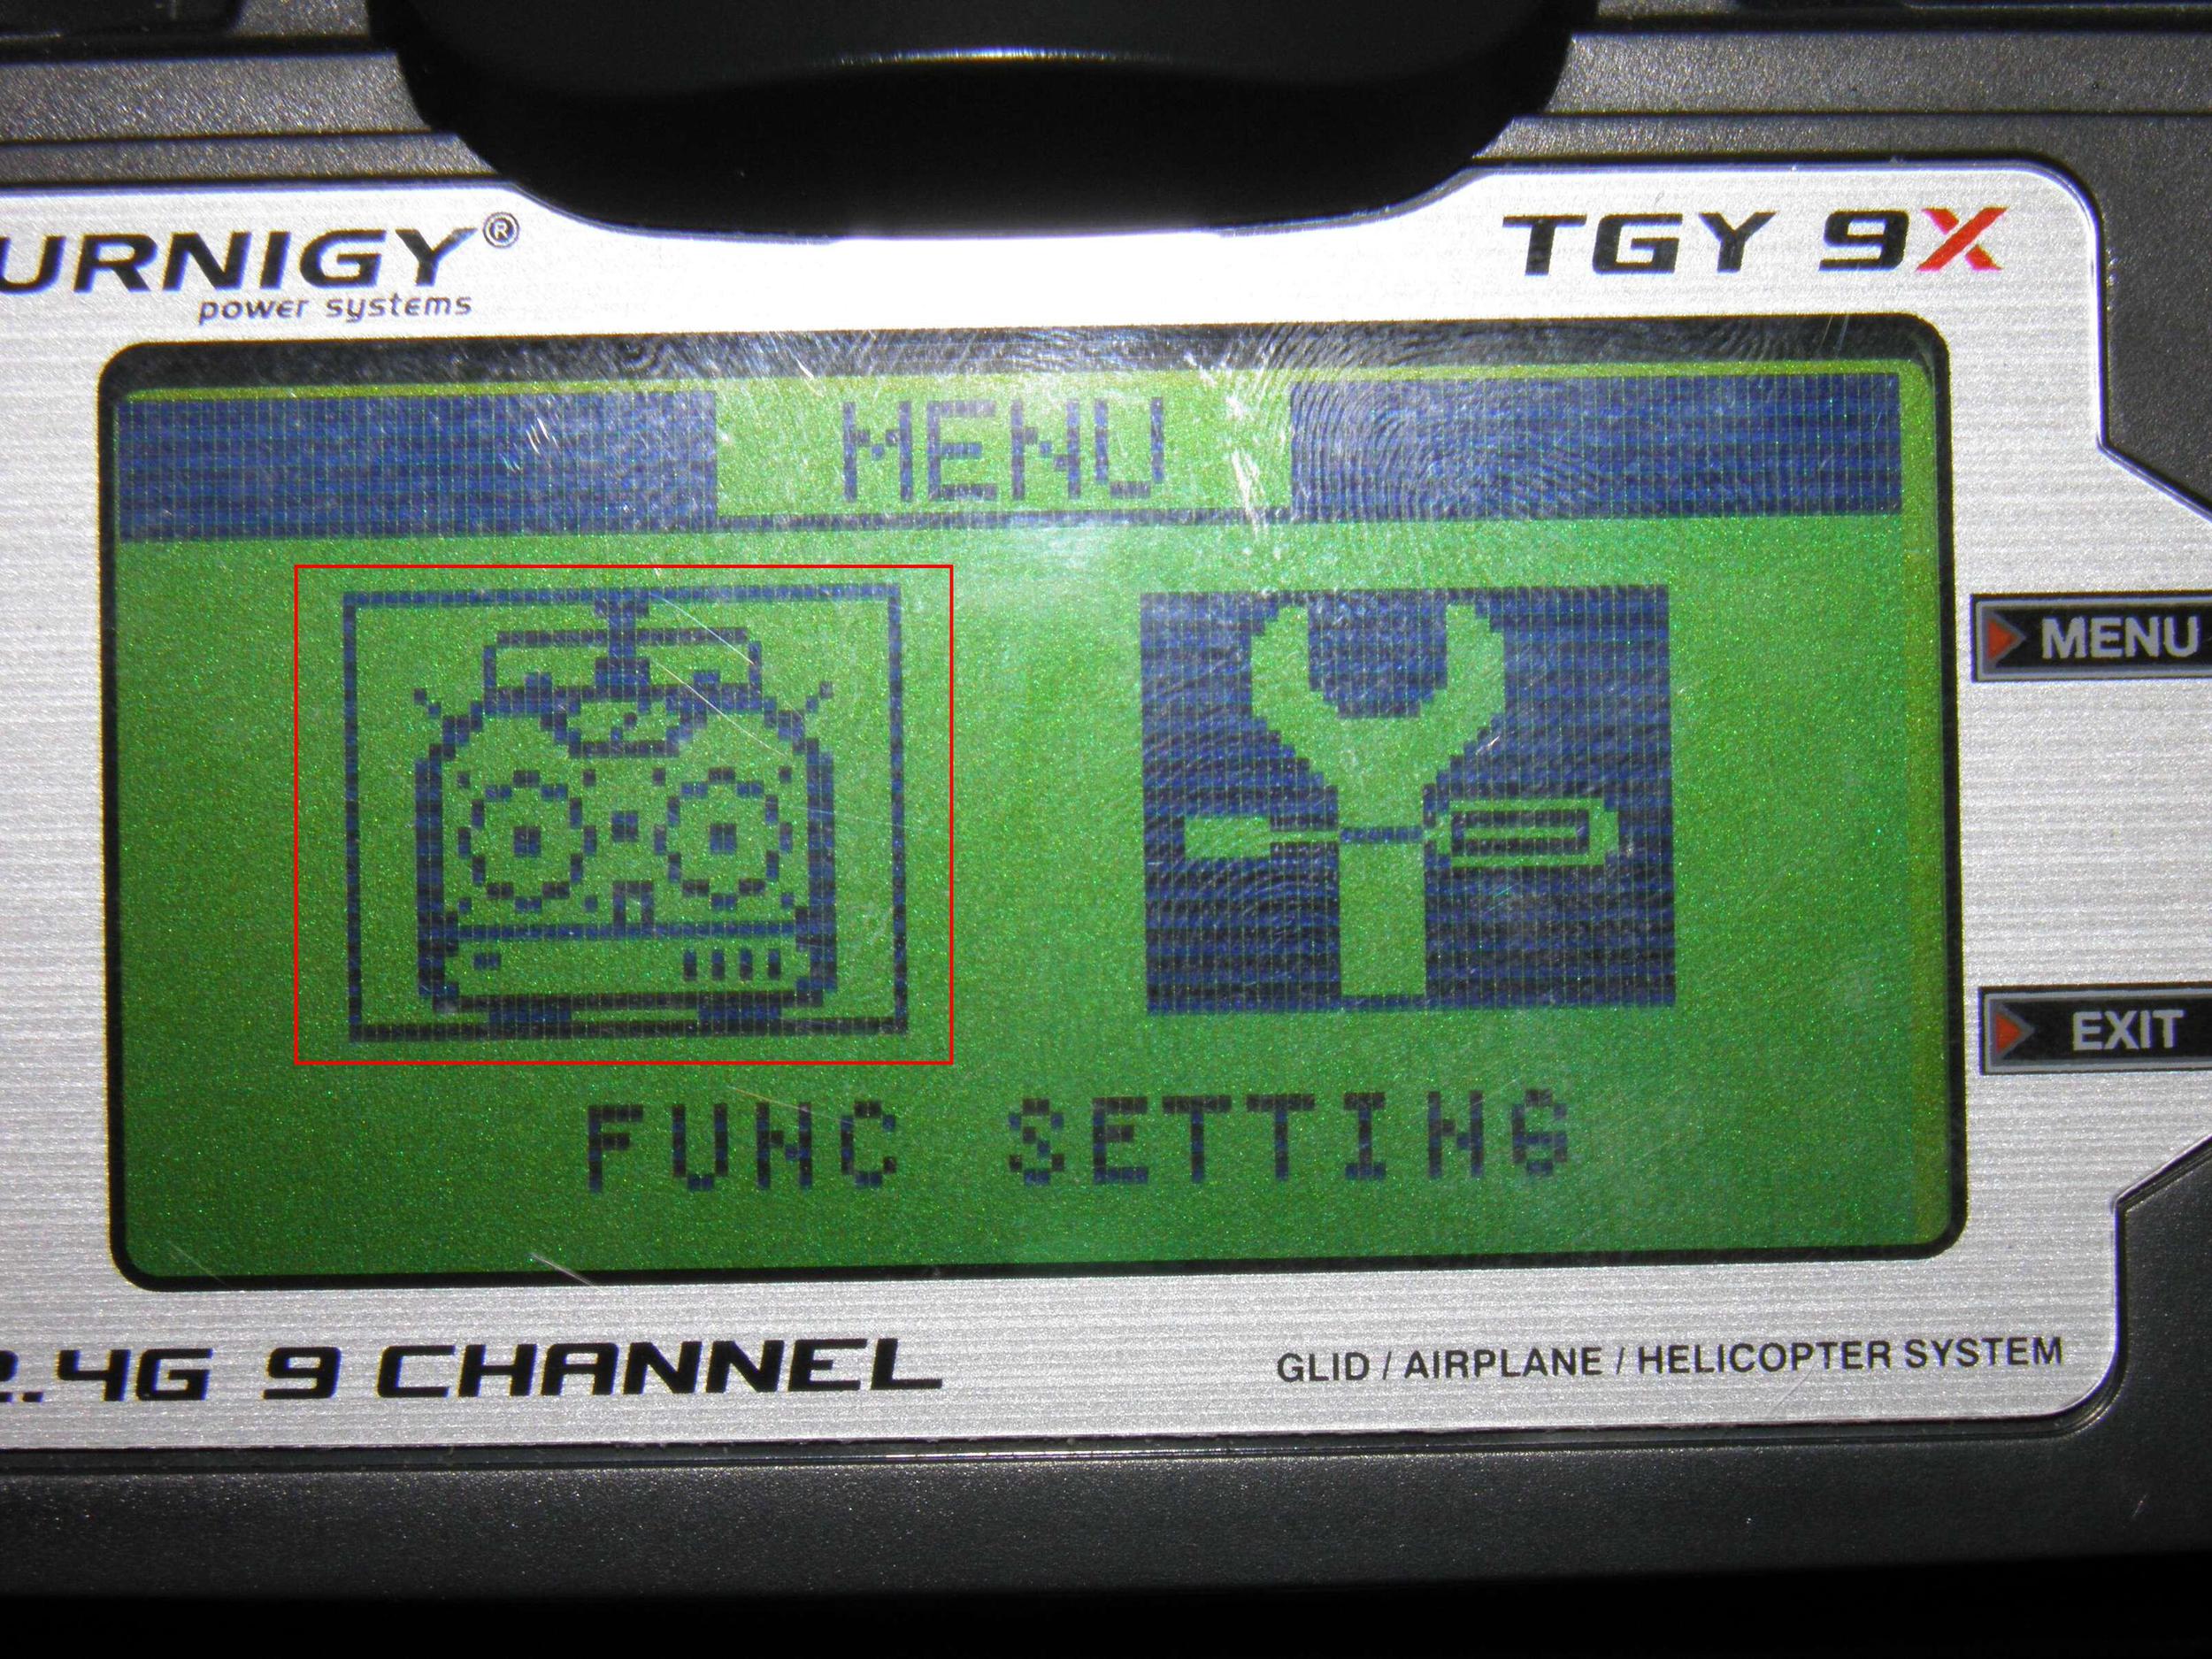
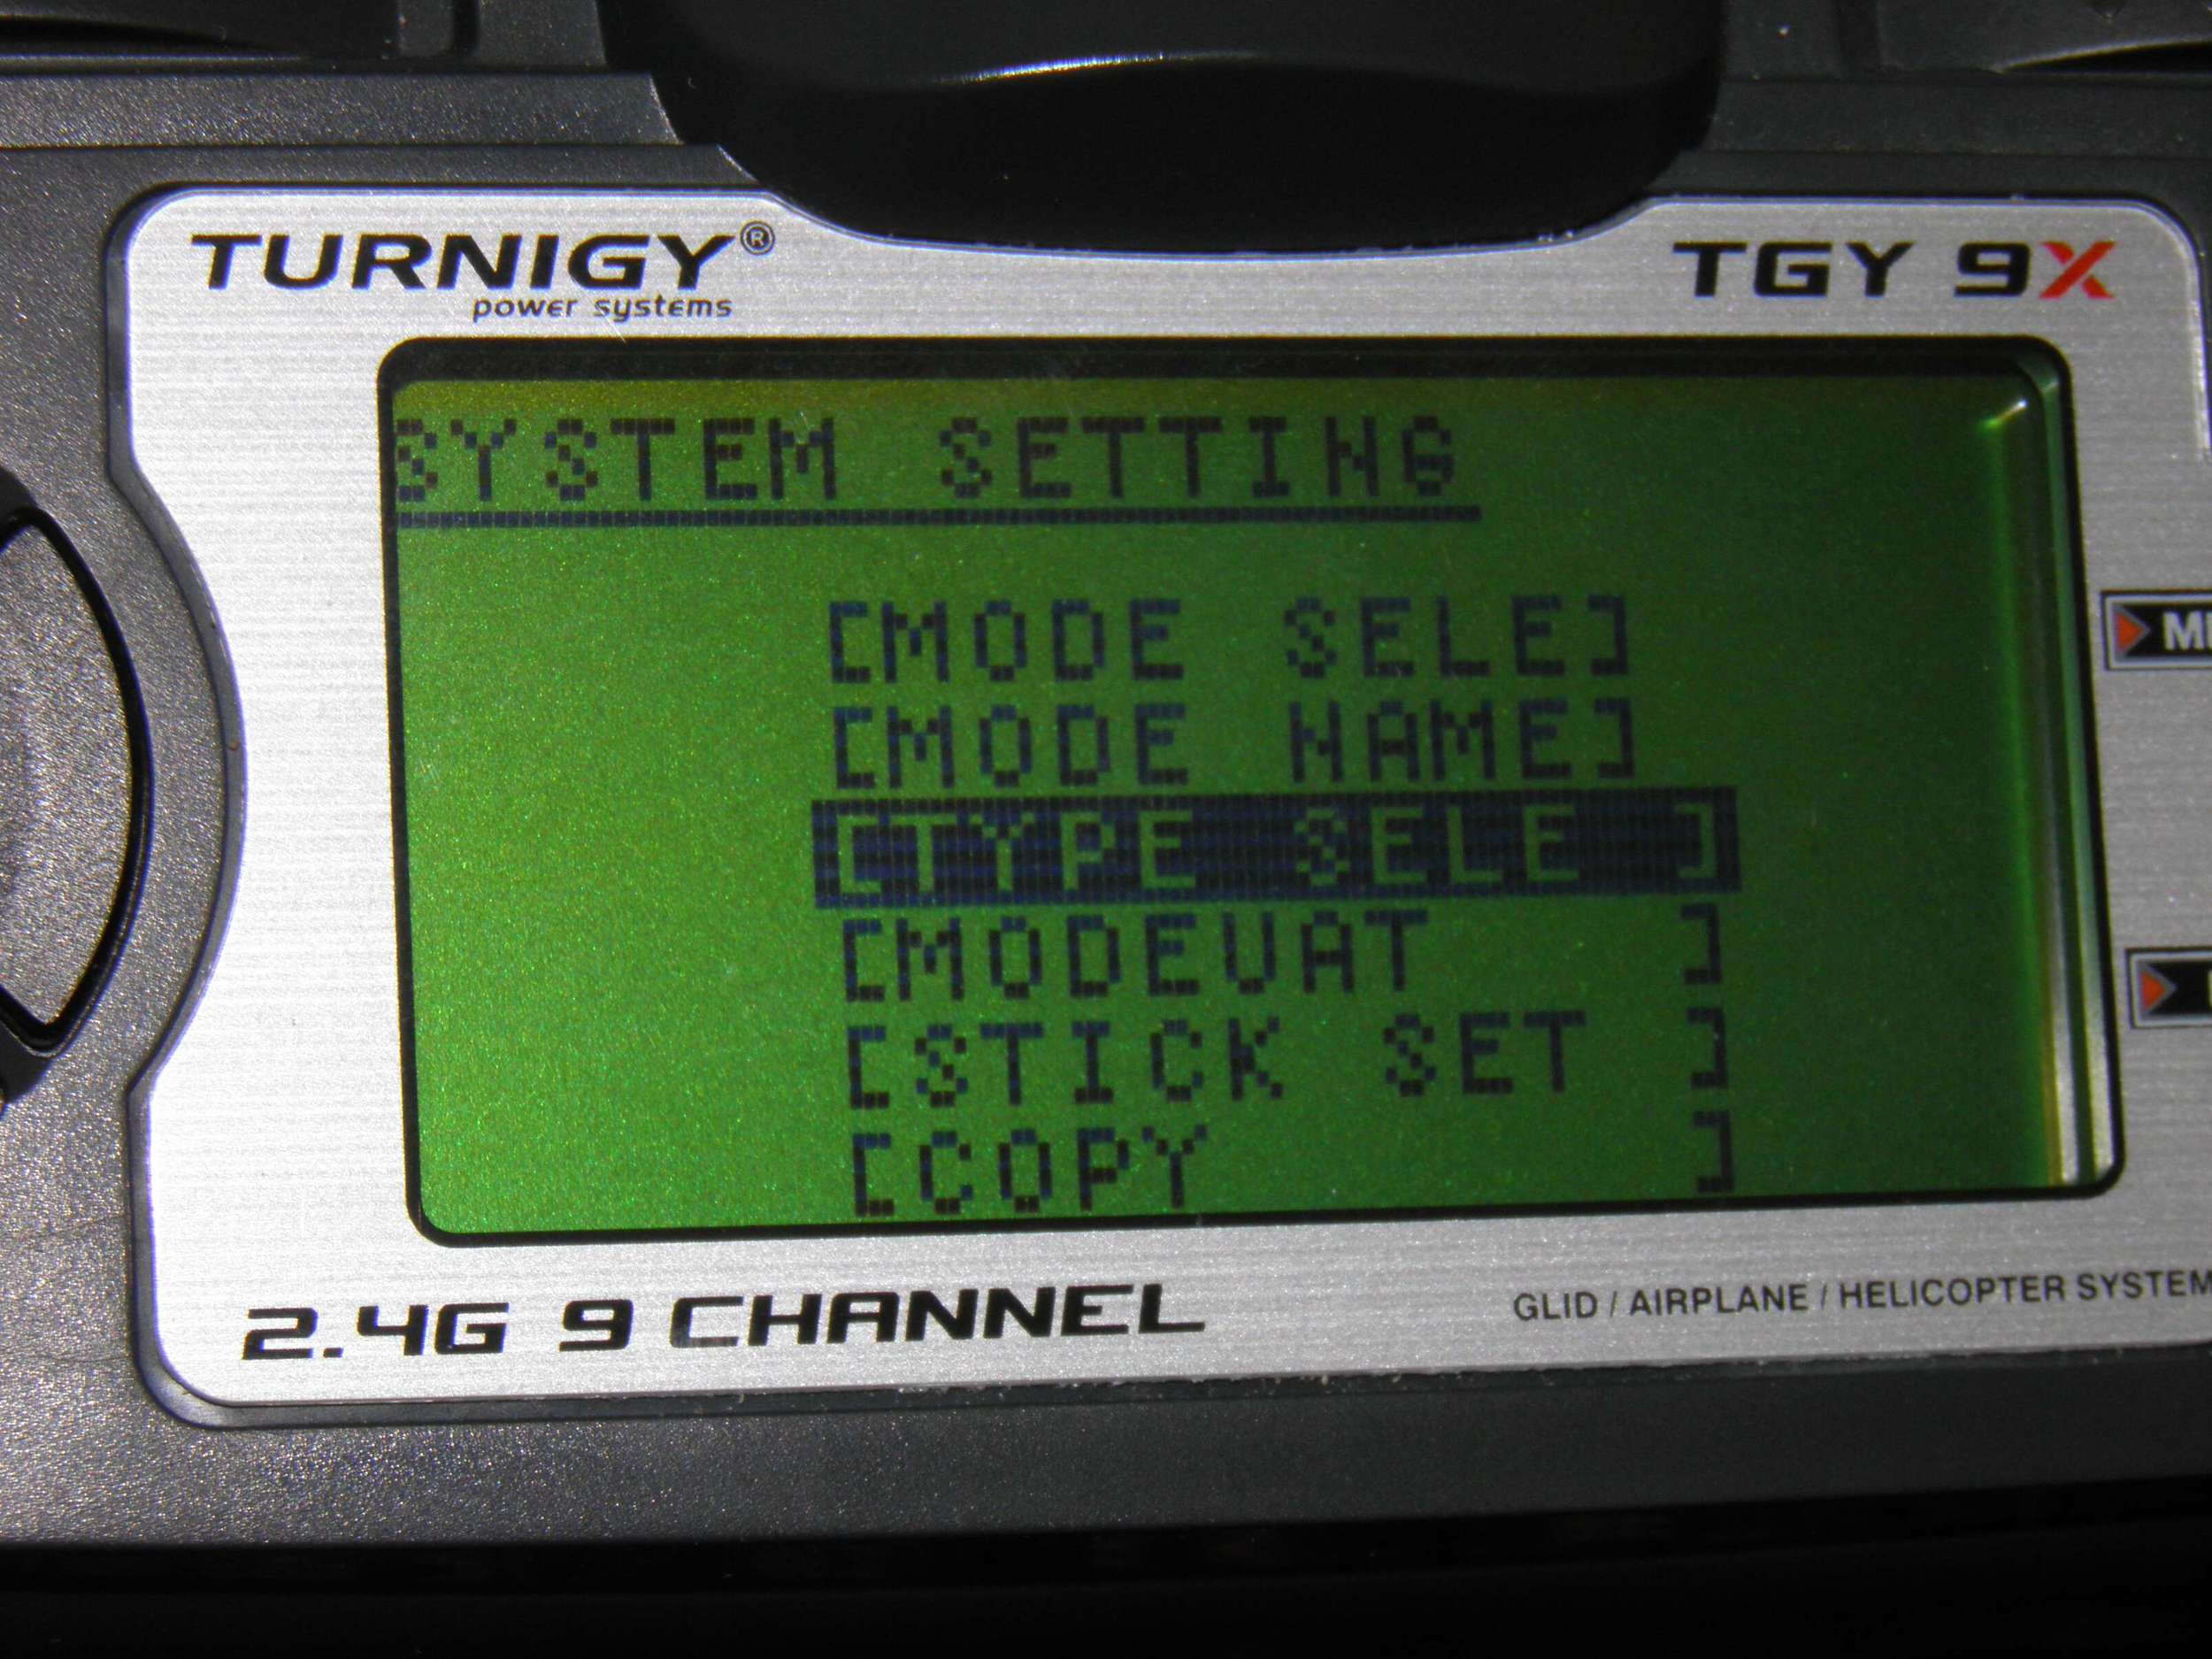
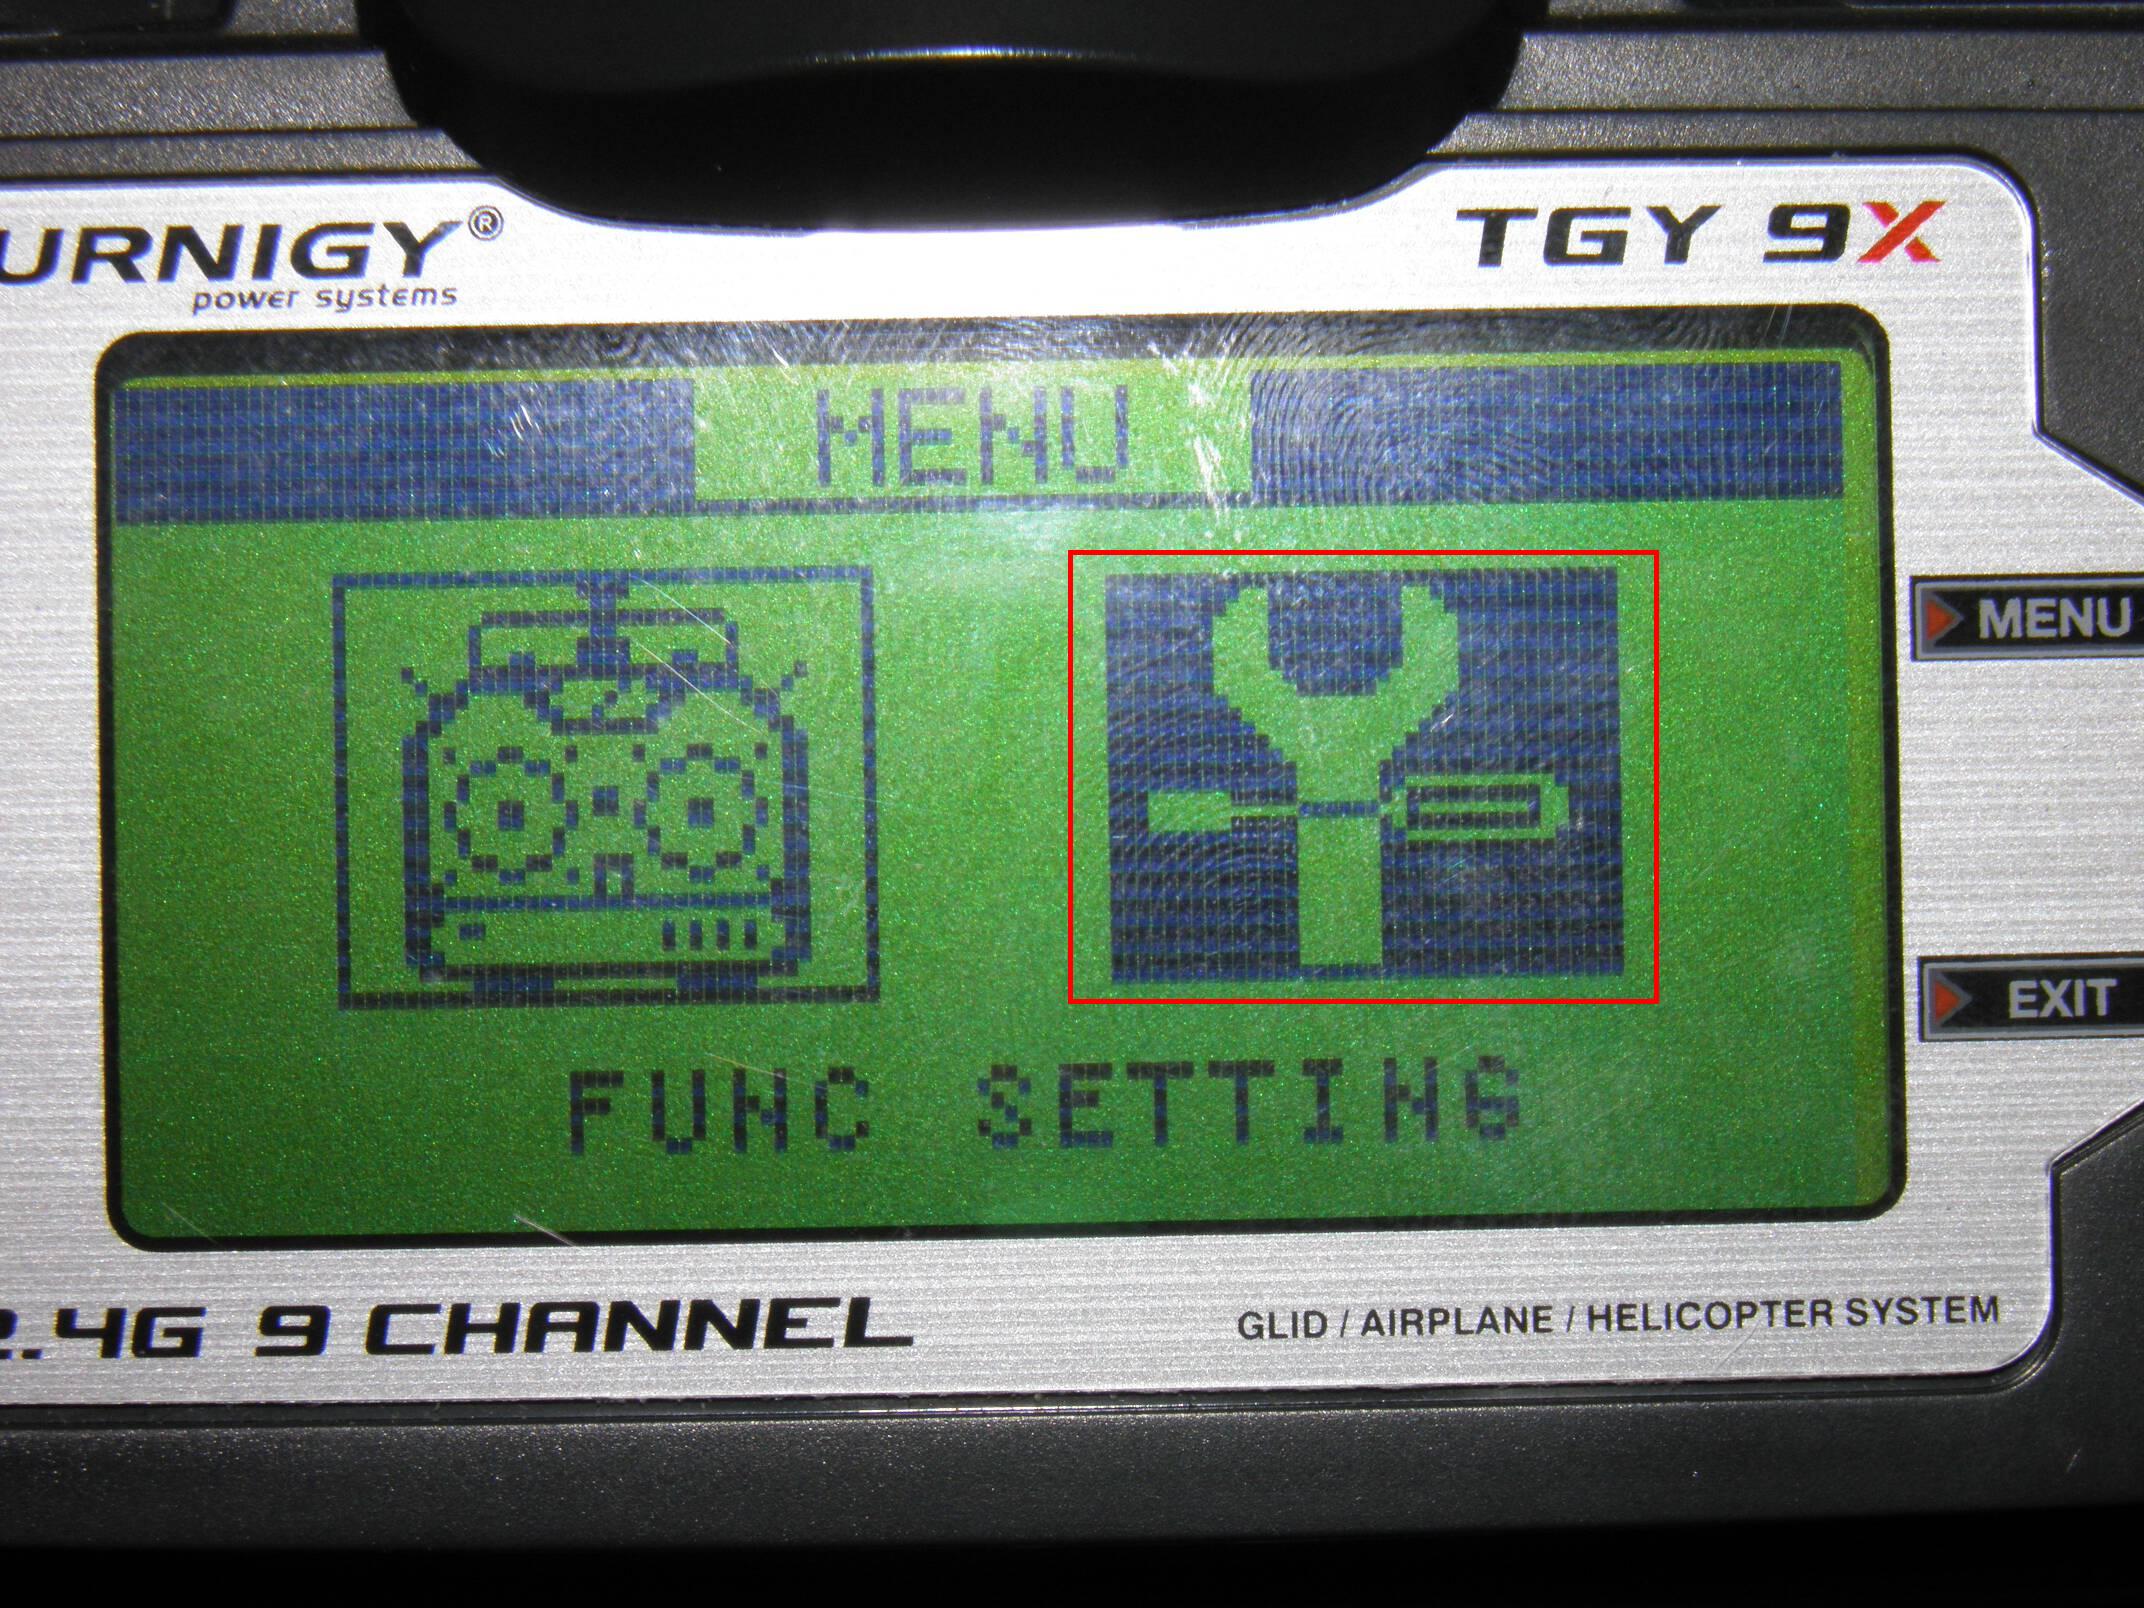
- Click the "Menu" button. Select the transmitter icon and hit the menu button again to access the "System Settings" menu. With "Mode Select" highlighted, hit menu again. Select the second one on the list, "Mode 2", and hit menu. This will select and setup the second profile of the transmitter (reserving the first one for the main quadcopter). Get back to the "System Settings" main menu.
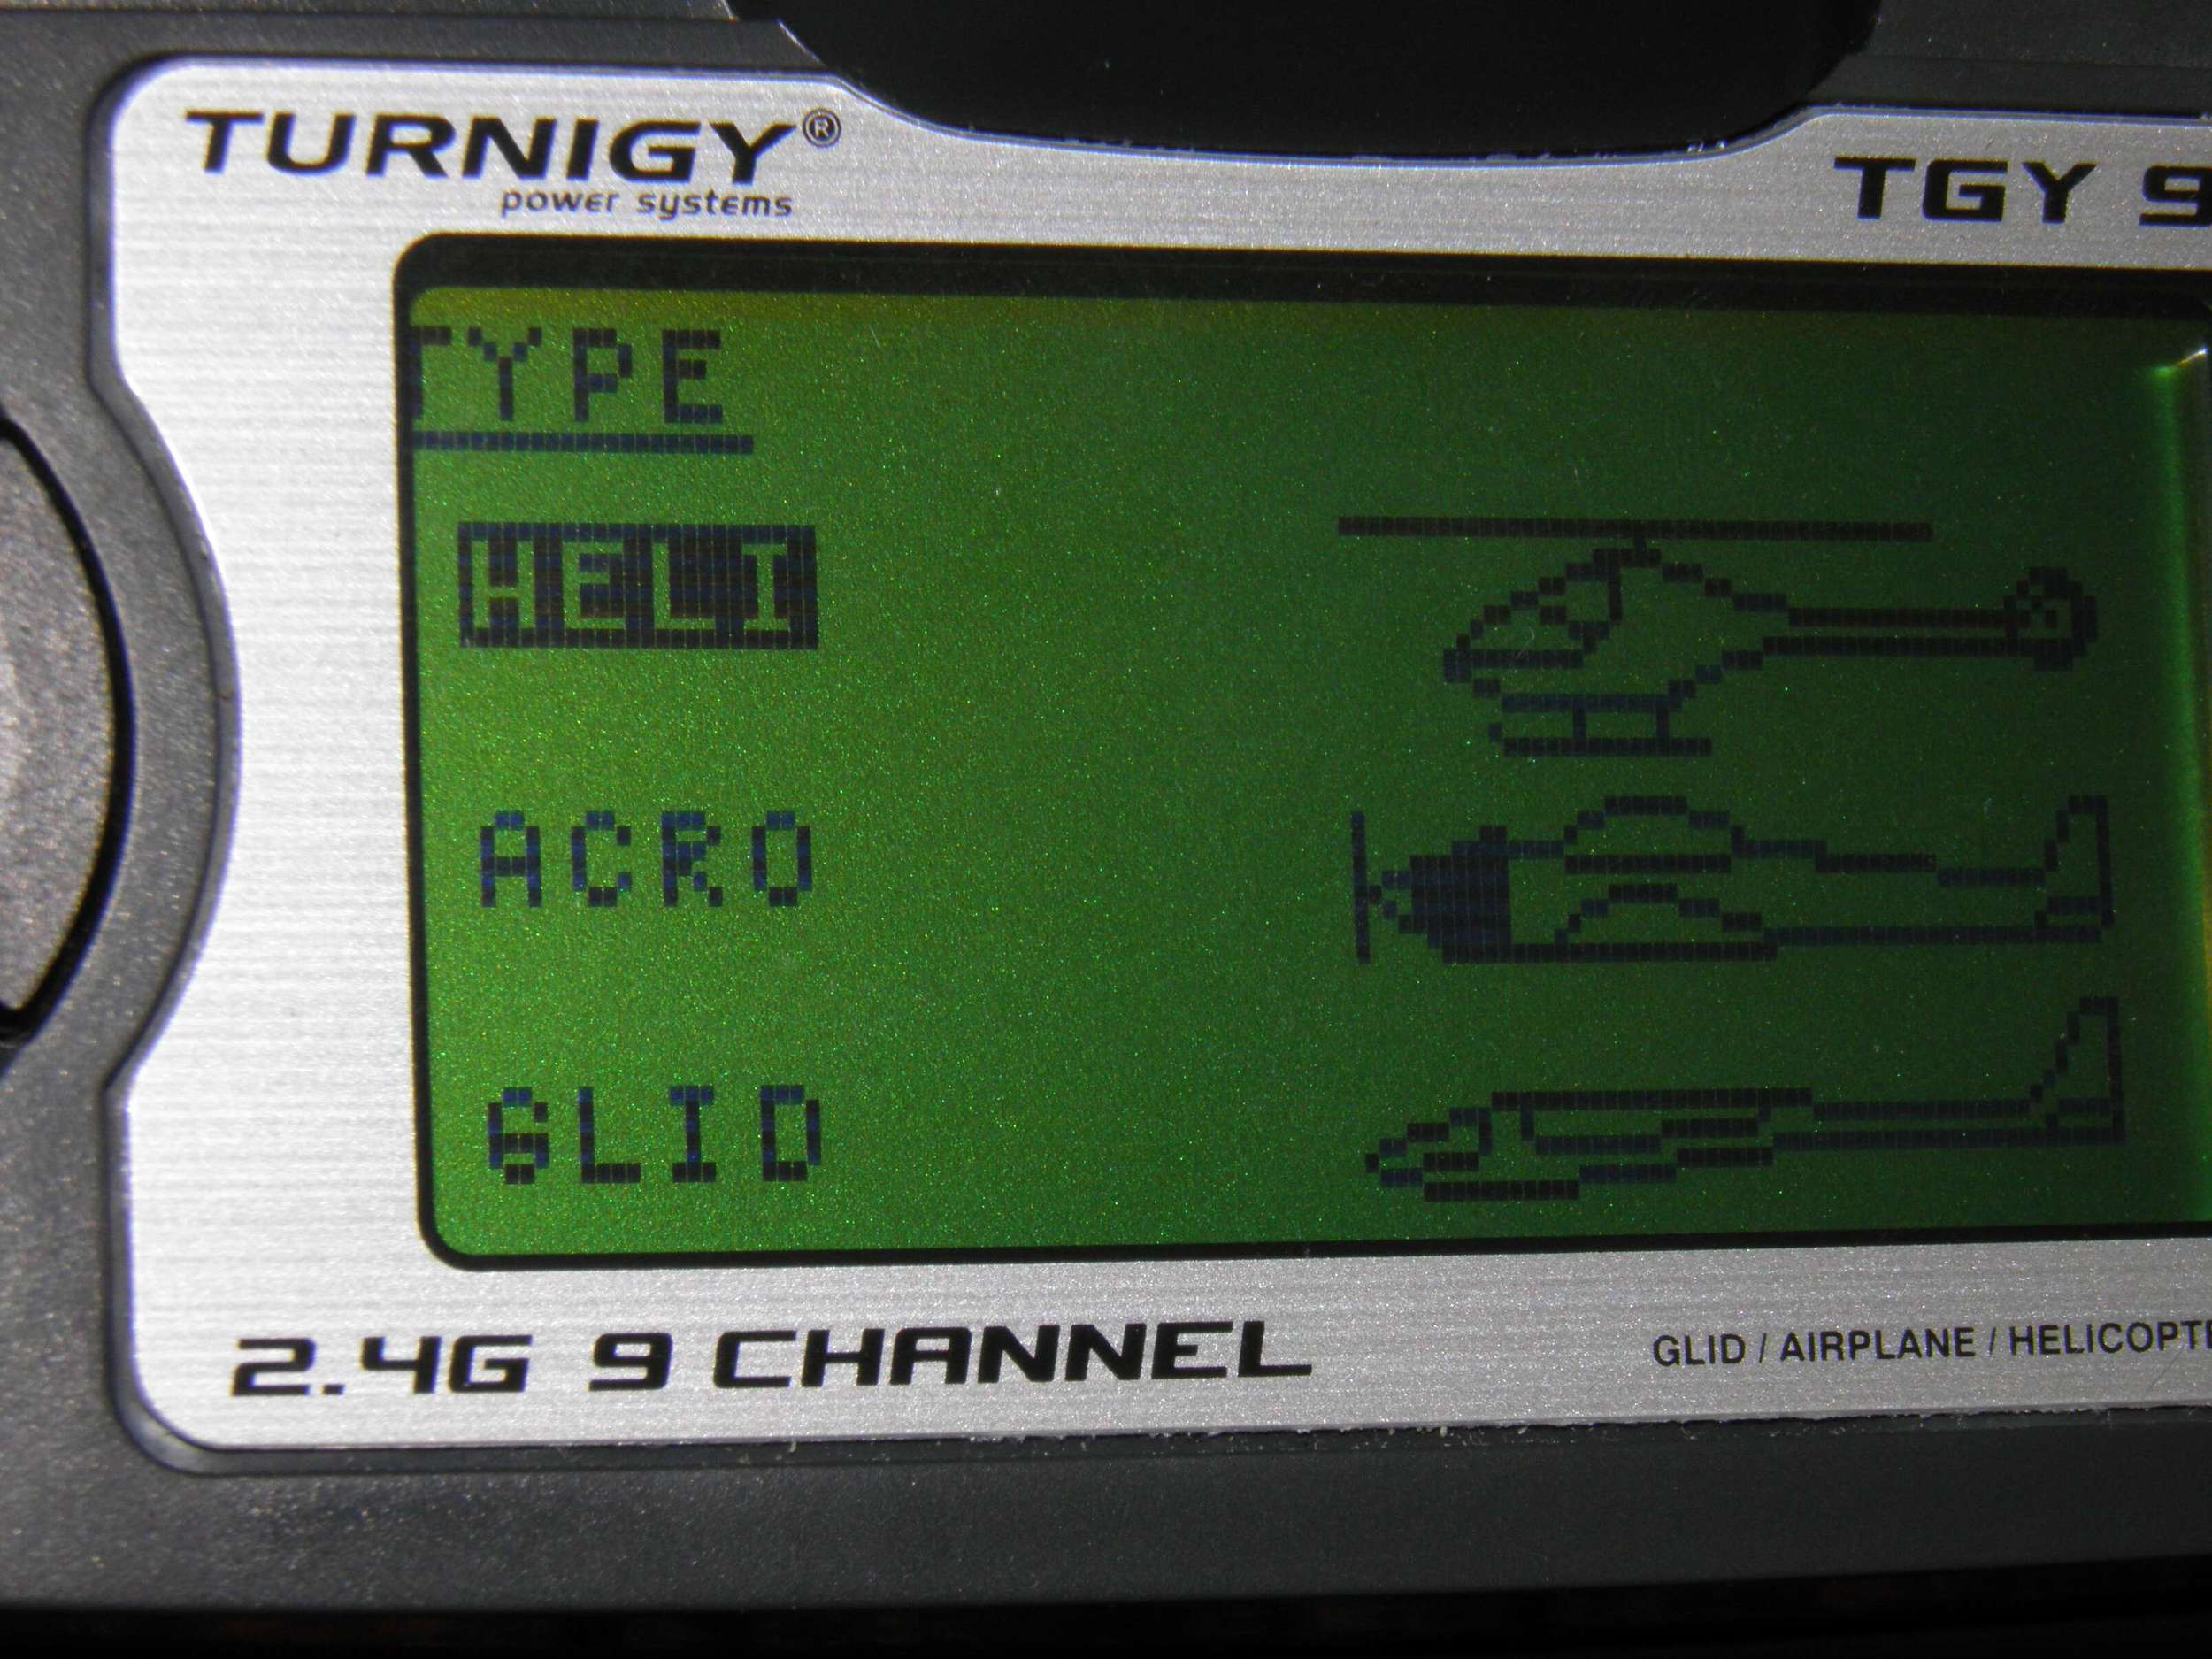
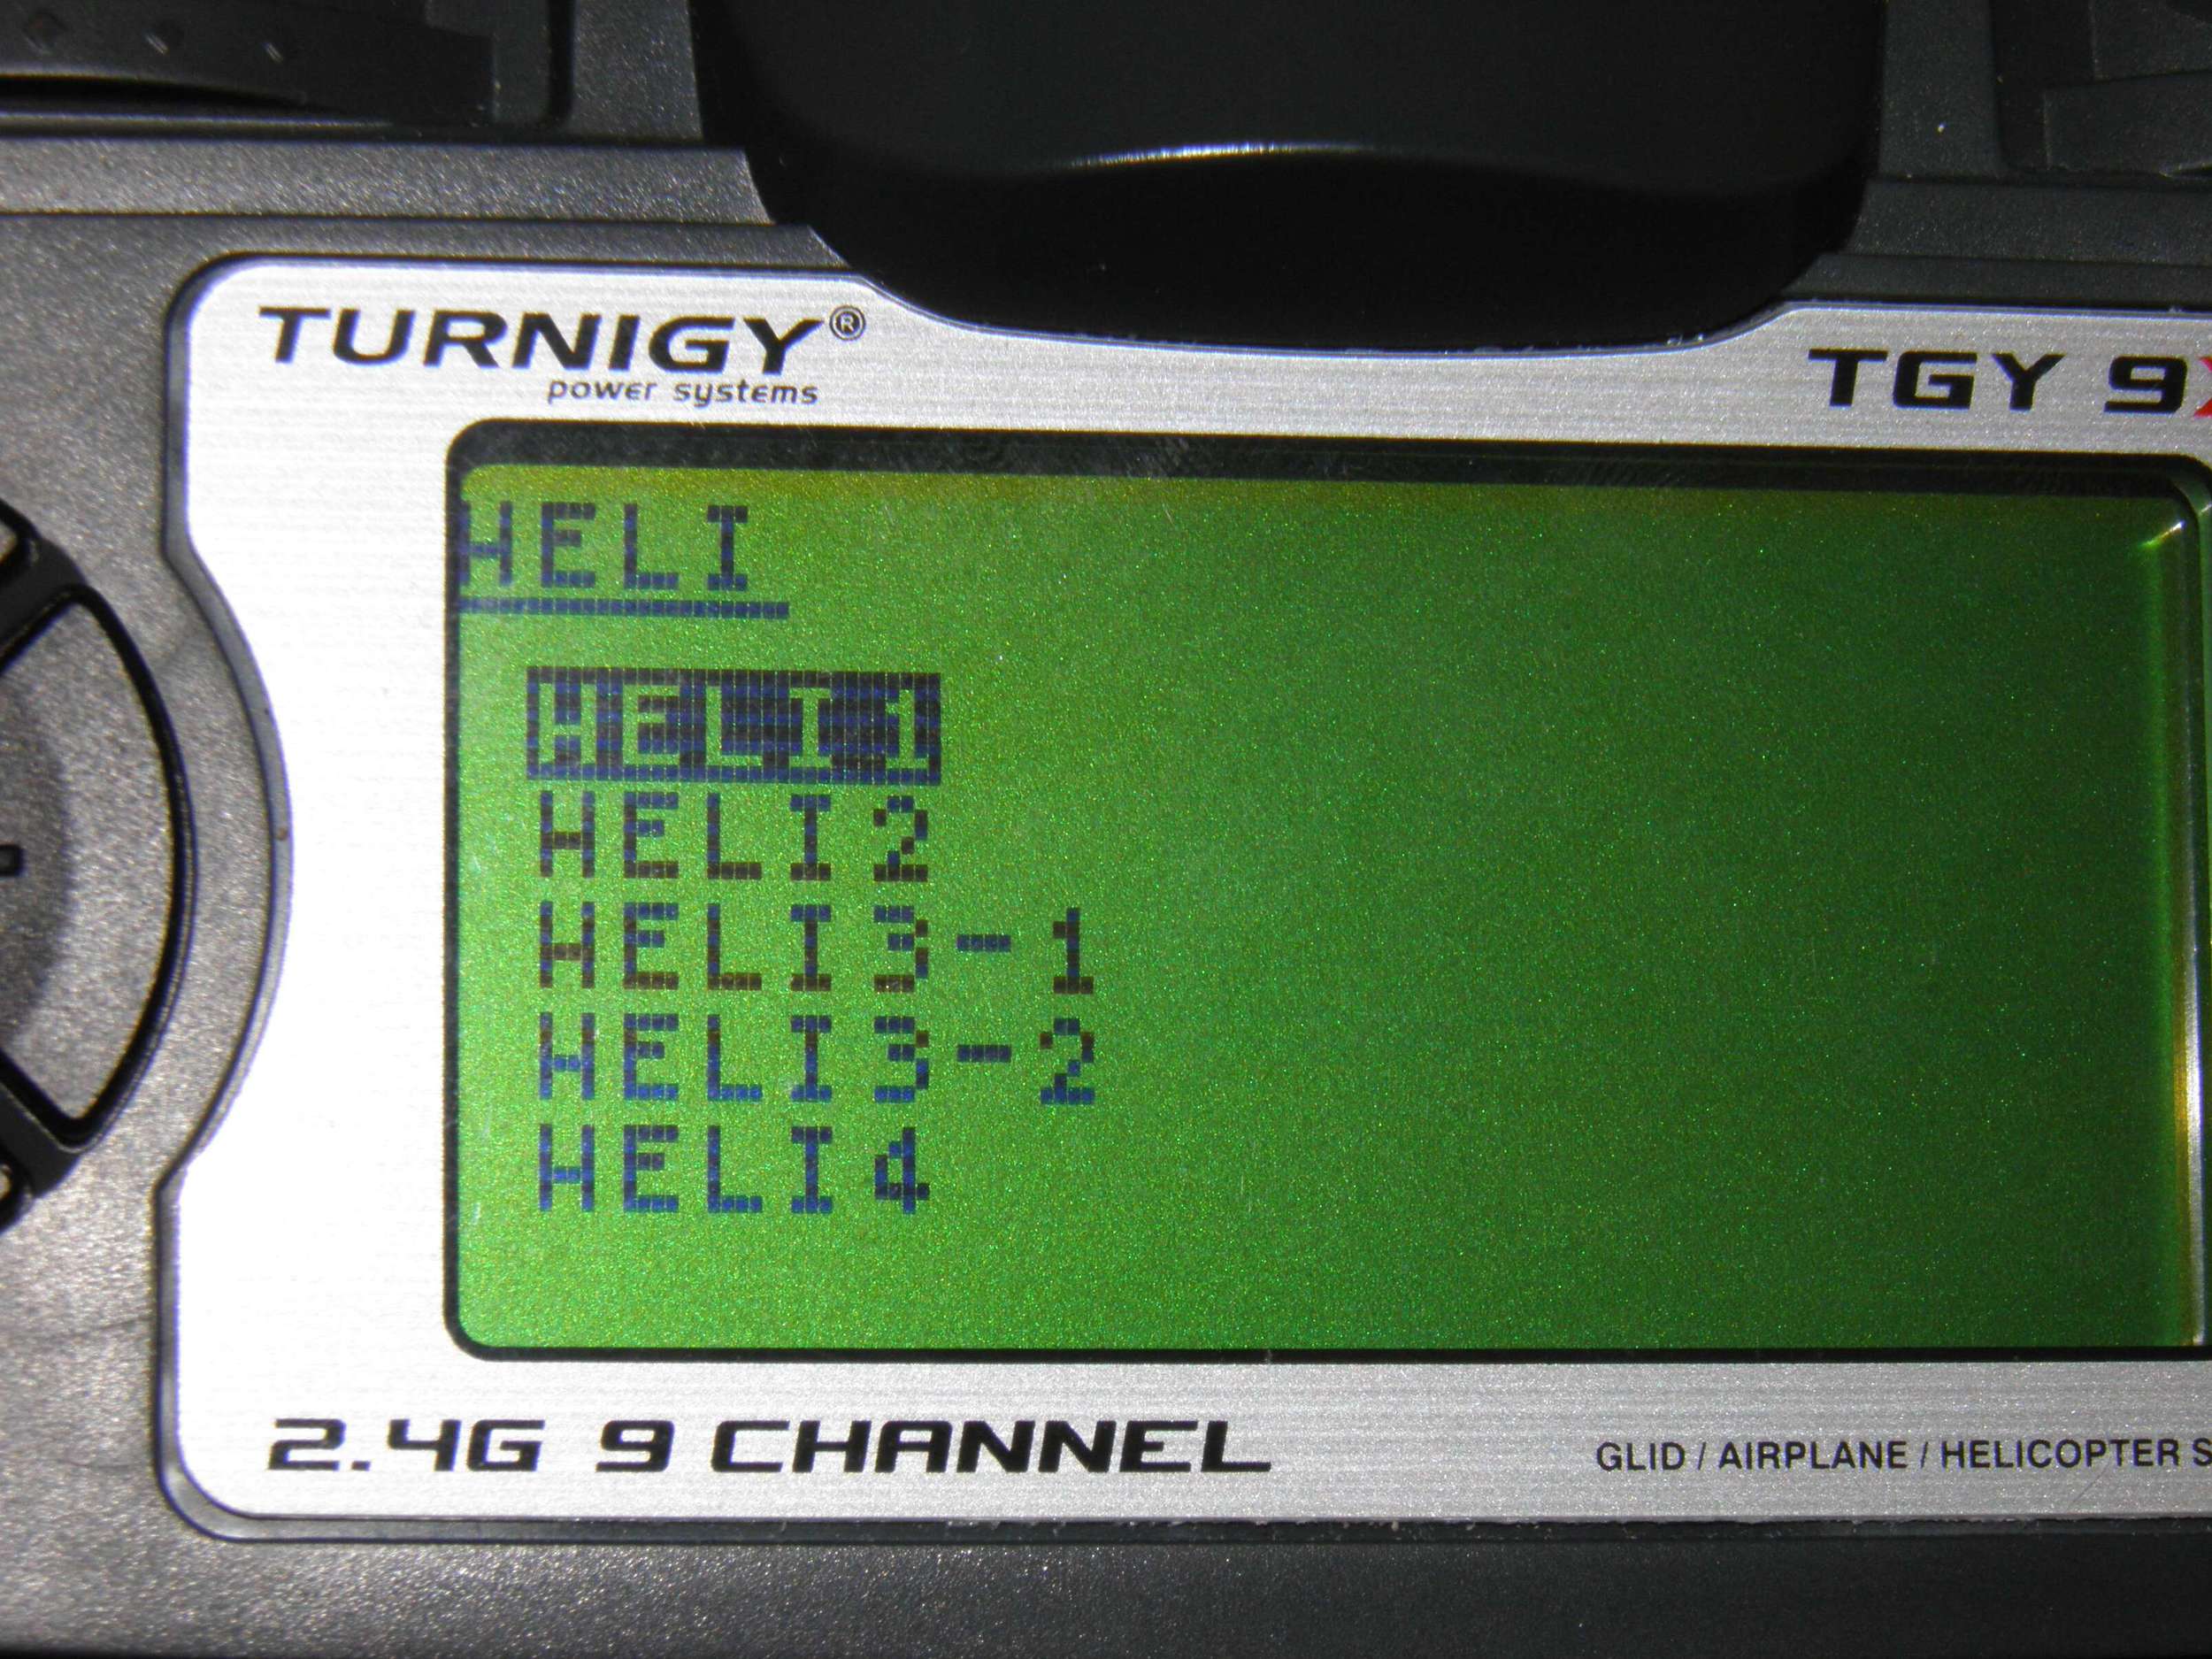
- Select "Type Select" and make sure the transmitter has "Heli" highlighted and hit menu. Make sure the heli type "Heli 1" is highlighted and hit menu again. Get back to the "System Settings" main menu.
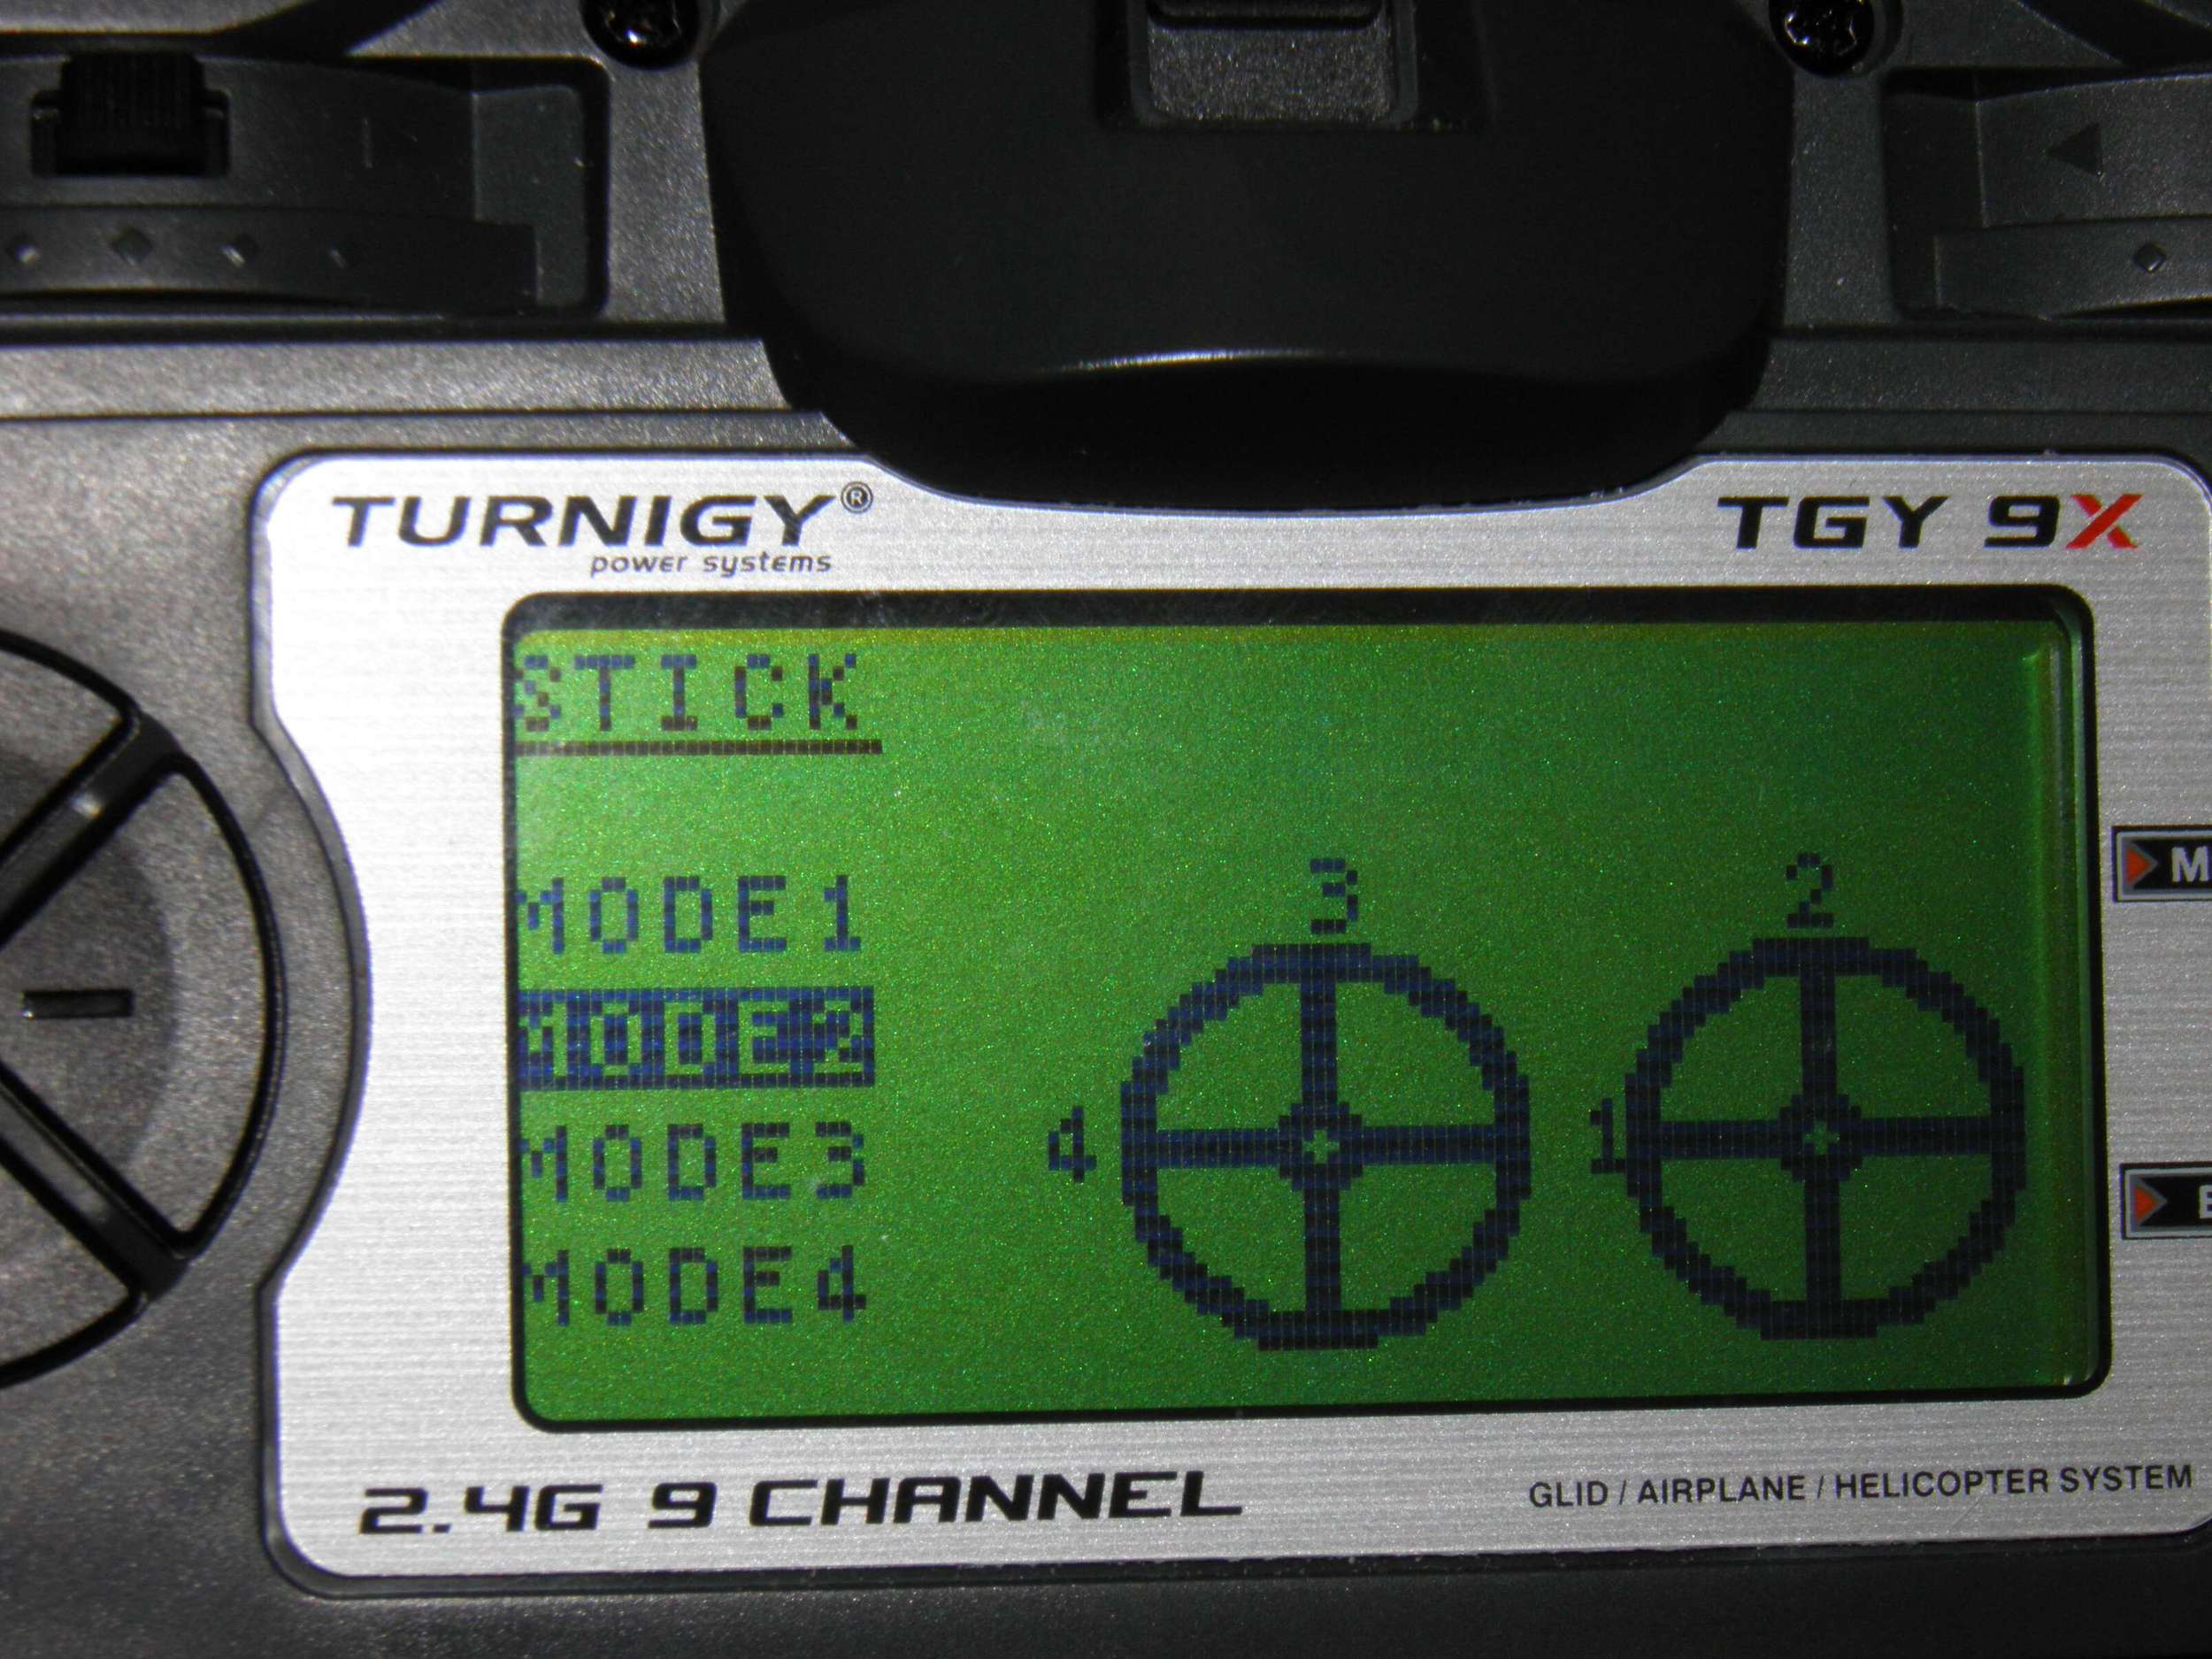
- Select "Stick Set" and hit menu. Select stick set "Mode 2". This will make sure your transmitter sticks are set up for the correct function. The left stick will control the throttle and yaw (spinning on its axis). The right stick will control roll (tilt to left/right) and pitch (tilt forward/back). Exit back to the main menu with the two icons.
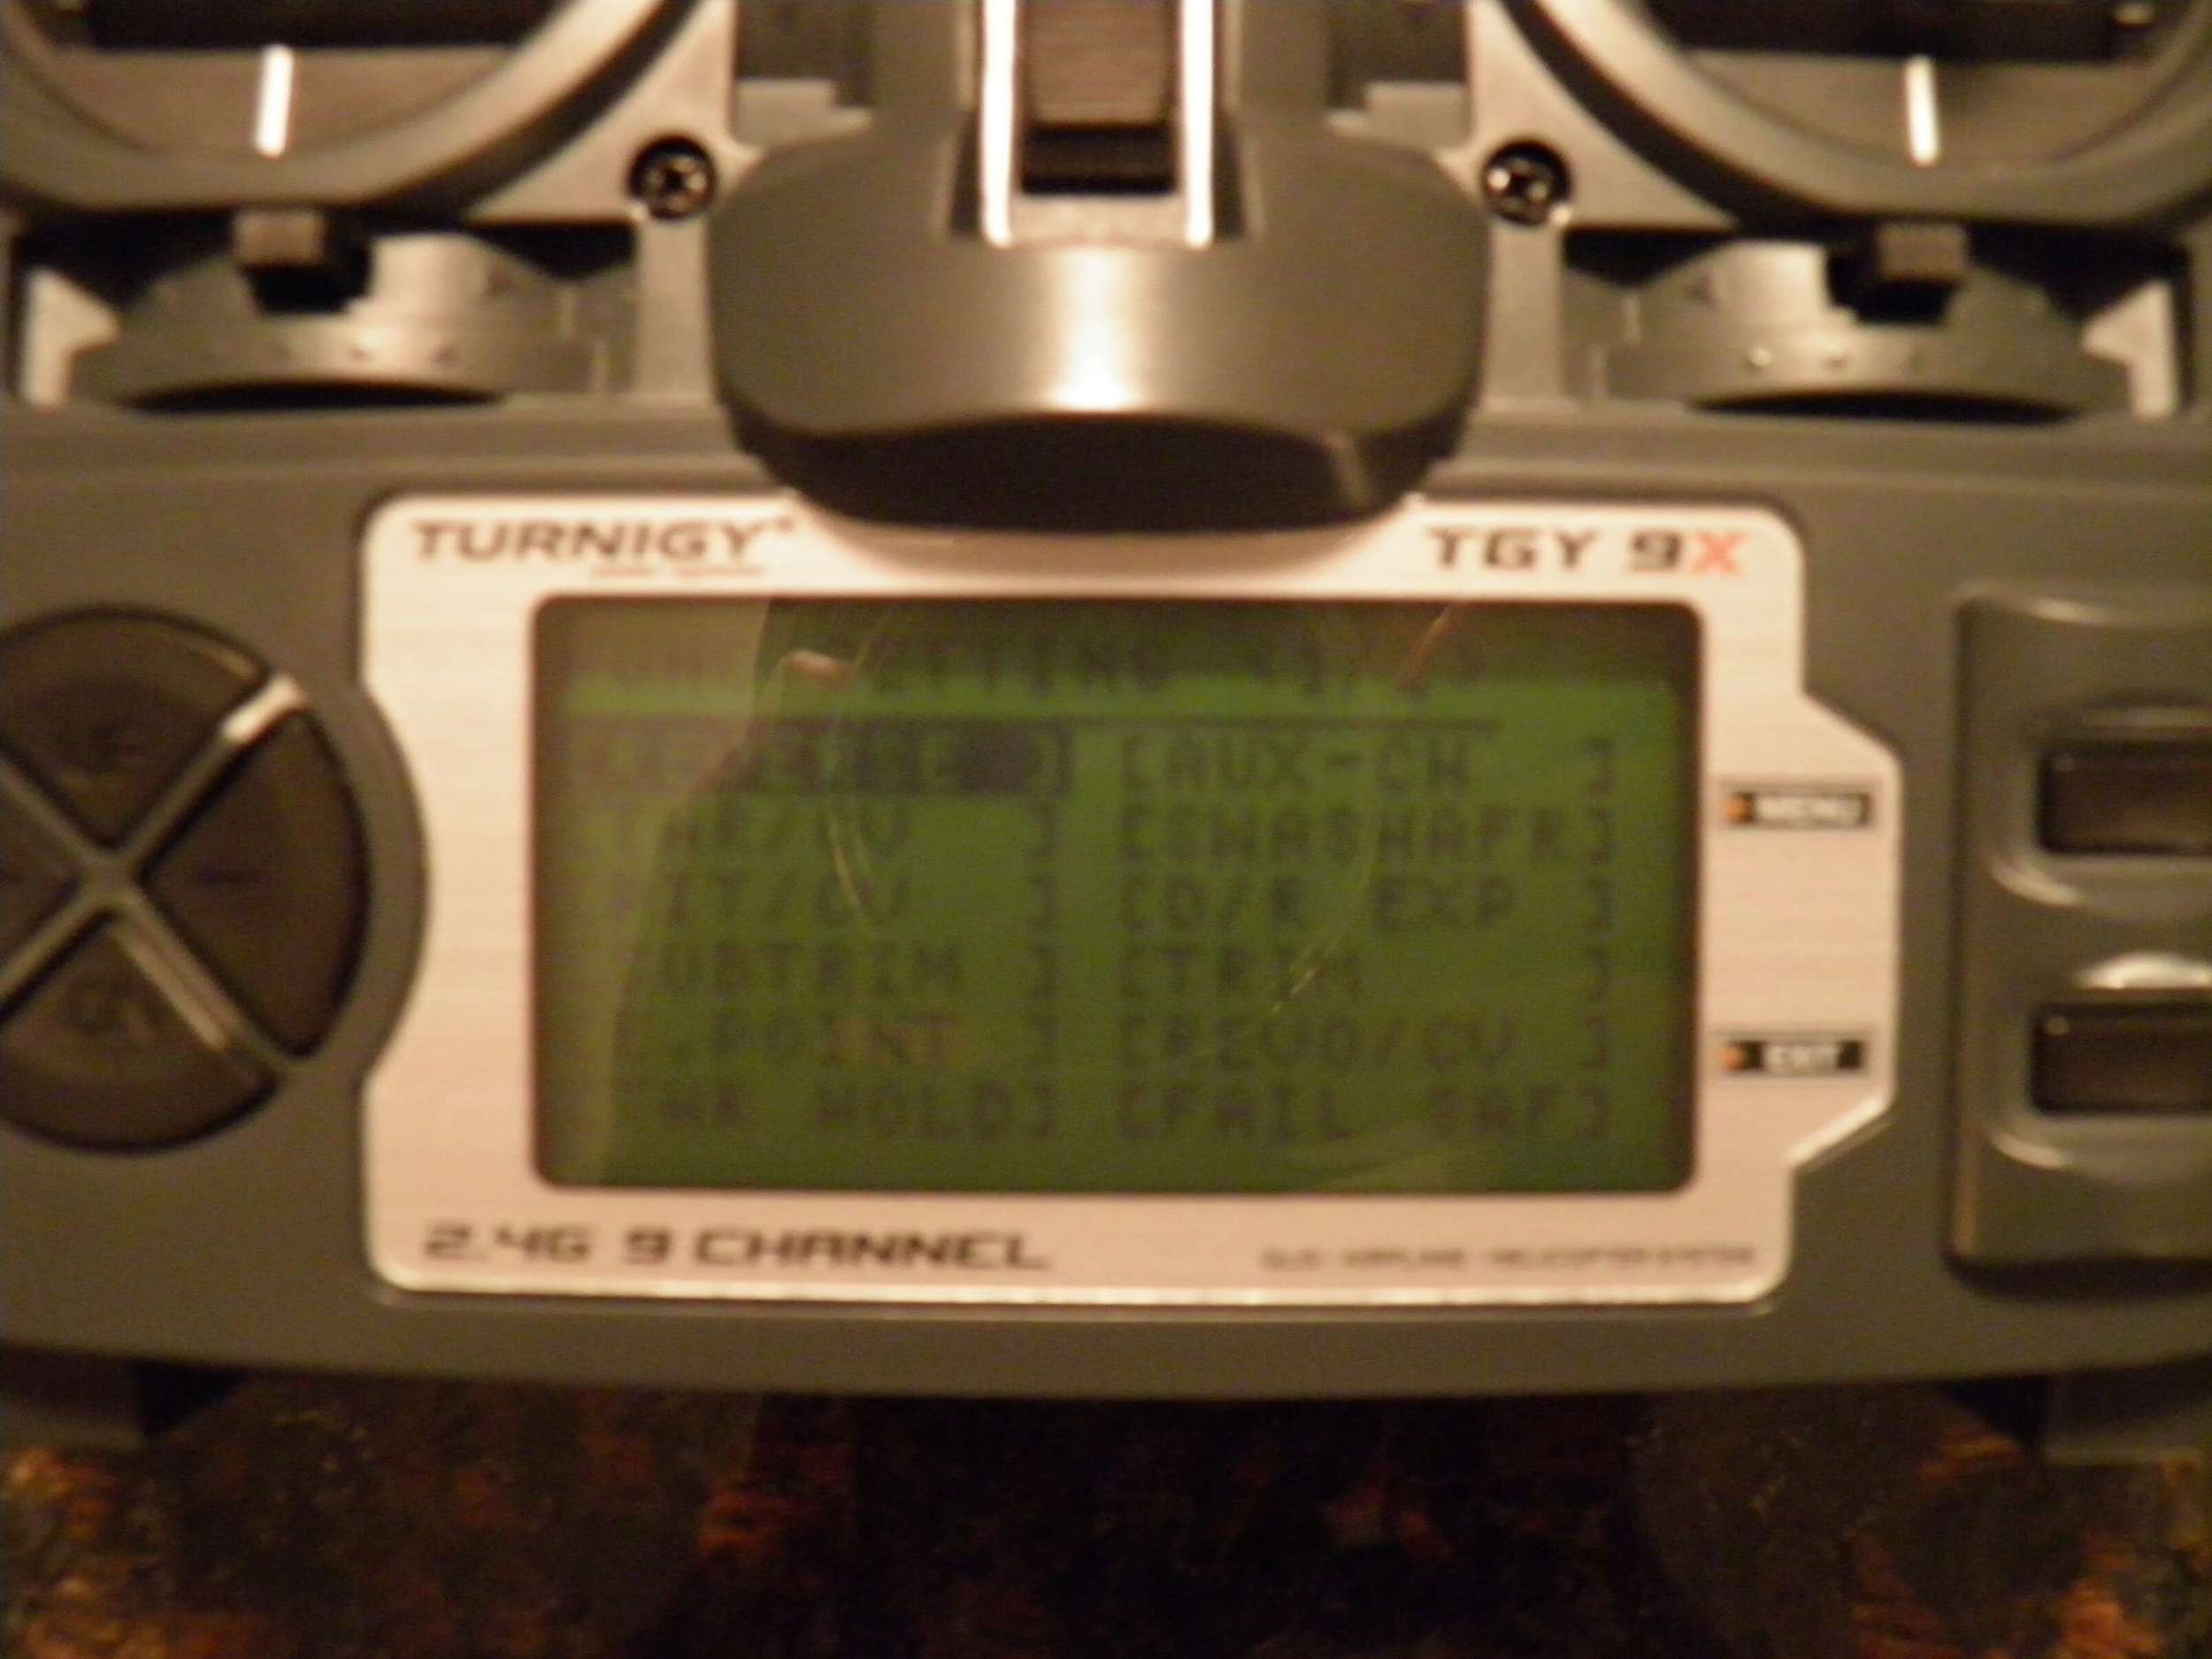
- Select the Wrench icon and hit menu. Select "Reverse" (sorry for the poor picture) and reverse the throttle. Hit the exit button. You should now be ready to fly!
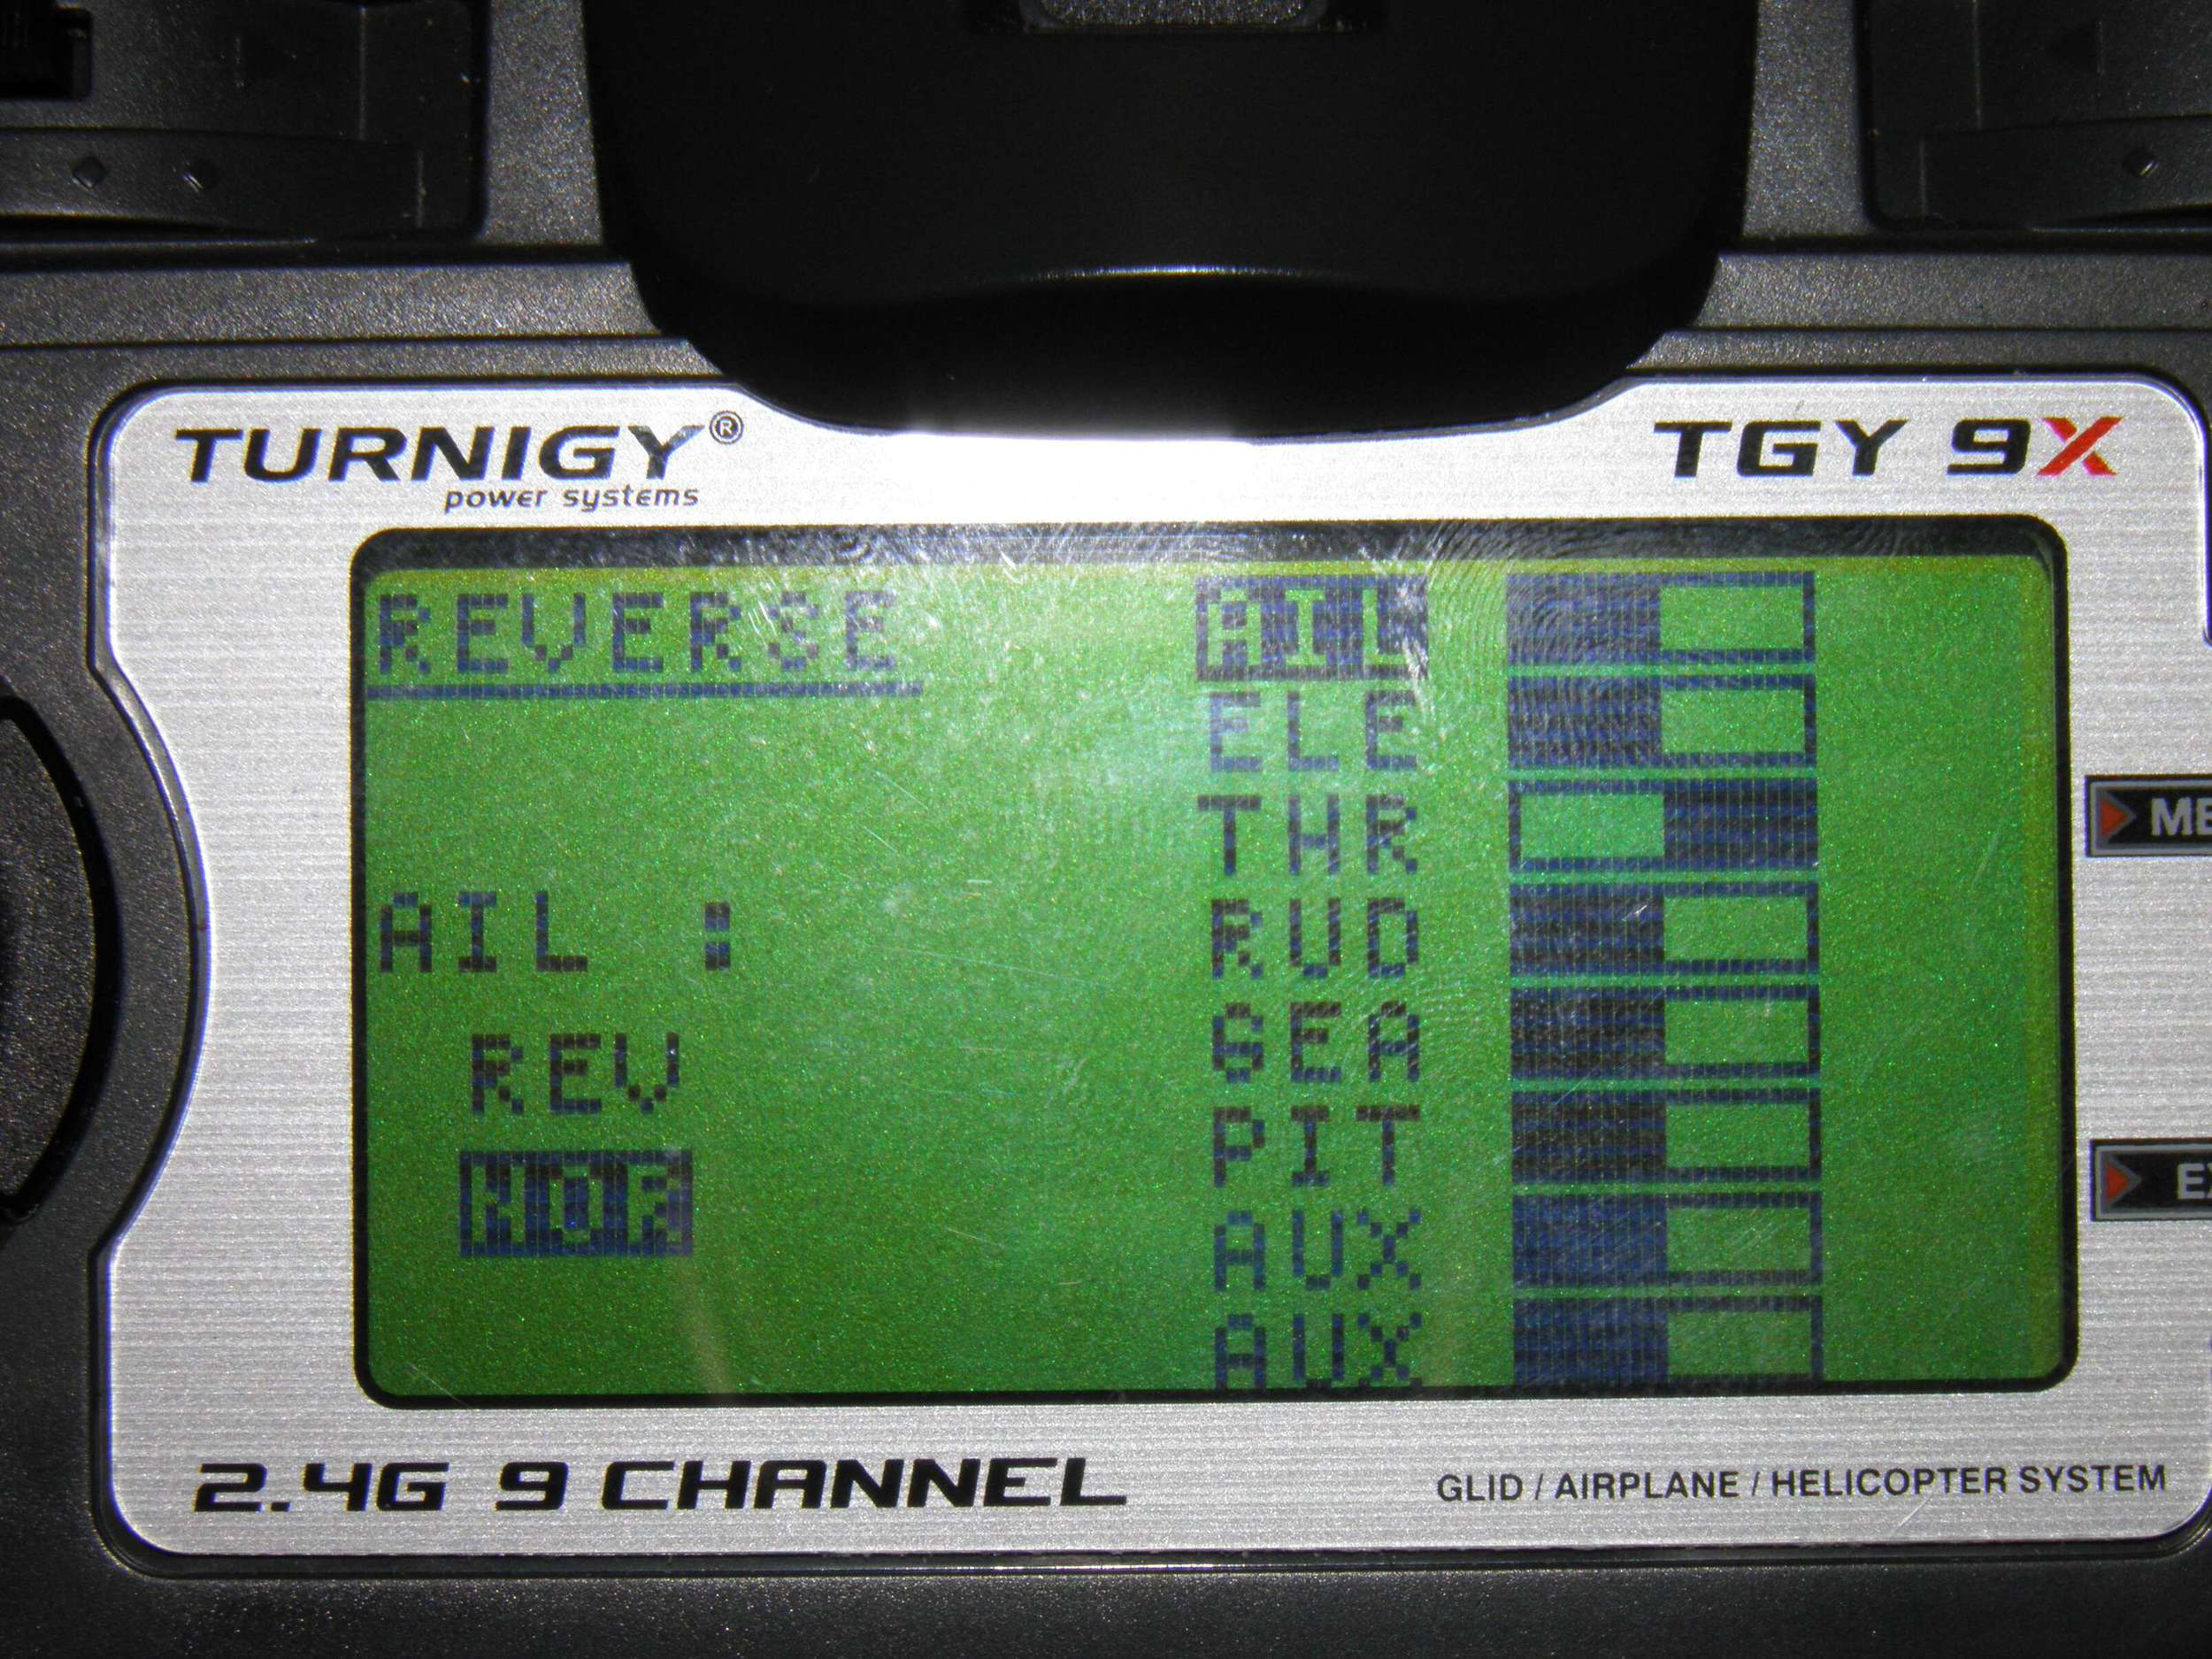
To bind your Turnigy 9x transmitter to the V939 follow these steps:
- Slip the battery into the harness and connect it to the quadcopters power cable, set on a level surface. Wait for the LEDs under the motors to turn off and the red LED under the lady bug cover to start rapidly blinking.
- Hold down the bind button on the back of your transmitter and flip the power switch on. The blinking red LED will slow. confirming it is bound.
- Turn off the transmitter and turn it back on WHILE HOLDING DOWN YOUR V939! (WARNING: The motors/props will spin at full throttle for a brief moment as the quadcopter calibrates itself). If you don't secure the copter it will take off.
You should now be ready to fly! Use the trainer copter to practice your piloting skills. Your main objective is to get the copter off the ground,stabilize a hover, and get used to the throttle's sensitivity. Don't try to do anything fancy at first, just minor adjustments. Once you have the throttle controls down, you can work on yaw, pitch, and roll. If the copter keeps drifting in a certain direction without any controls being touched, adjust the trim by sliding the black switches on the sides of the sticks. Little bars on the sides of the Home Screen will show you the current trim settings. Highly accurate potentiometers cost a lot and can degrade or drift over time. Transmitters utilize trim switches because it's much cheaper to build a transmitter with low-cost, inaccurate stick potentiometers and use trim adjustments to dial the potentiometers in. Explore the other settings. You can tune and adjust many other things.

