Budget 3D Printed Quadcopter Build

Budget 3D Printed Quadcopter Build

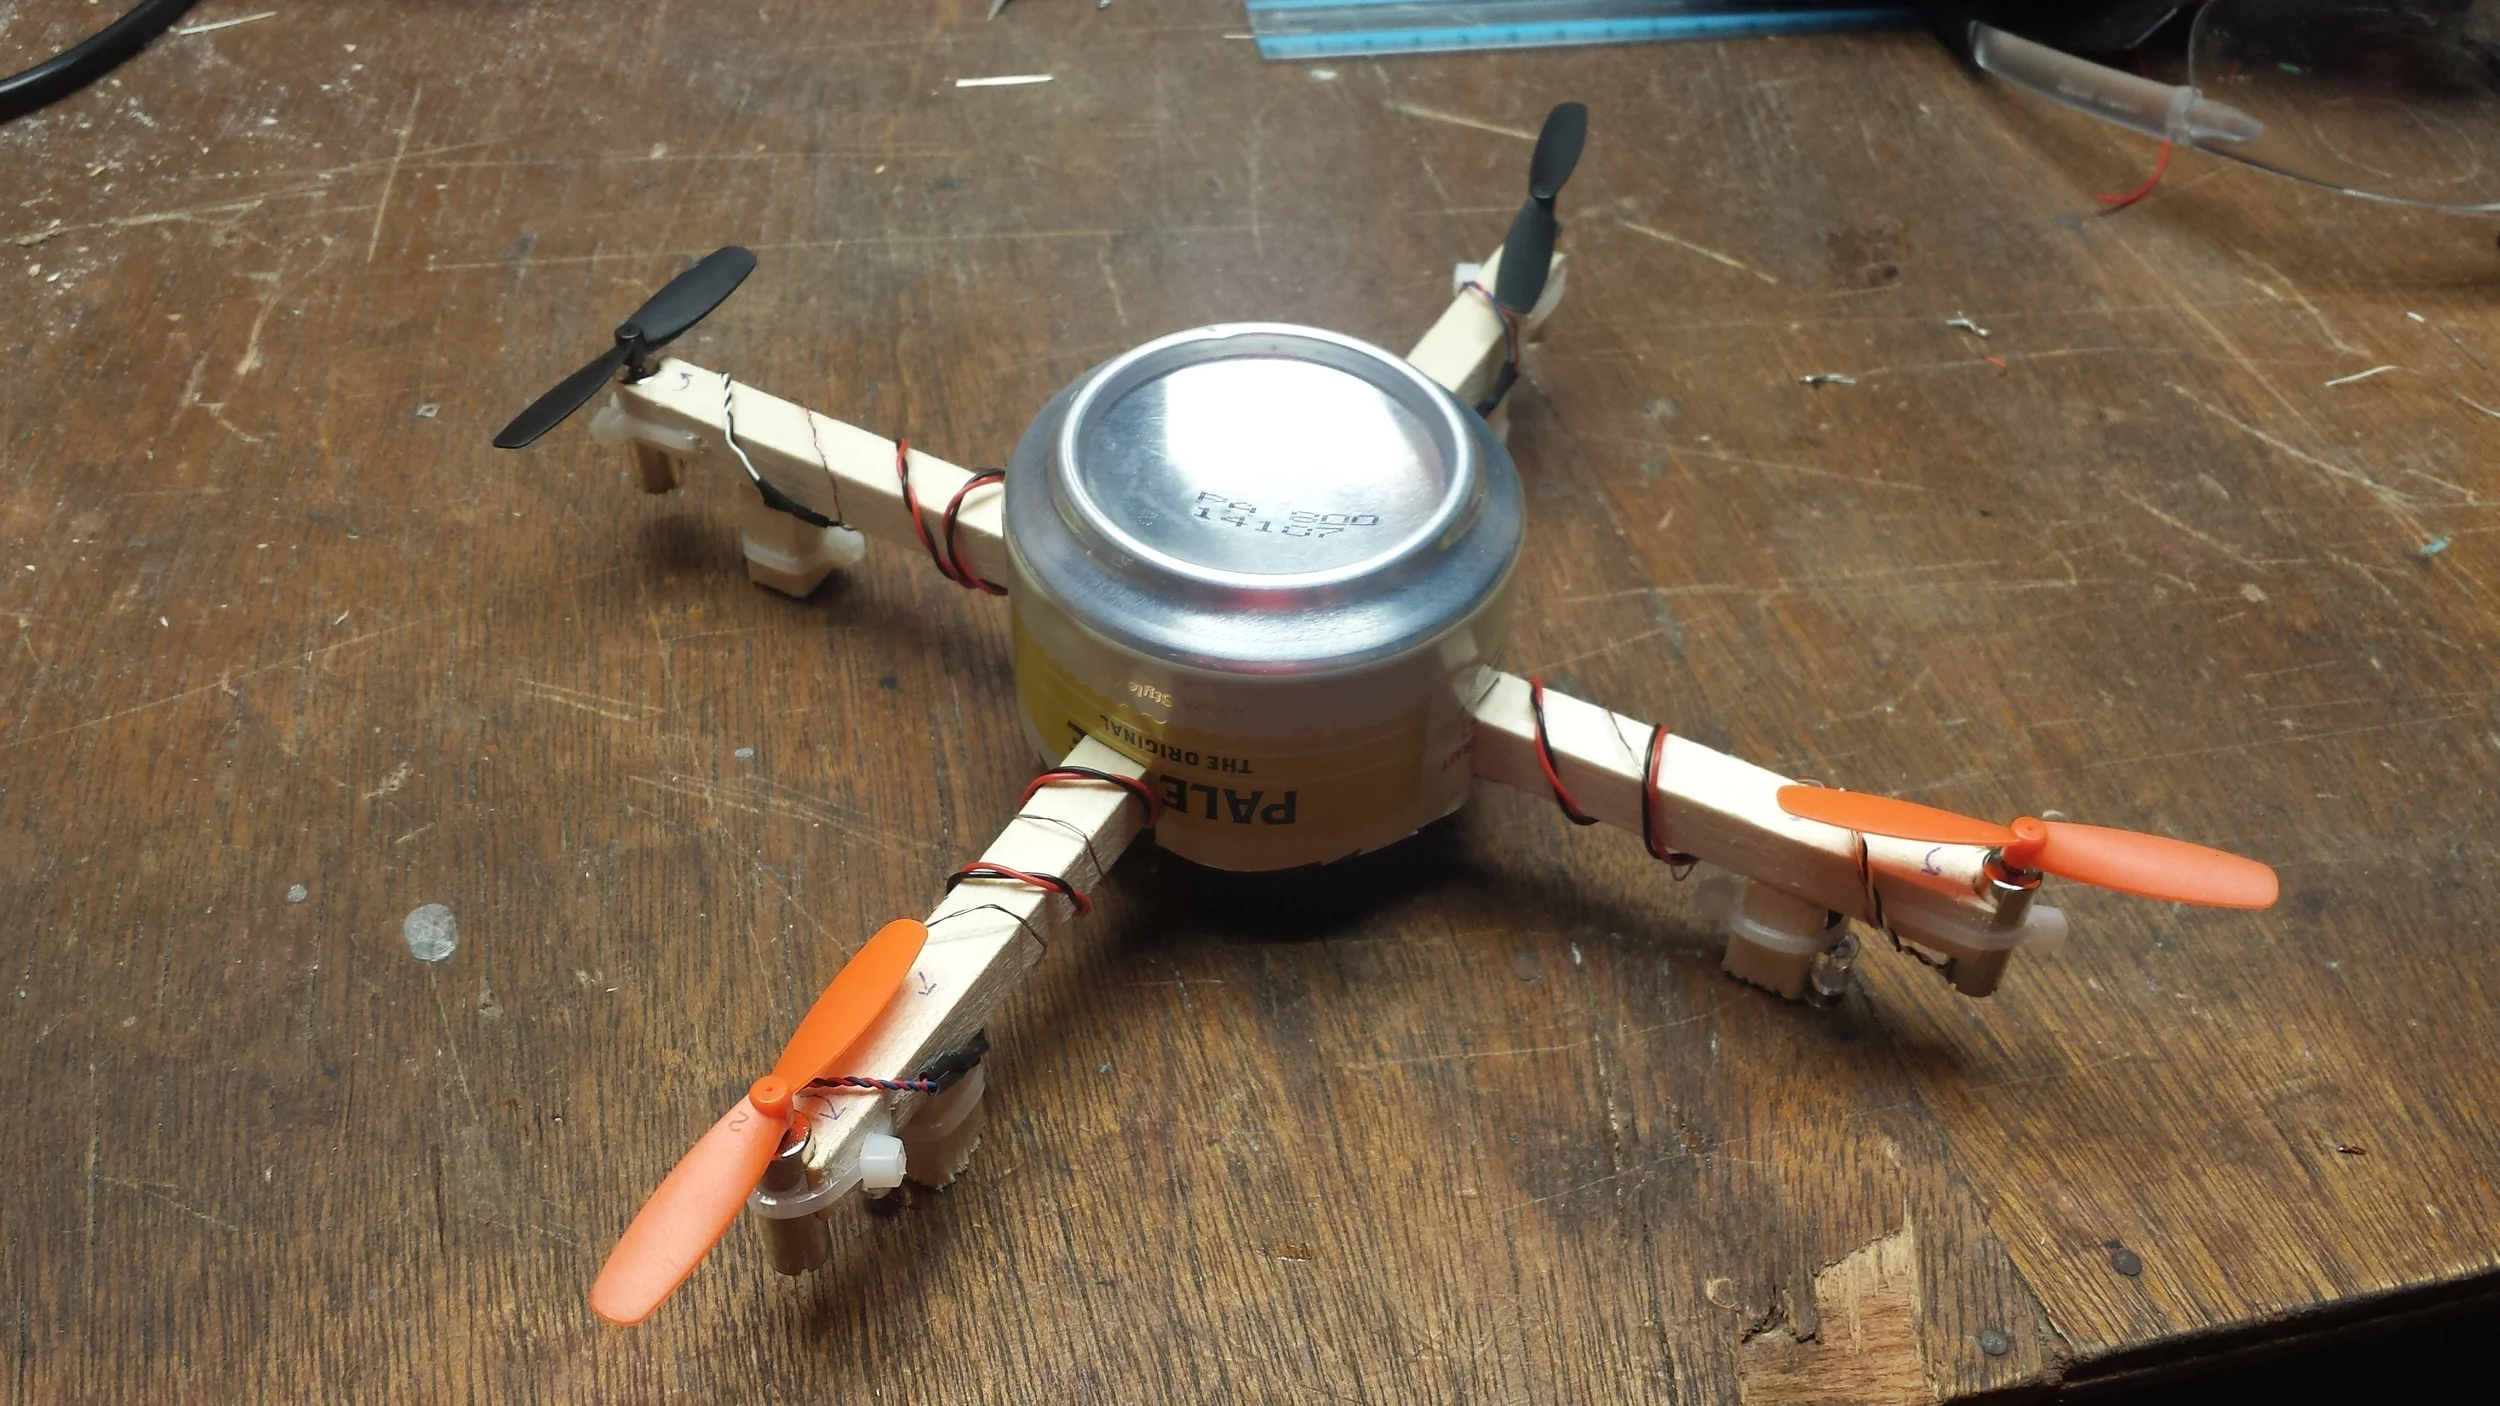
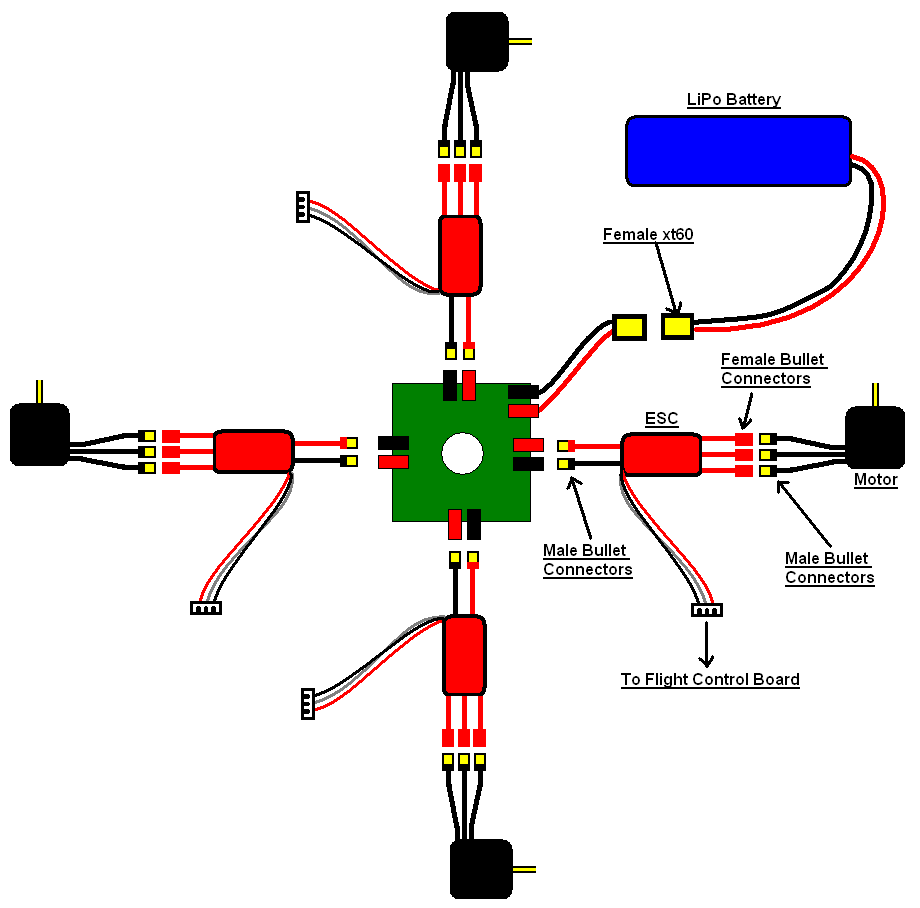
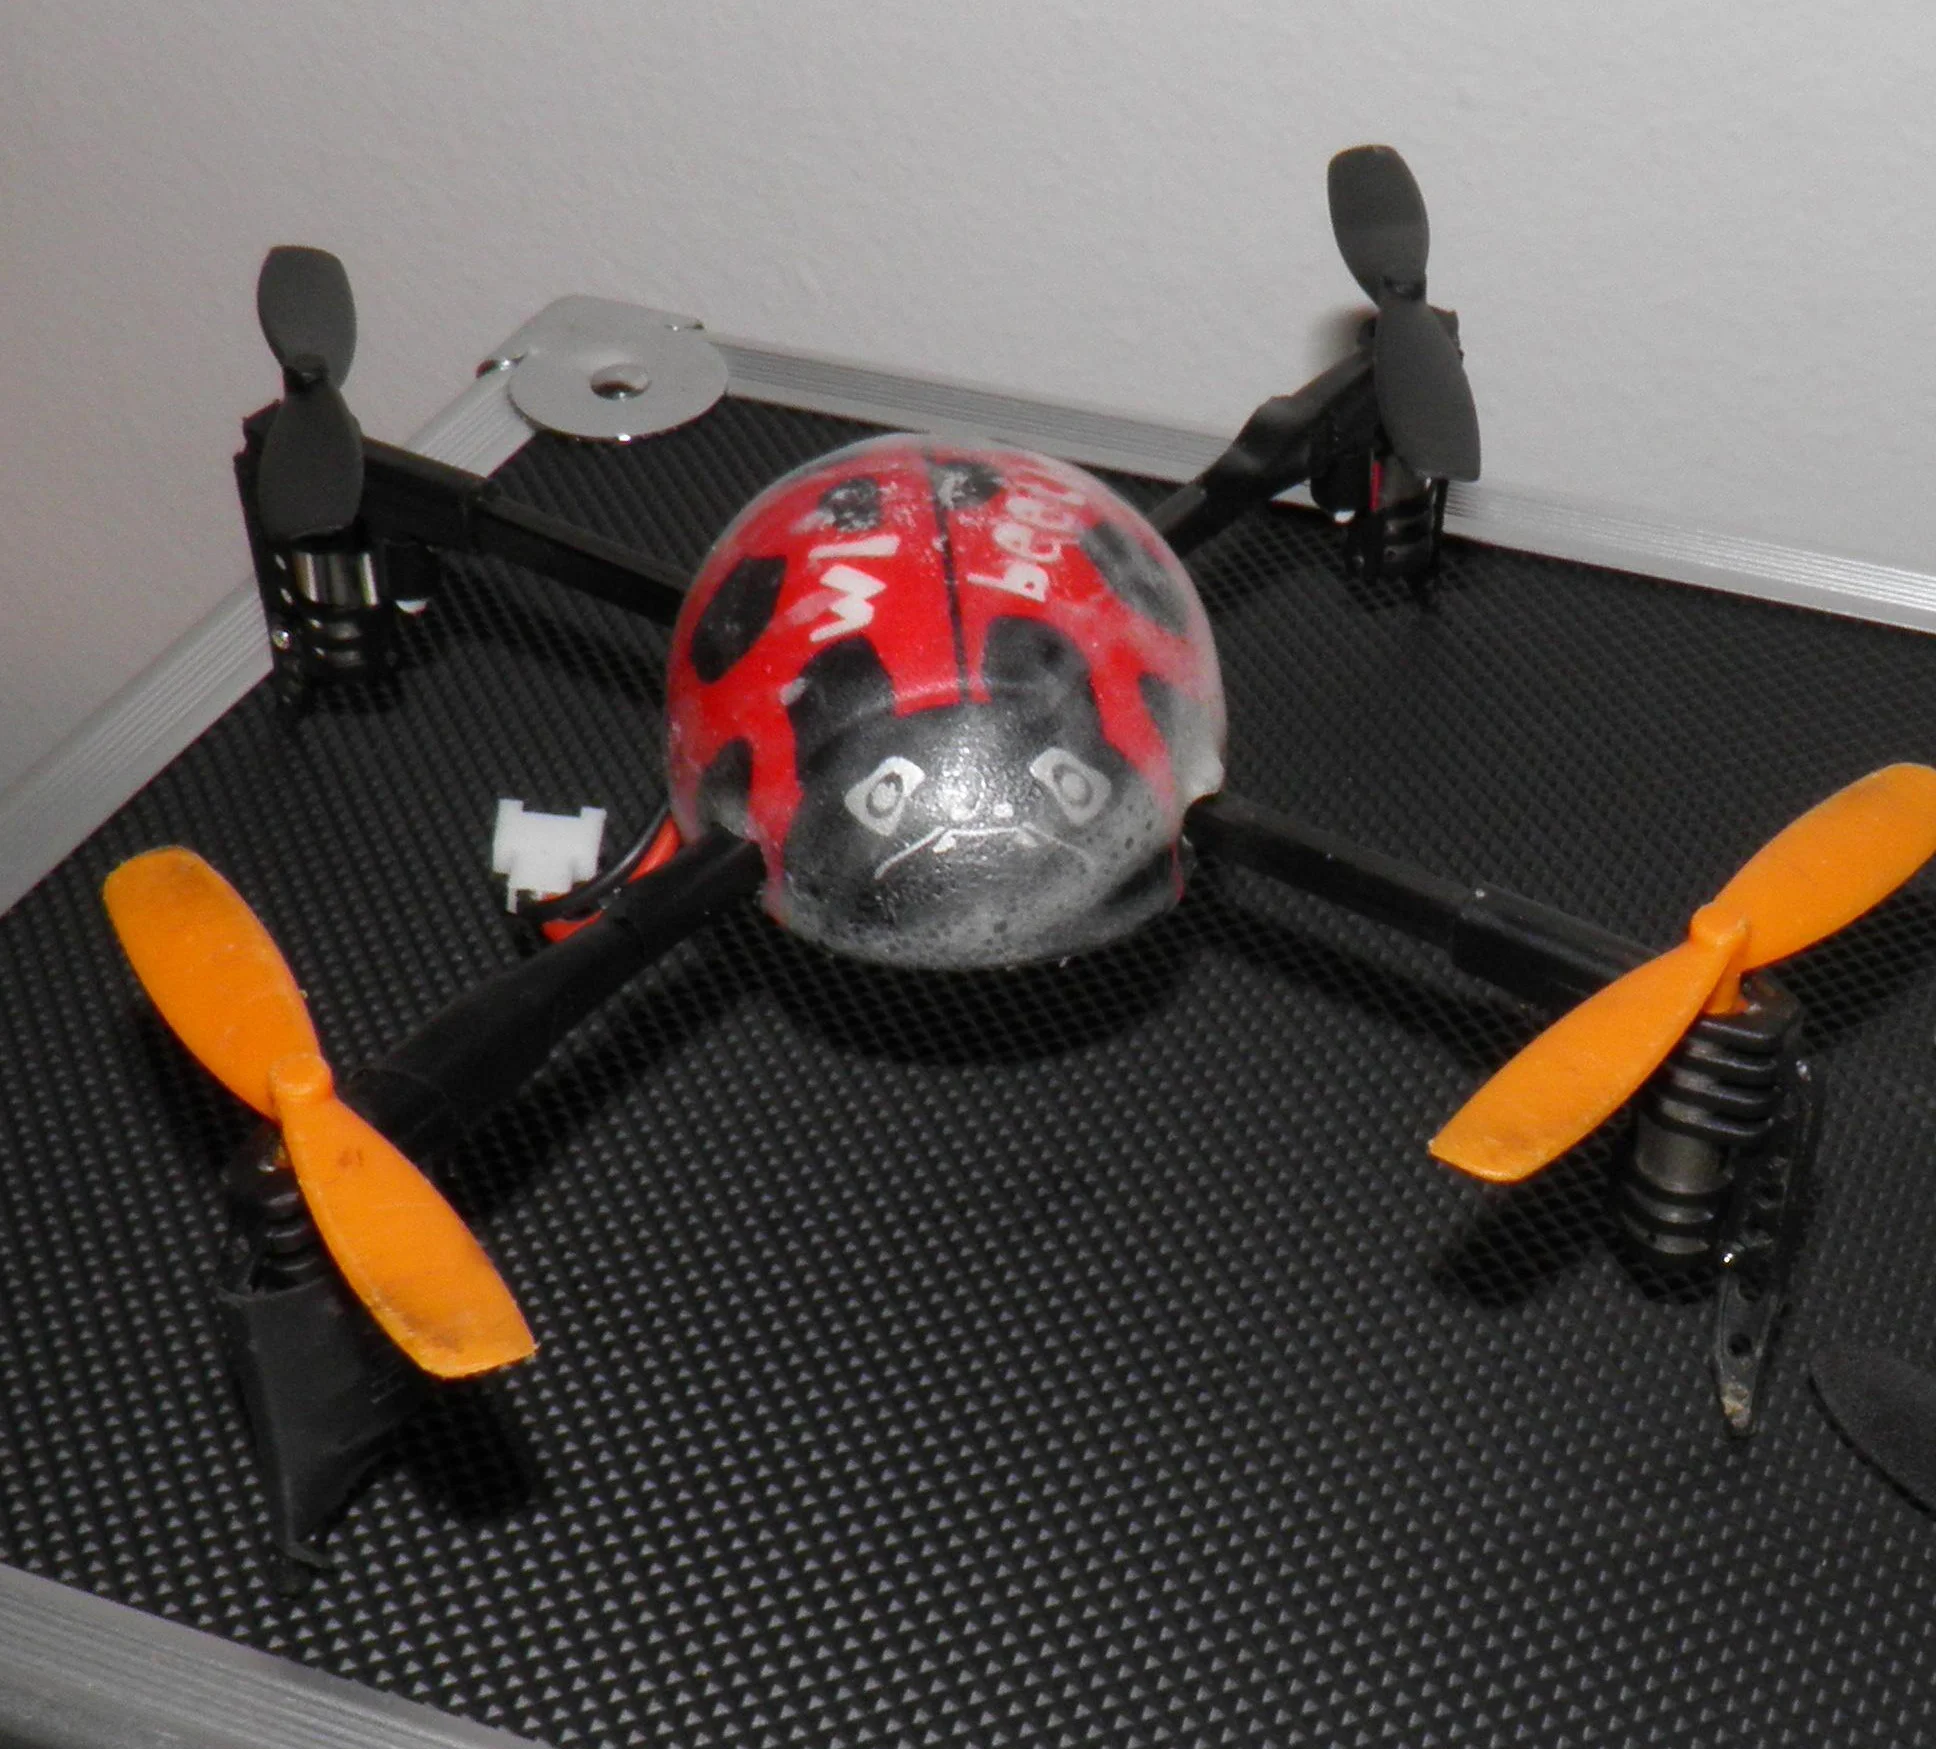
     Immediately after building my first 3D printer I've wanted to 3D design and print my own quadcopter. It took a while but I finally got around to it. Turns out, it was surprisingly easy and I went from 3D designing to flying in a few hours. It took roughly 1 hour to design, 1 hour to print, 30 minutes to wire up, aaannnnd roughly 30 seconds of flying to crash and break my frame. I printed out a new frame and due to a transmitter setup error, promptly crashed and broke flight control board, requiring a two week wait for a replacement... I finally got the bugs worked out and have been happily flying since!

Read More

Beer Can Mini Quad

Beer Can Mini Quad

      When my WLToys V939 quadcopter stopped performing well, I didn't want to just scrap it. I wanted to salvage the flight controller and try my hand at building a custom frame. The pager motors used on most mini/micro quadcopters are only rated for a certain amount of hours before they lose their strength and functionality. The batteries also wear out with moderate use. I put in an order for some replacement motors and batteries and got to work building a mini quadcopter from the ground up.

Read More

Quadcopter Part 4 - Mounting the Flight Control Board, Connecting the ESCs, and Final Setup

Quadcopter Part 4 - Mounting the Flight Control Board, Connecting the ESCs, and Final Setup

     The two last pieces of hardware that need mounted are the MultiWii flight control board and the Rx. You can order the MultiWii board with the pins soldered. I opted to solder them myself to save a few bucks. Once the pins are soldered, I used a square piece of isolating rubber foam and a zip tie to secure the board to the quadcopter. The MultiWii came with a nice diagram that illustrates the orientation of the flight control board and the motor locations/rotations. I mounted the Rx similar to the MultiWii with foam and a zip tie. 

Read More

Quadcopter Part 3 - Soldering Connectors and PDB Layout/Mounting

Quadcopter Part 3 - Soldering Connectors and PDB Layout/Mounting

  Once the parts came in (2.5 weeks after ordering) I started with the power supply portion of the quadcopter. The power distribution board, or PDB for short, is supplied by a battery with a xt60 connector and distributes the power to the four ESCs. The ESCs then control what percentage of that voltage gets to the motors which in turn controls the speed. The batteries did not have the xt60 connection so a new connector will be soldered to the battery leads. The ESCs and motors will also need connectors. They will use 3.5mm bullet connectors, which match the PDB. The motors will have three male bullet connectors. The ESCs will have three female bullet connectors on one side and two male bullet connectors on the other side. These will then be connected to the PDB.

Read More

Quadcopter Part 2 - The V939 Trainer Copter and Turnigy 9X Transmitter

Quadcopter Part 2 - The V939 Trainer Copter and Turnigy 9X Transmitter

      I decided to purchase a V939 mini quadcopter as a trainer copter to get used to flying. I'm glad I did because if I had crashed the large quadcopter in the sames ways I've crashed this one, I would be out a lot of money. It's taken a beating and keeps on going. Replacement parts, such as batteries and props, are cheap too. The Turnigy 9X transmitter purchased for the main quadcopter can be binded to the V939. This allows you to buy the stand alone quadcopter version (usually comes with a transmitter) and save some money. The Turnigy 9X has multiple profiles or "Modes". I use the first mode for my main quadcopter settings and the second mode for the trainer copter.

Read More