Quadcopter Part 4 - Mounting the Flight Control Board, Connecting the ESCs, and Final Setup
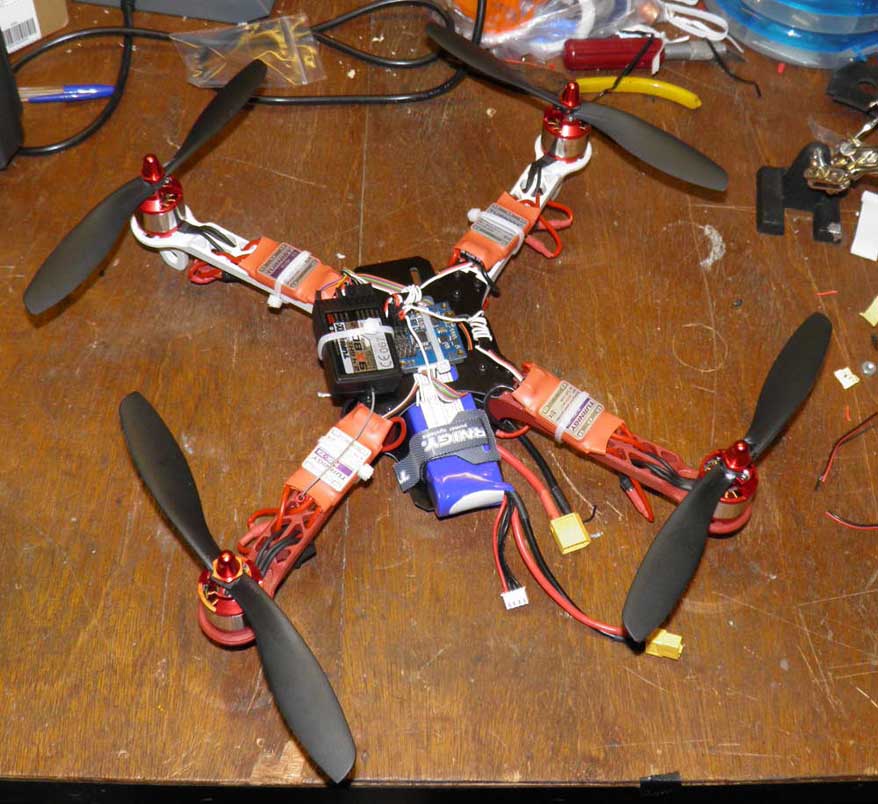
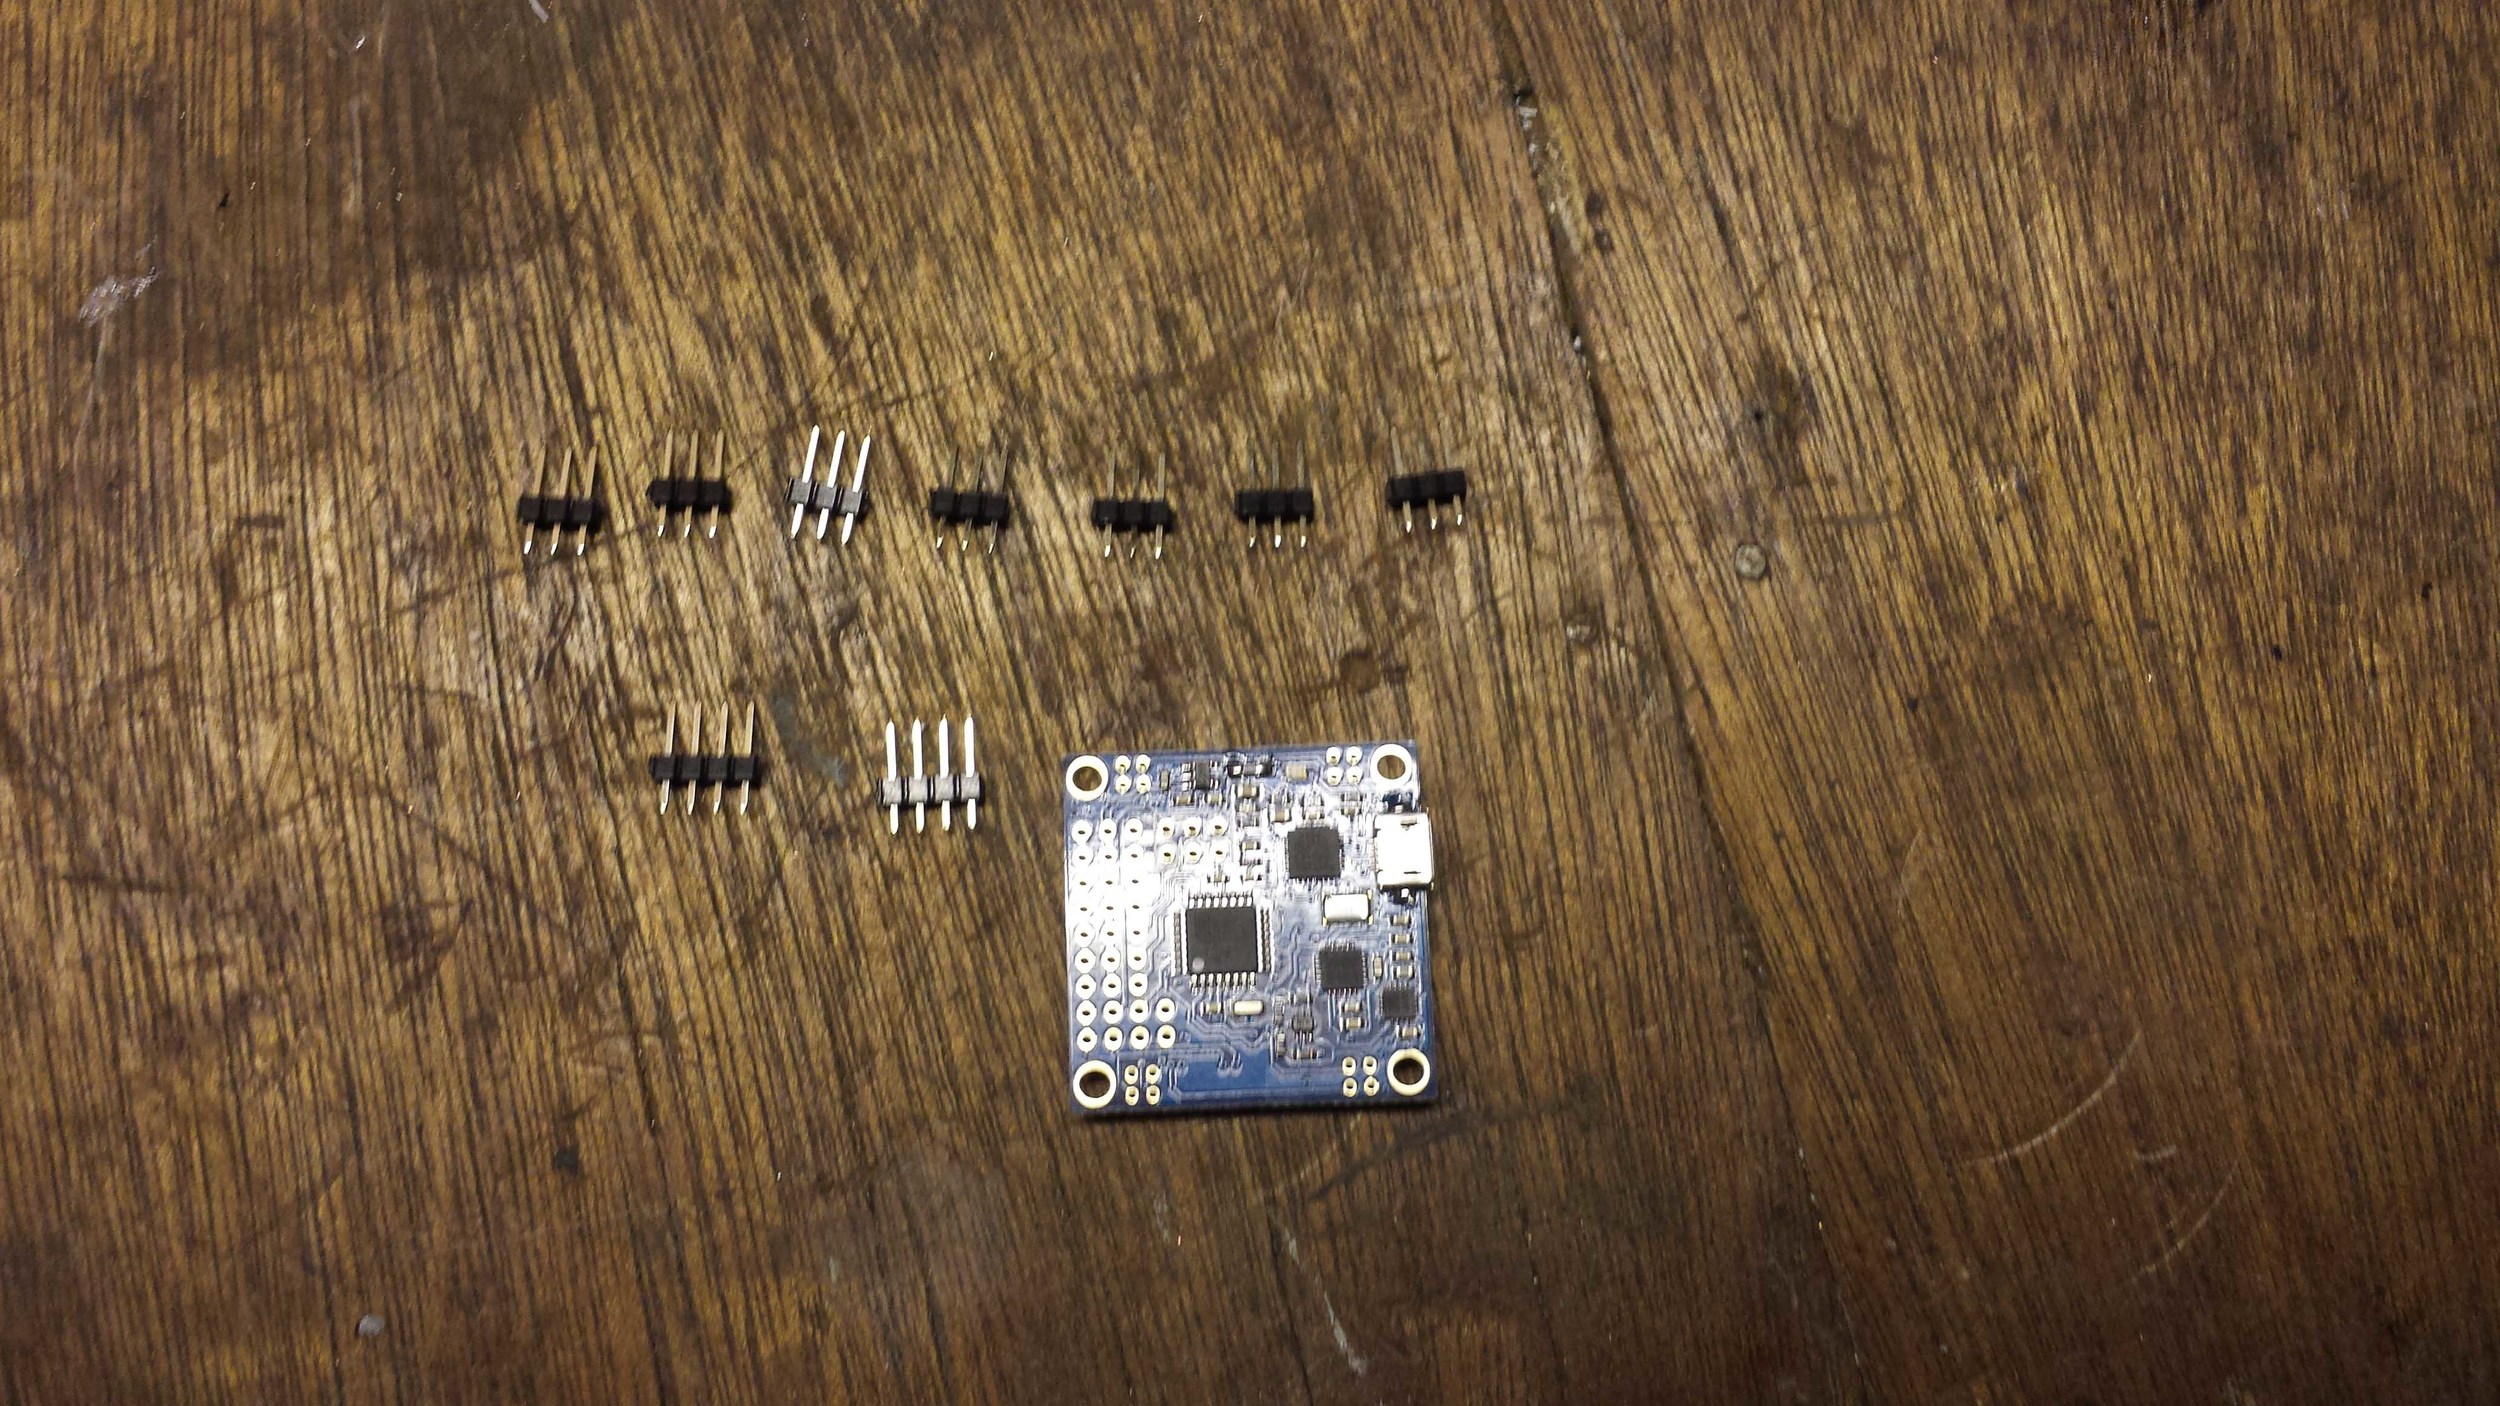
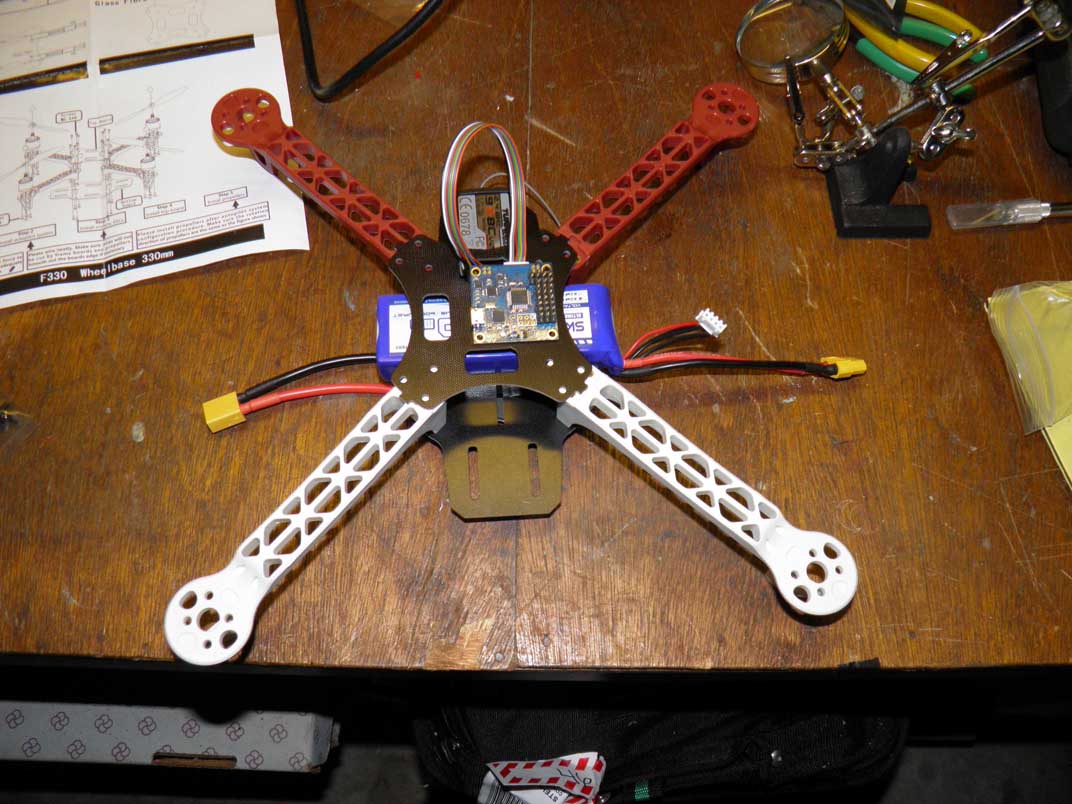
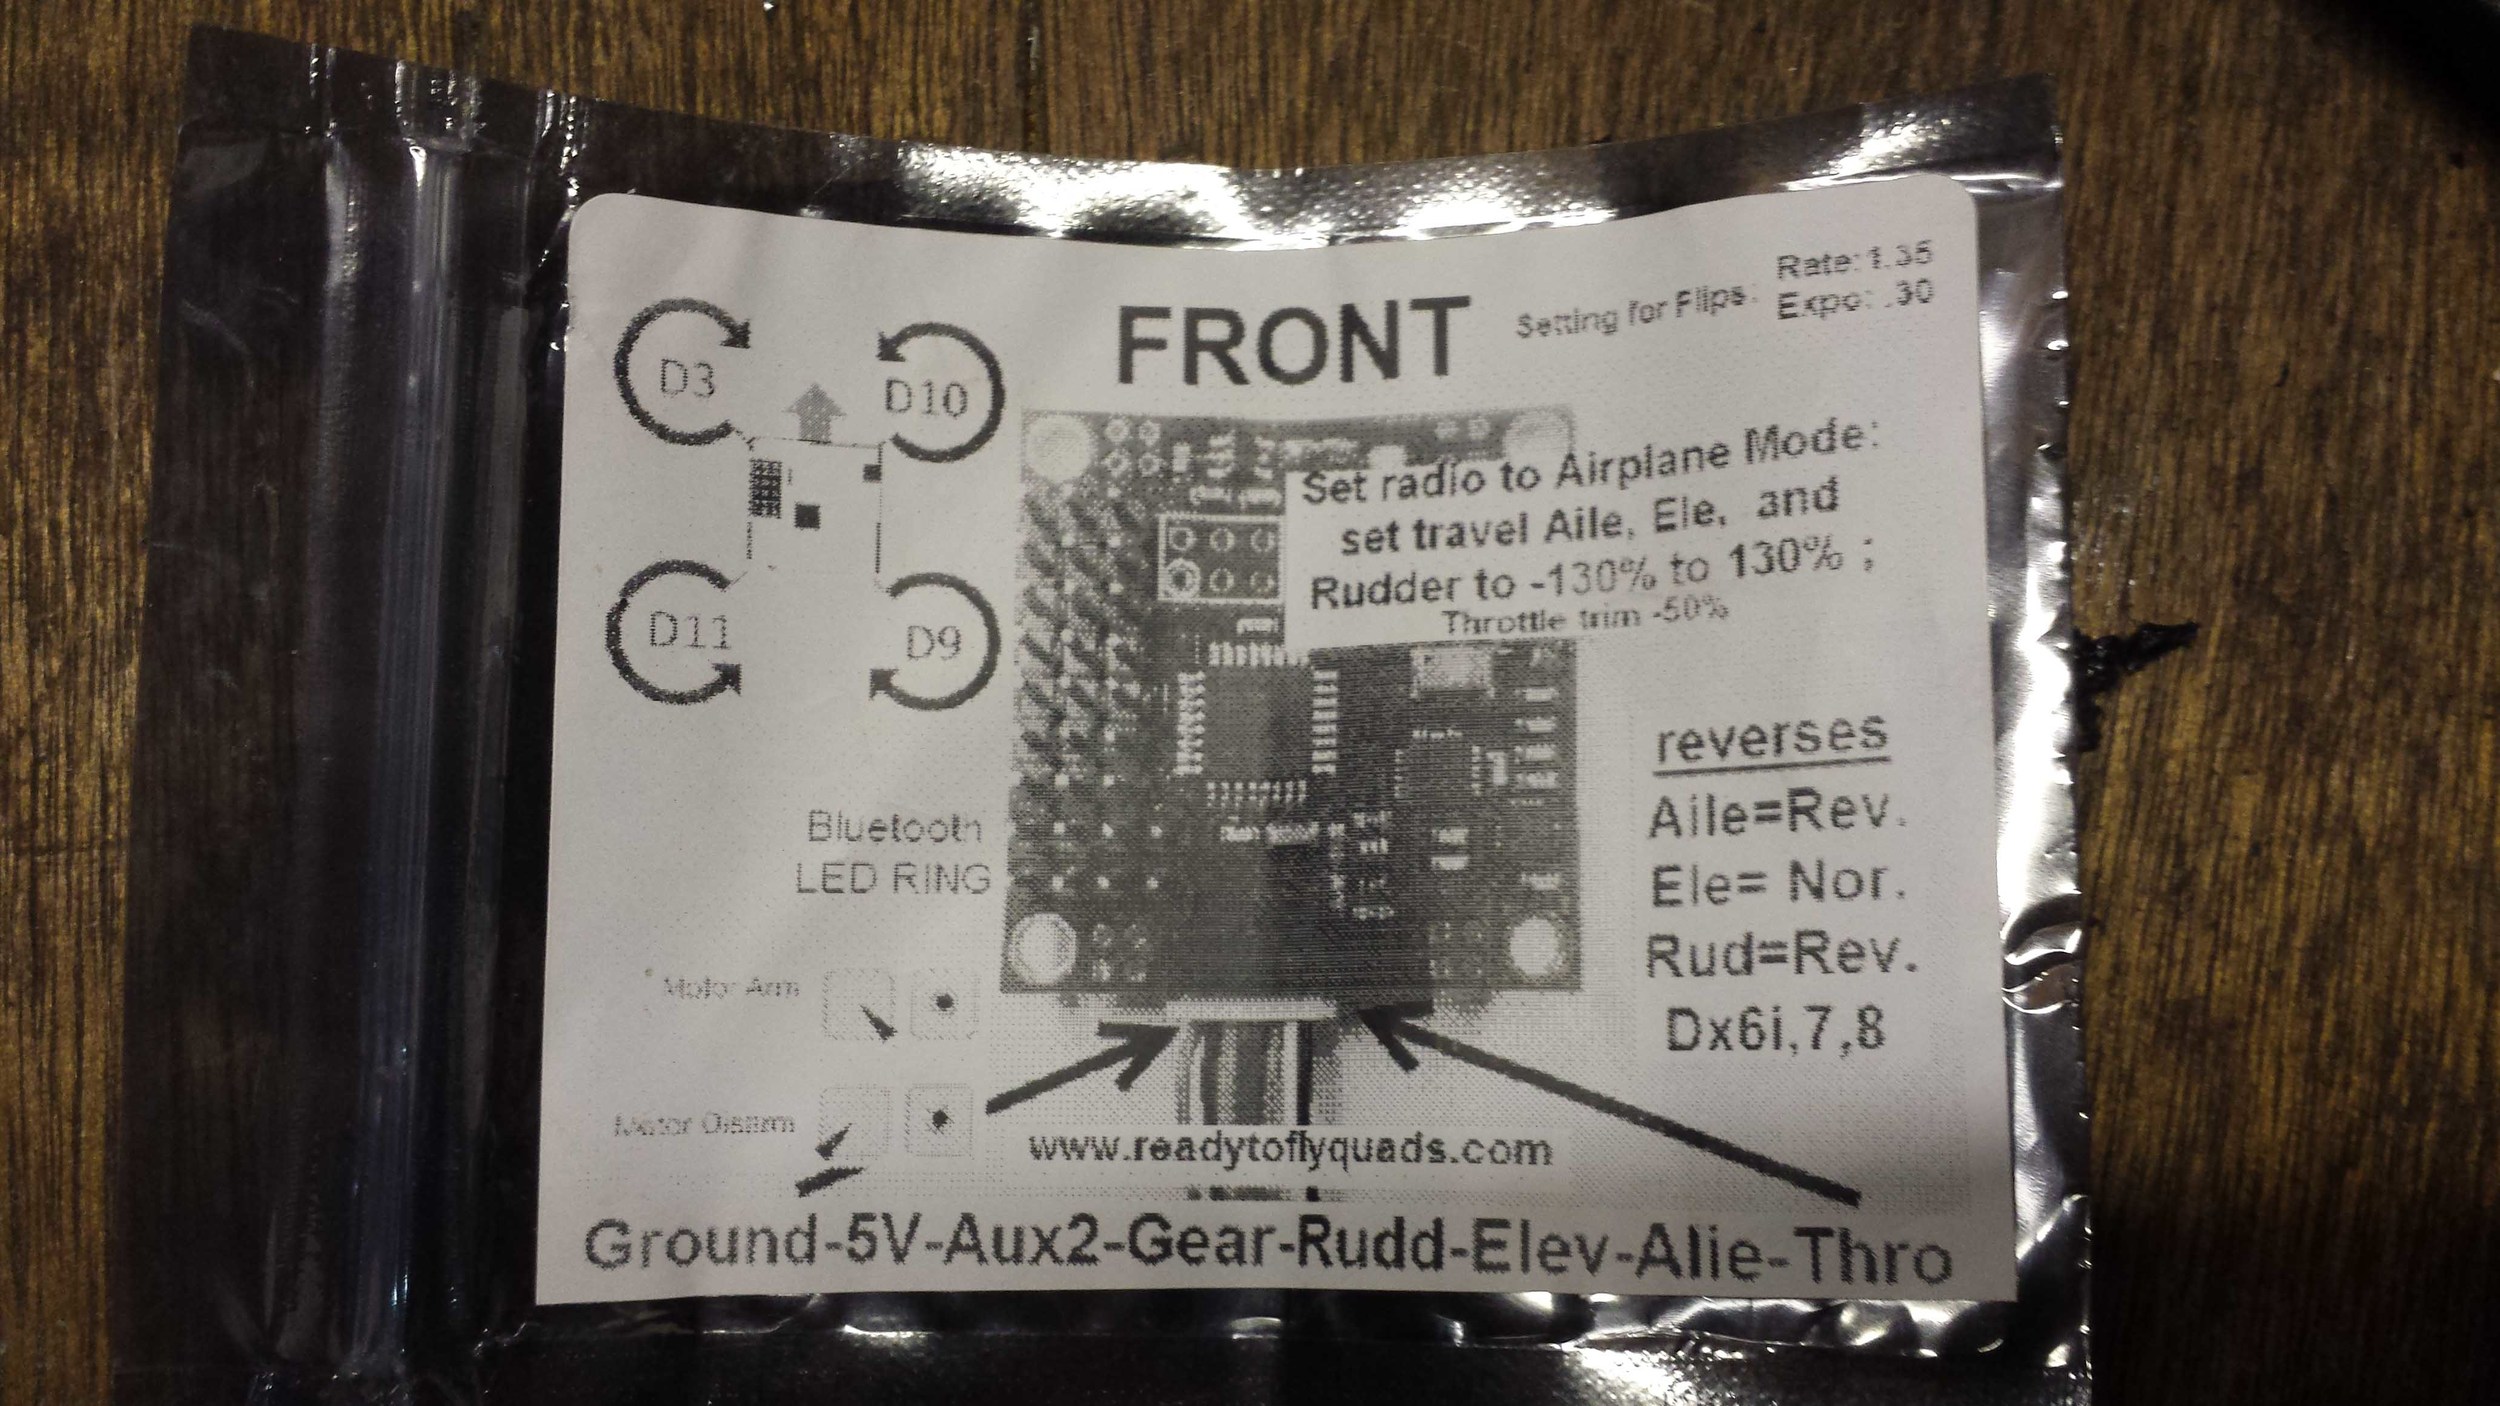
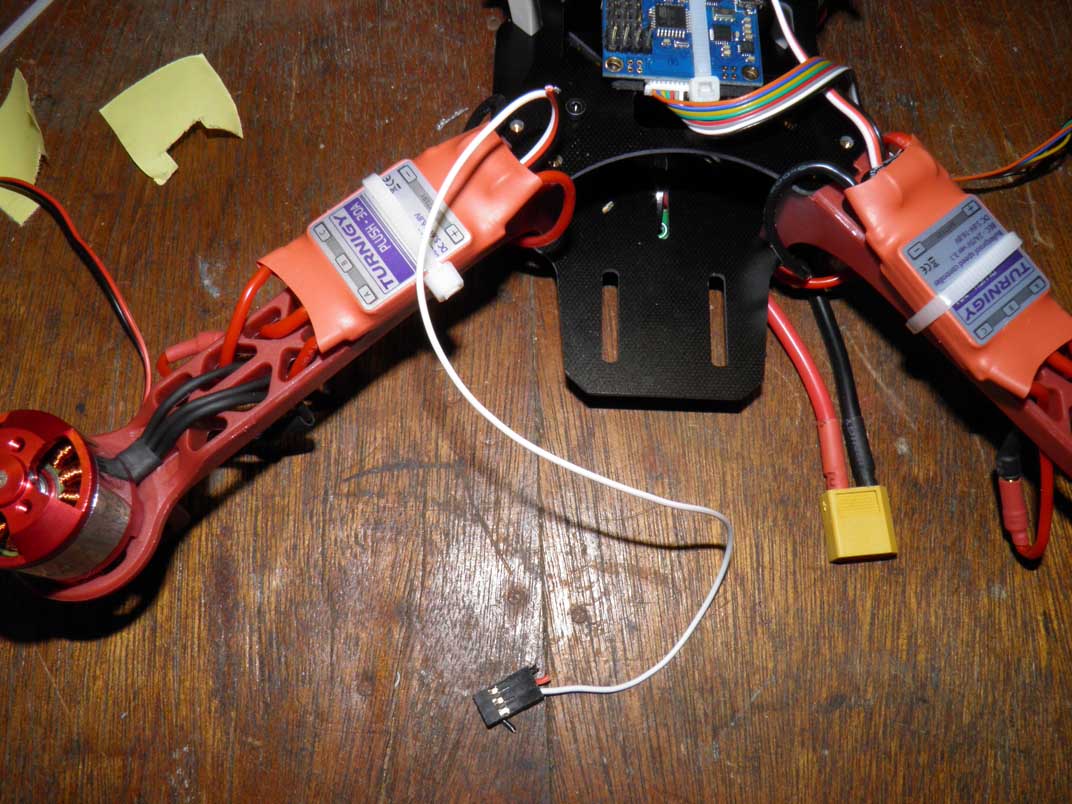
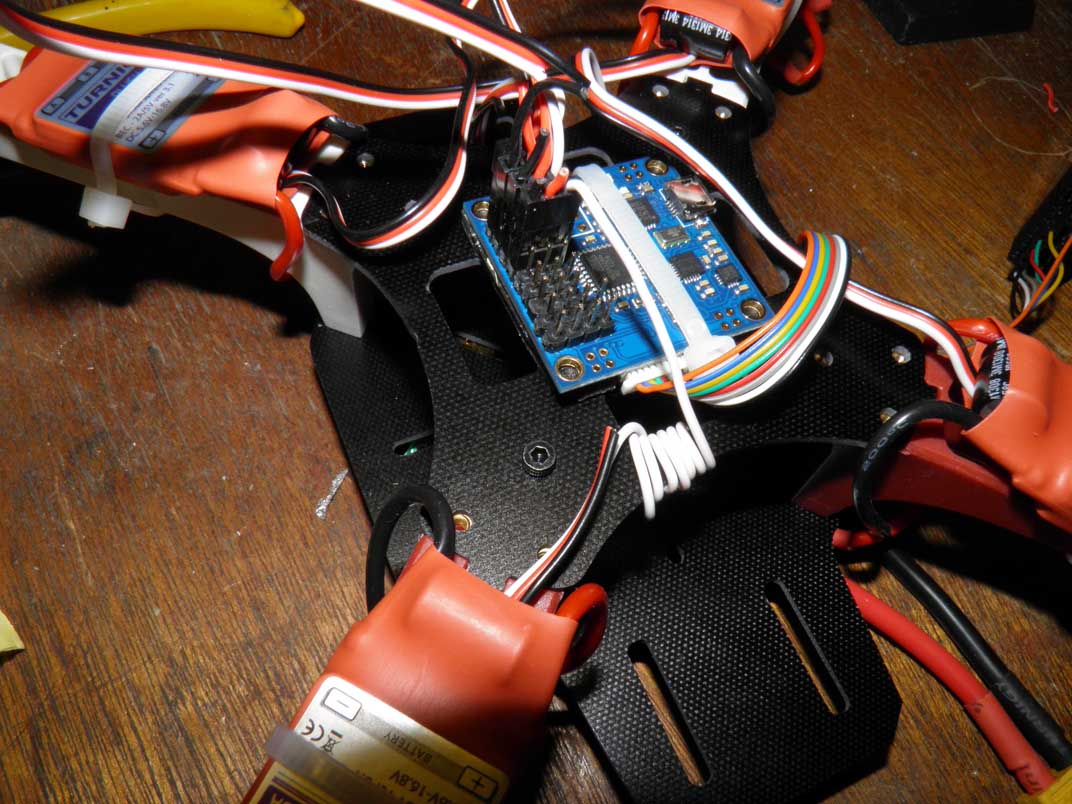
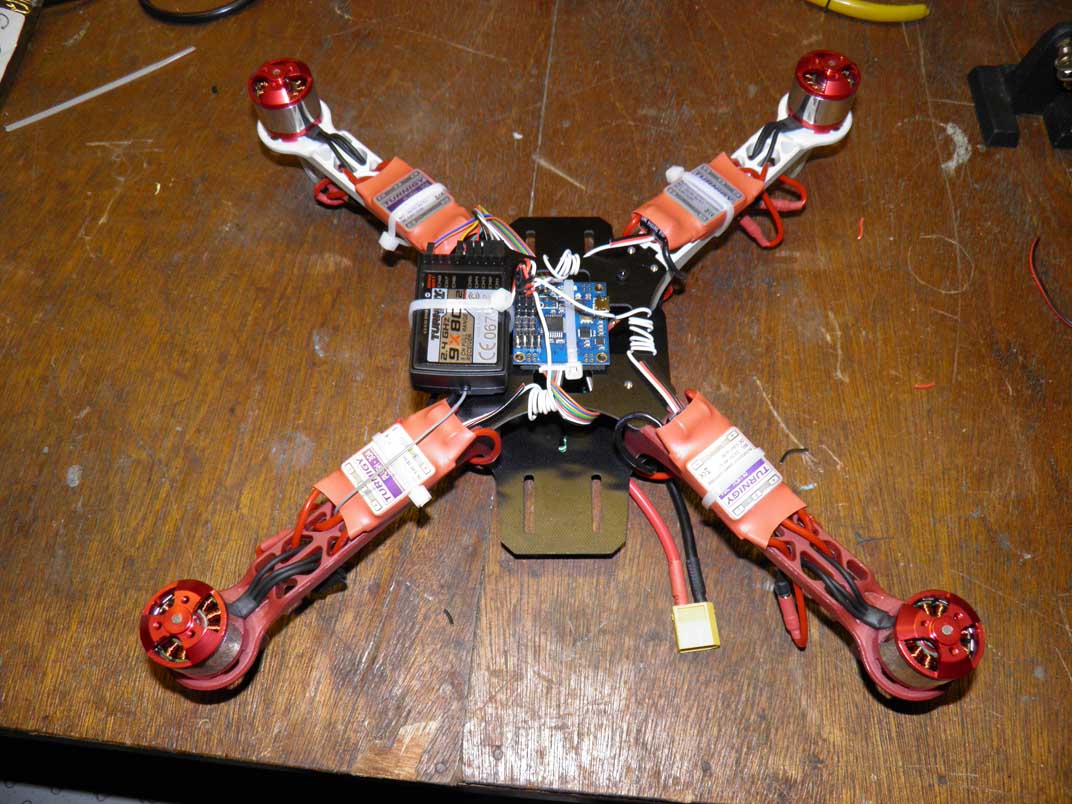
/The two last pieces of hardware that need mounted are the MultiWii flight control board and the Rx. You can order the MultiWii board with the pins soldered. I opted to solder them myself to save a few bucks. Once the pins are soldered, I used a square piece of isolating rubber foam and a zip tie to secure the board to the quadcopter. The MultiWii came with a nice diagram that illustrates the orientation of the flight control board and the motor locations/rotations. I mounted the Rx similar to the MultiWii with foam and a zip tie.
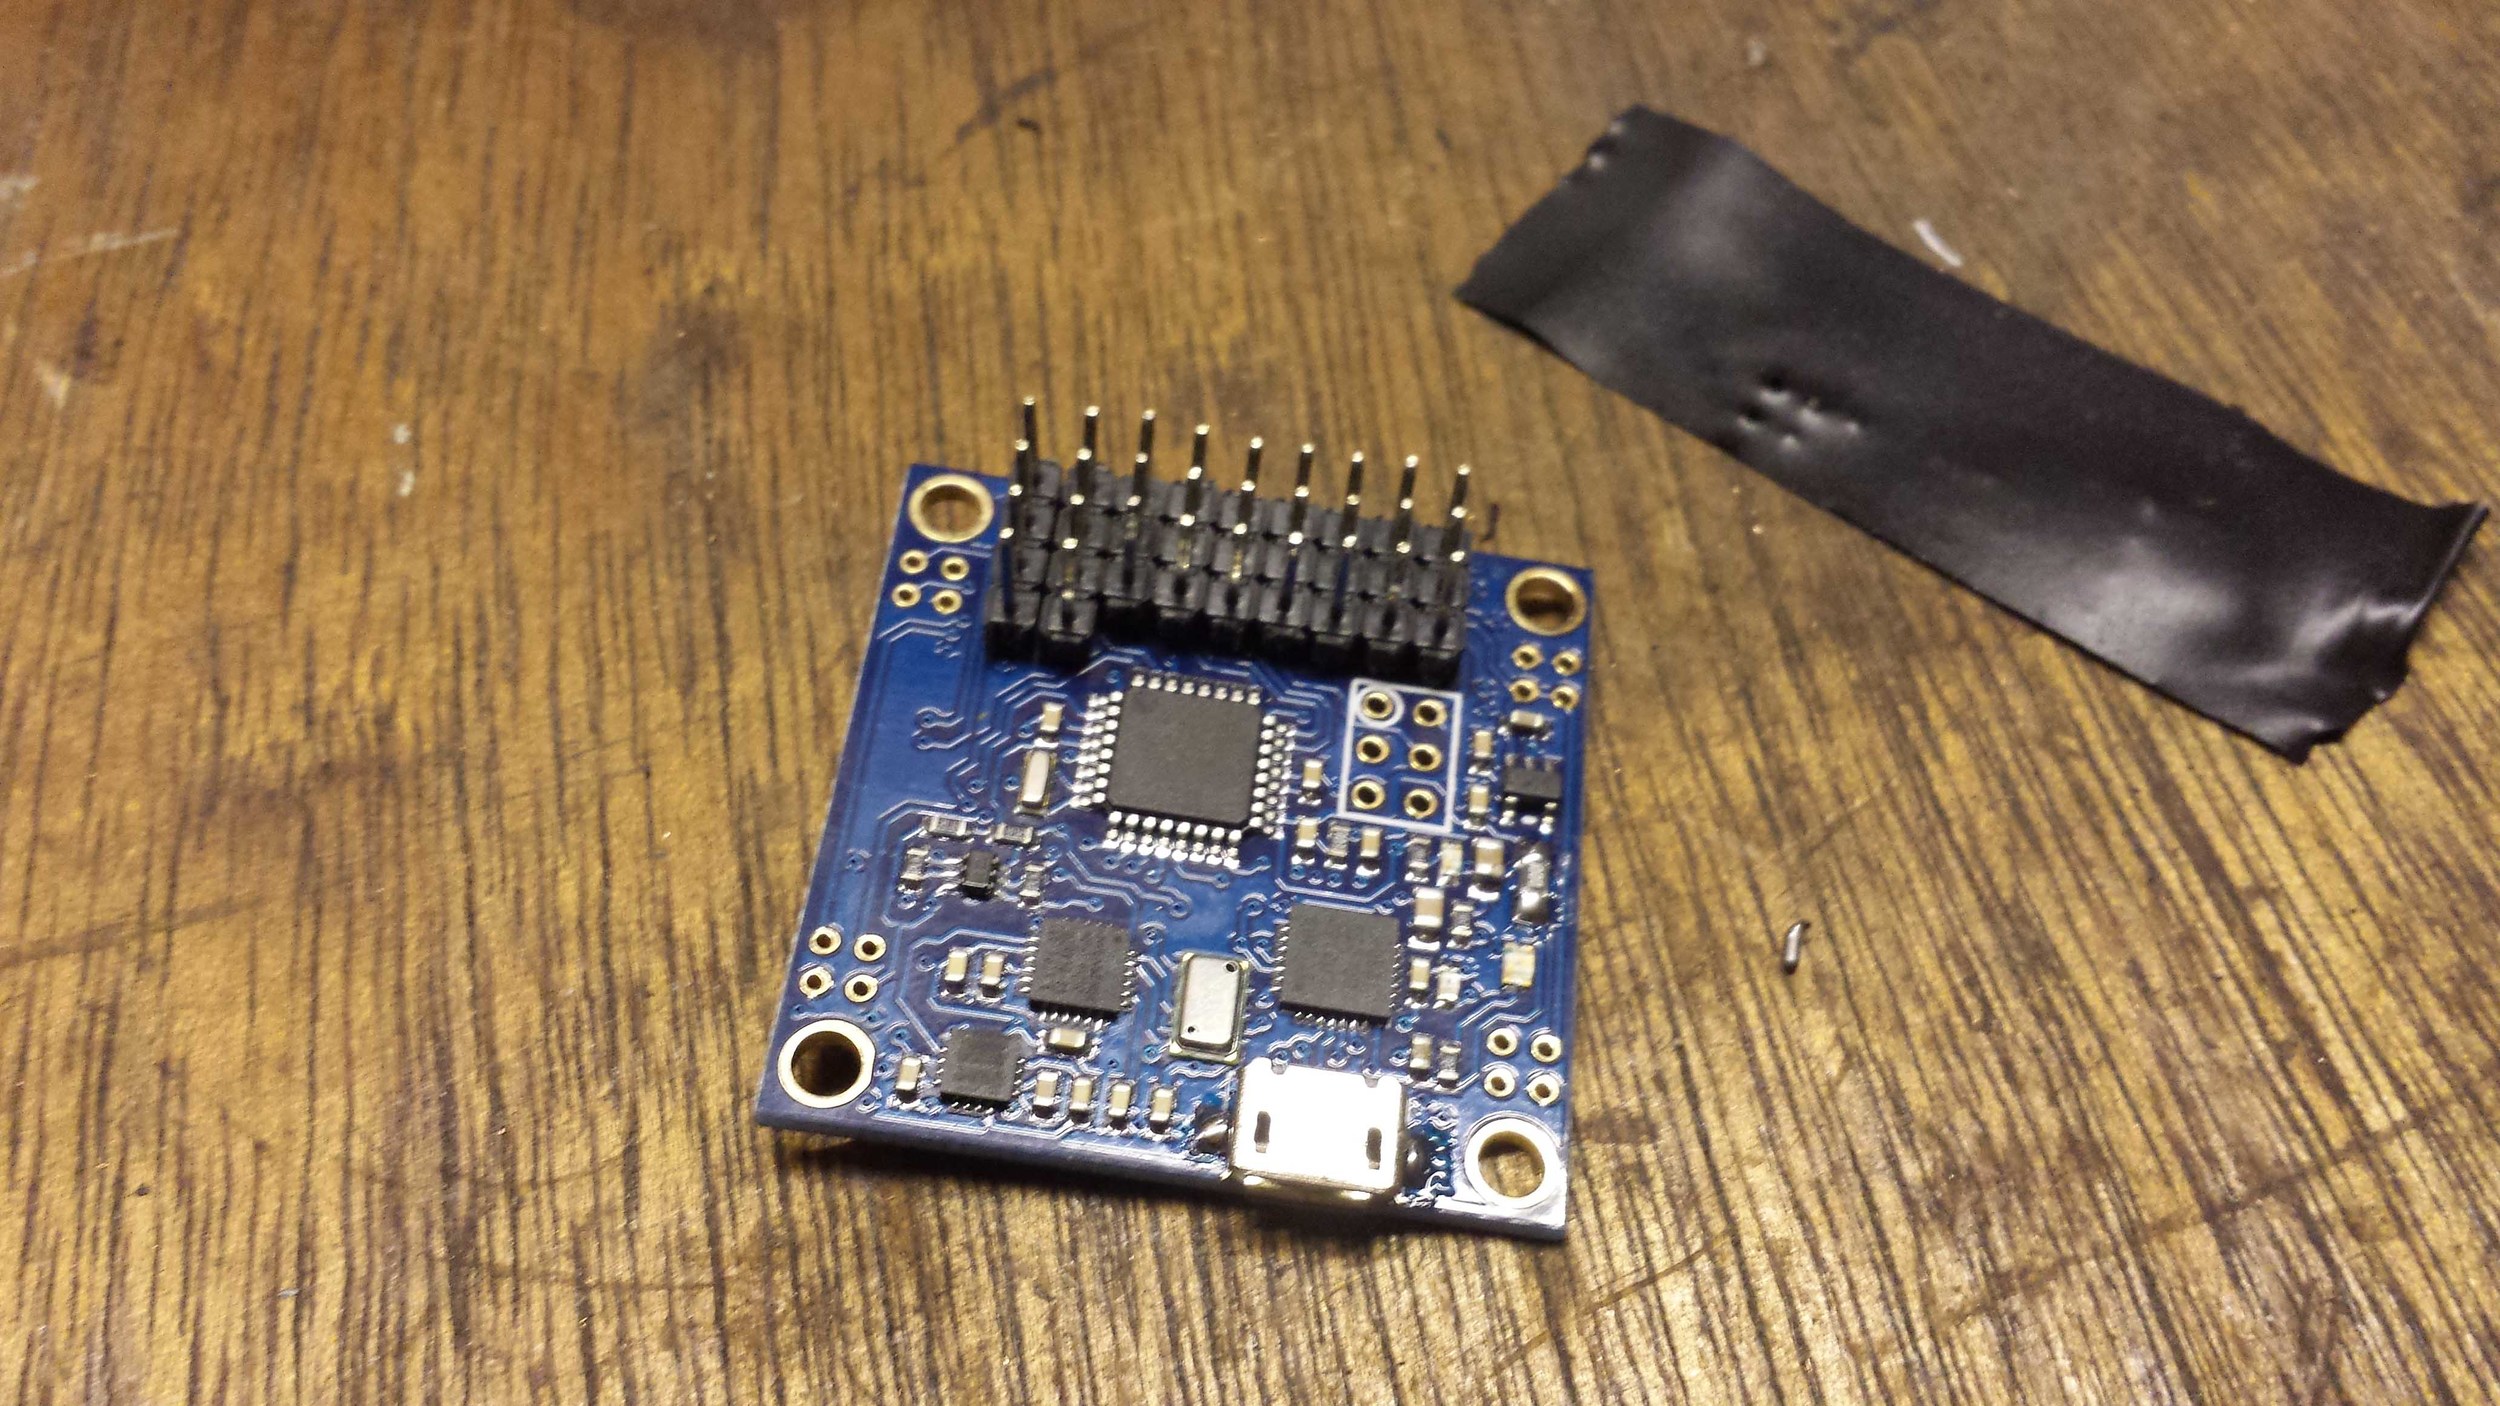
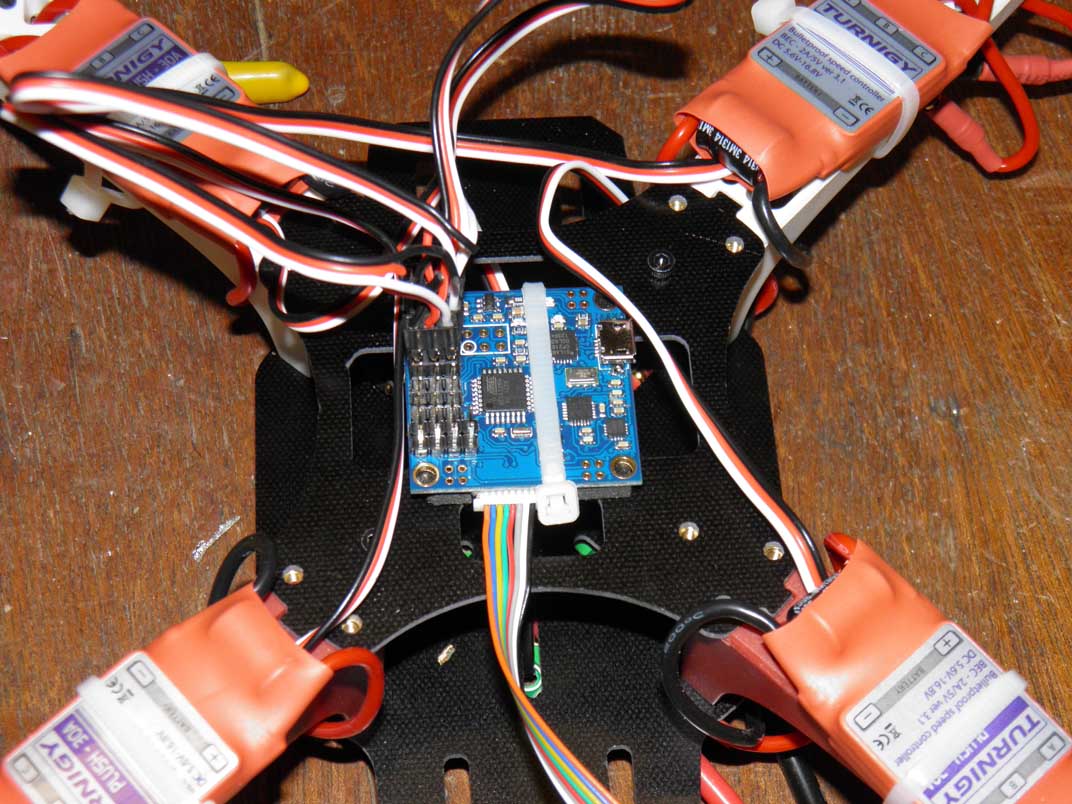

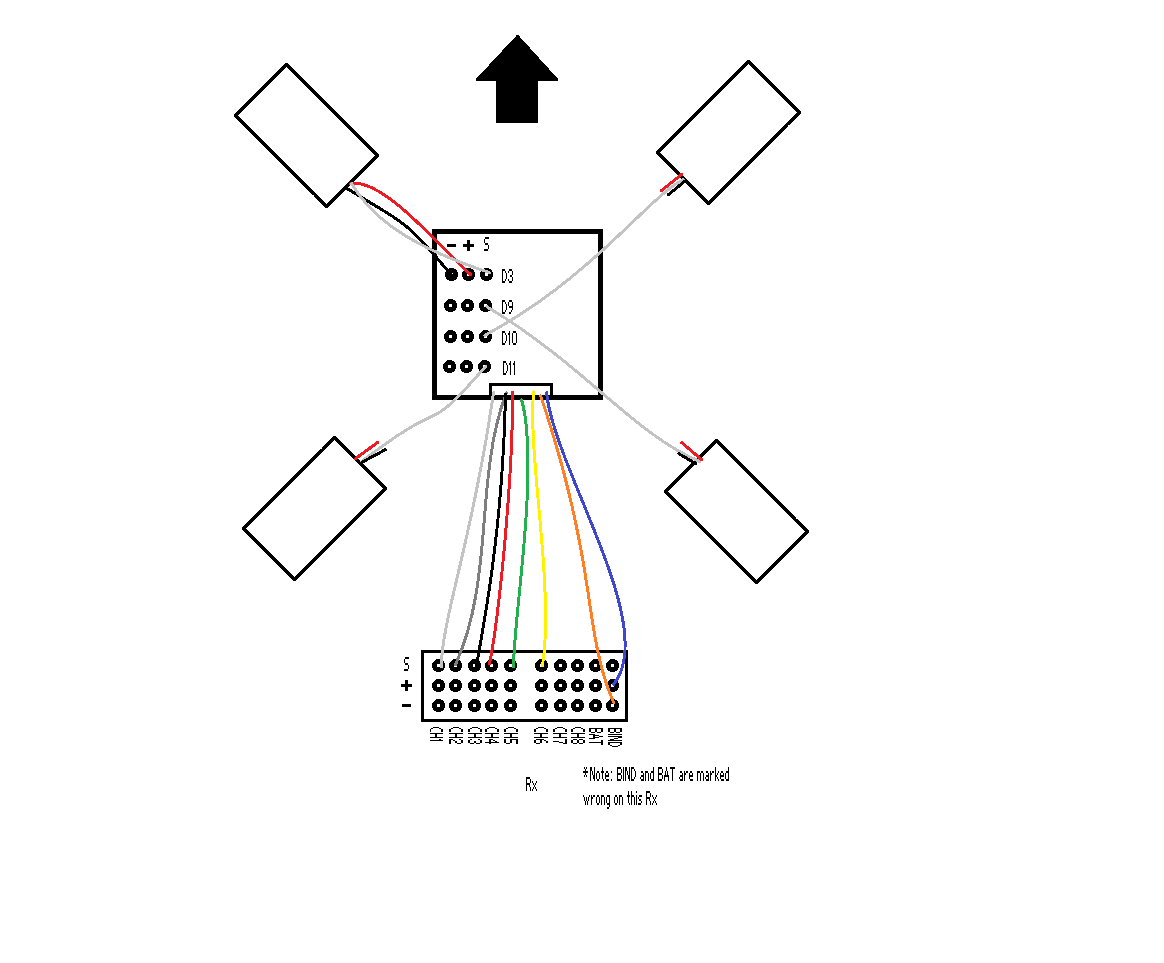
Once the remaining hardware is mounted, the ESCs will need to be connected to the FCB. These ESCs have the three thin wires (Red, Black, and White). Red is + voltage, Black is - voltage, and white is the signal. Only ONE ESC's + and - (red and black wires) need to be connected to the FCB to power it. The Red and Black wires can be snipped and trimmed on the other three ESCs. Using the FCB diagram, wire the ESCs up to the appropriate connections. The MultiWii FCB comes with a handy cable to connect the FCB to the Rx. I've included a wiring diagram for these connections. The ESC wires can be wrapped around the frame to tidy it up.

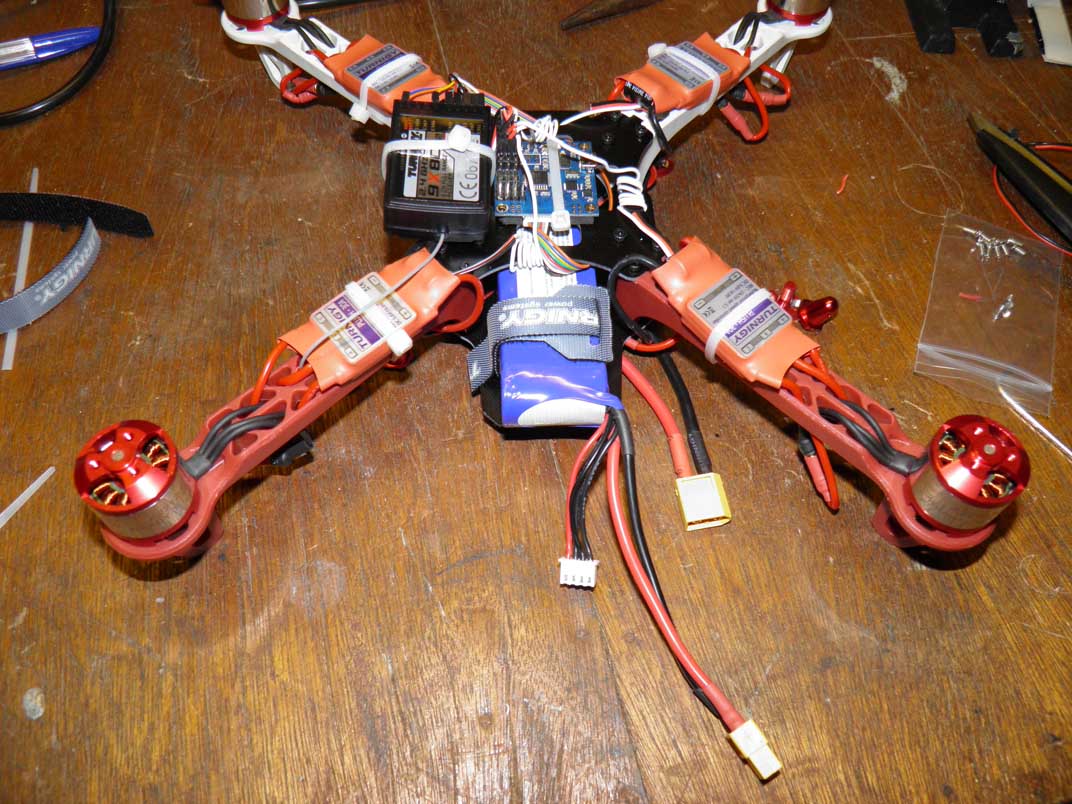
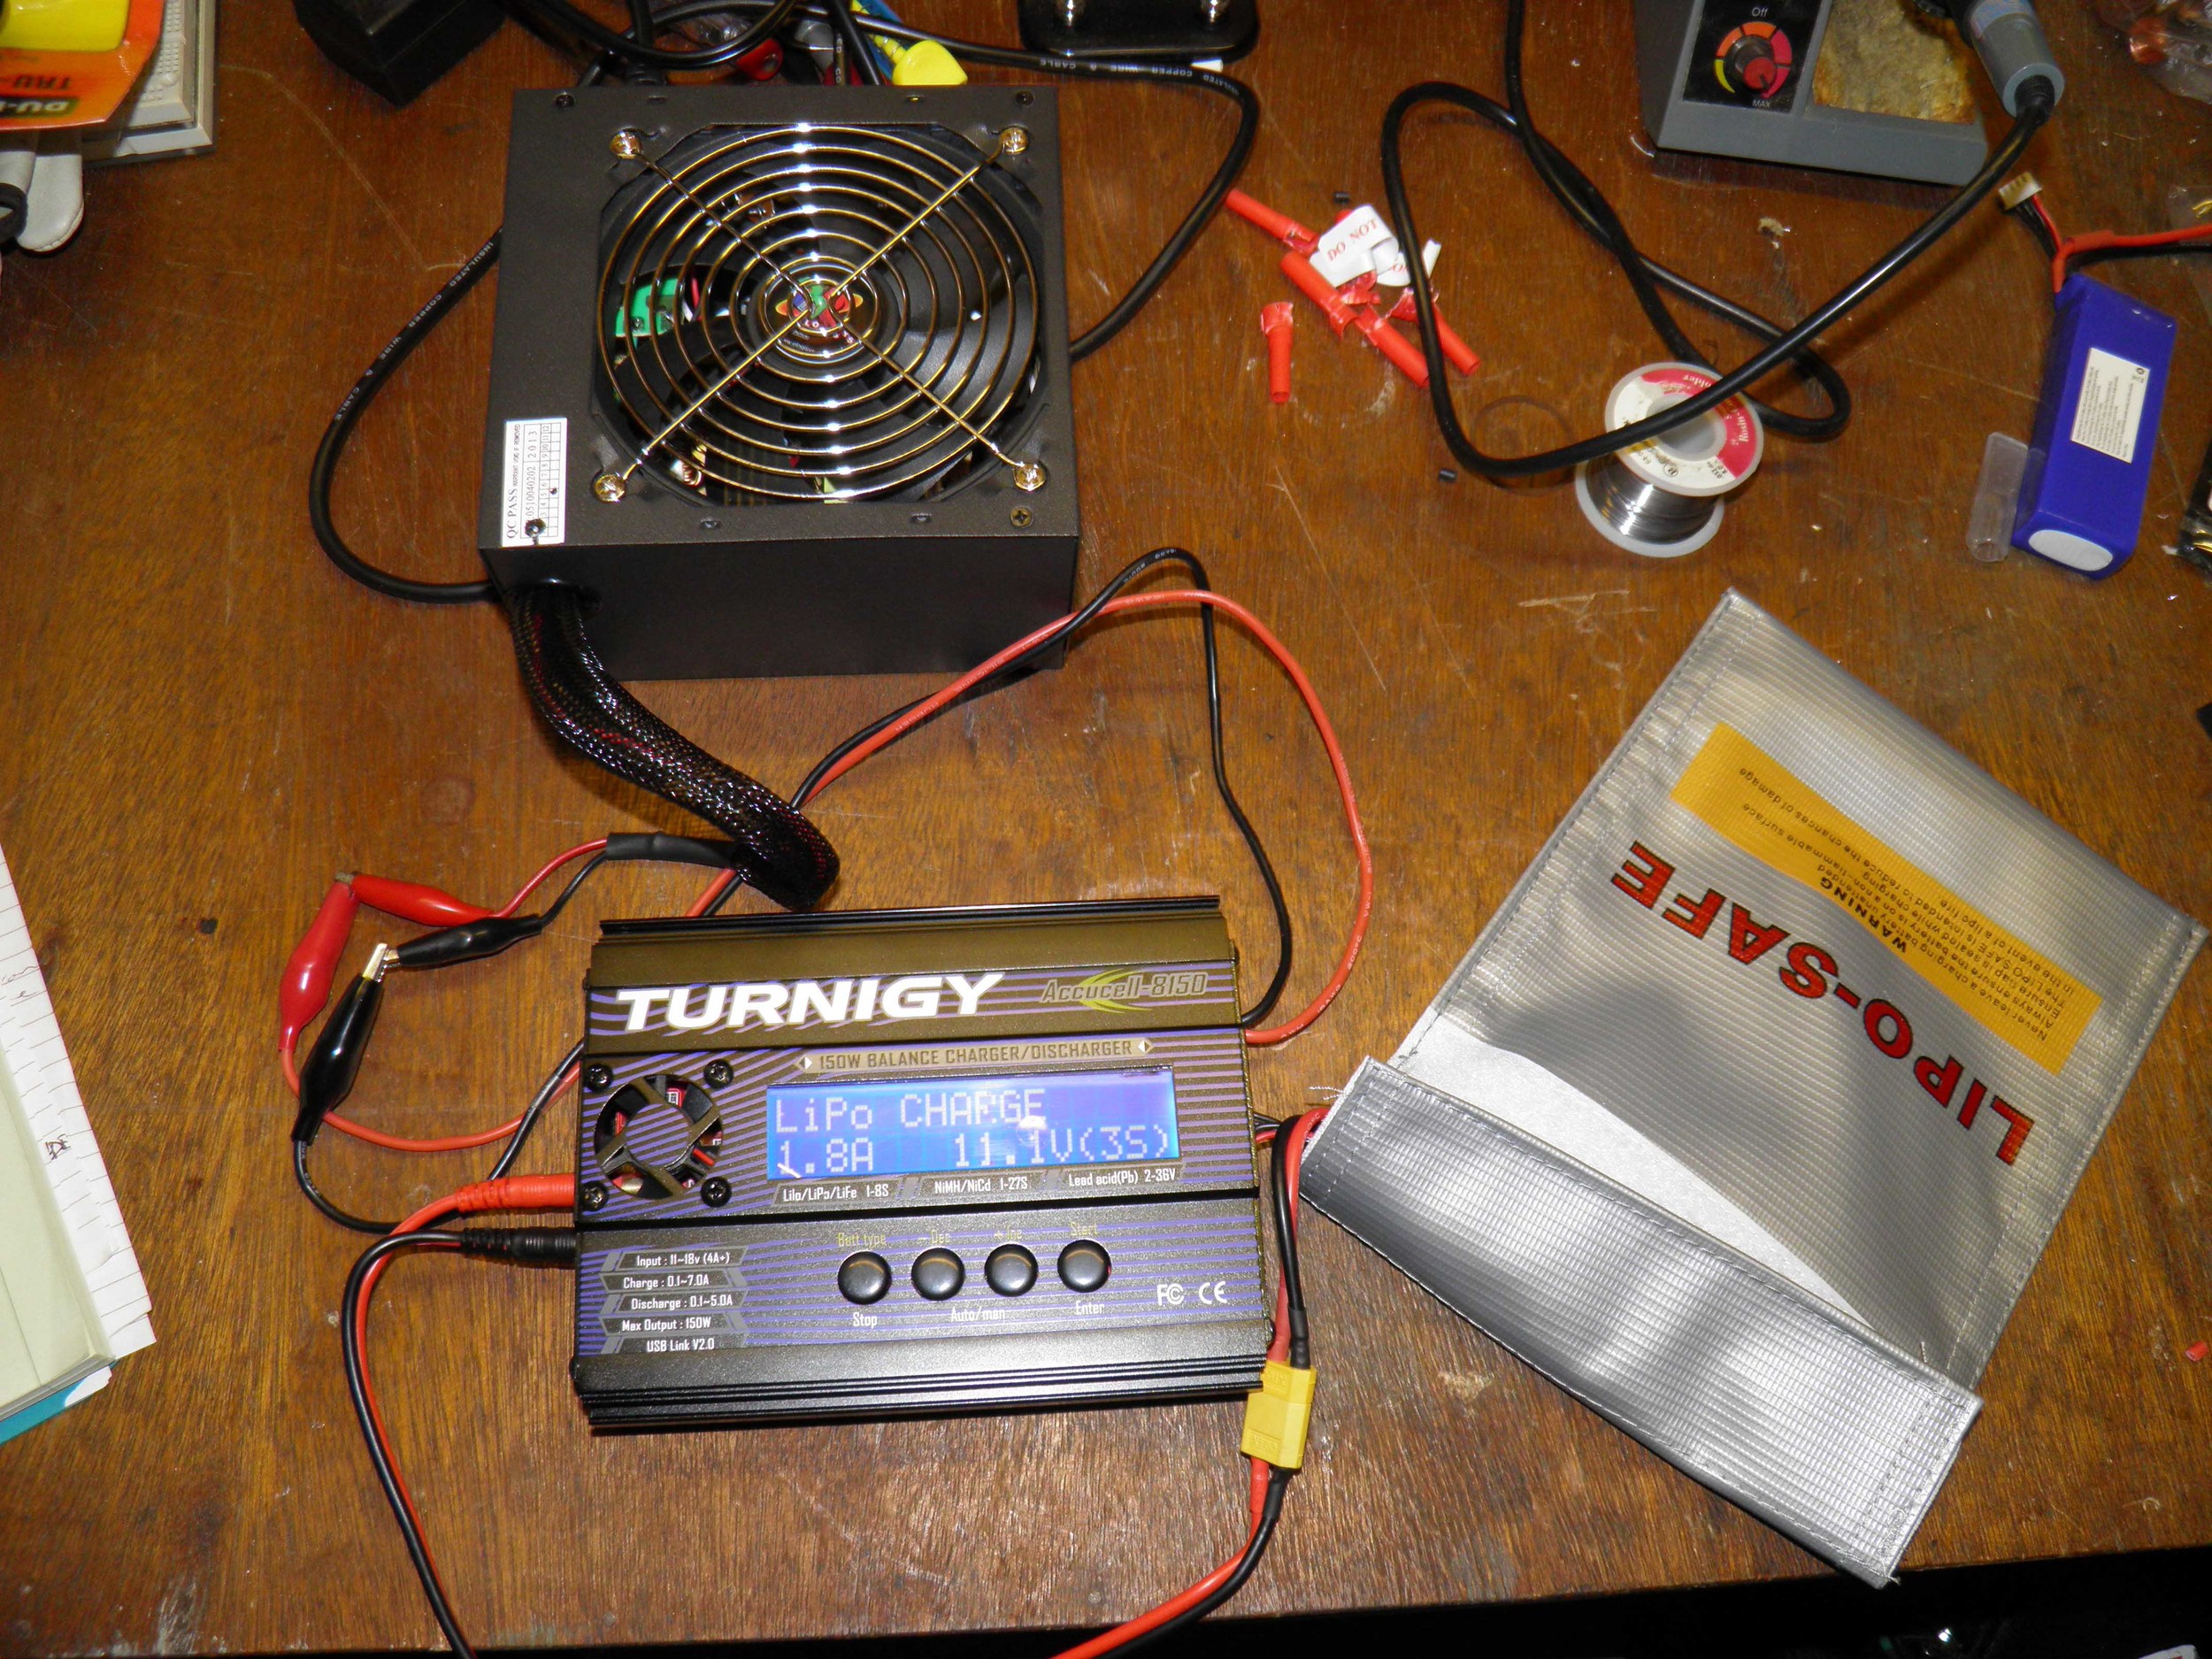
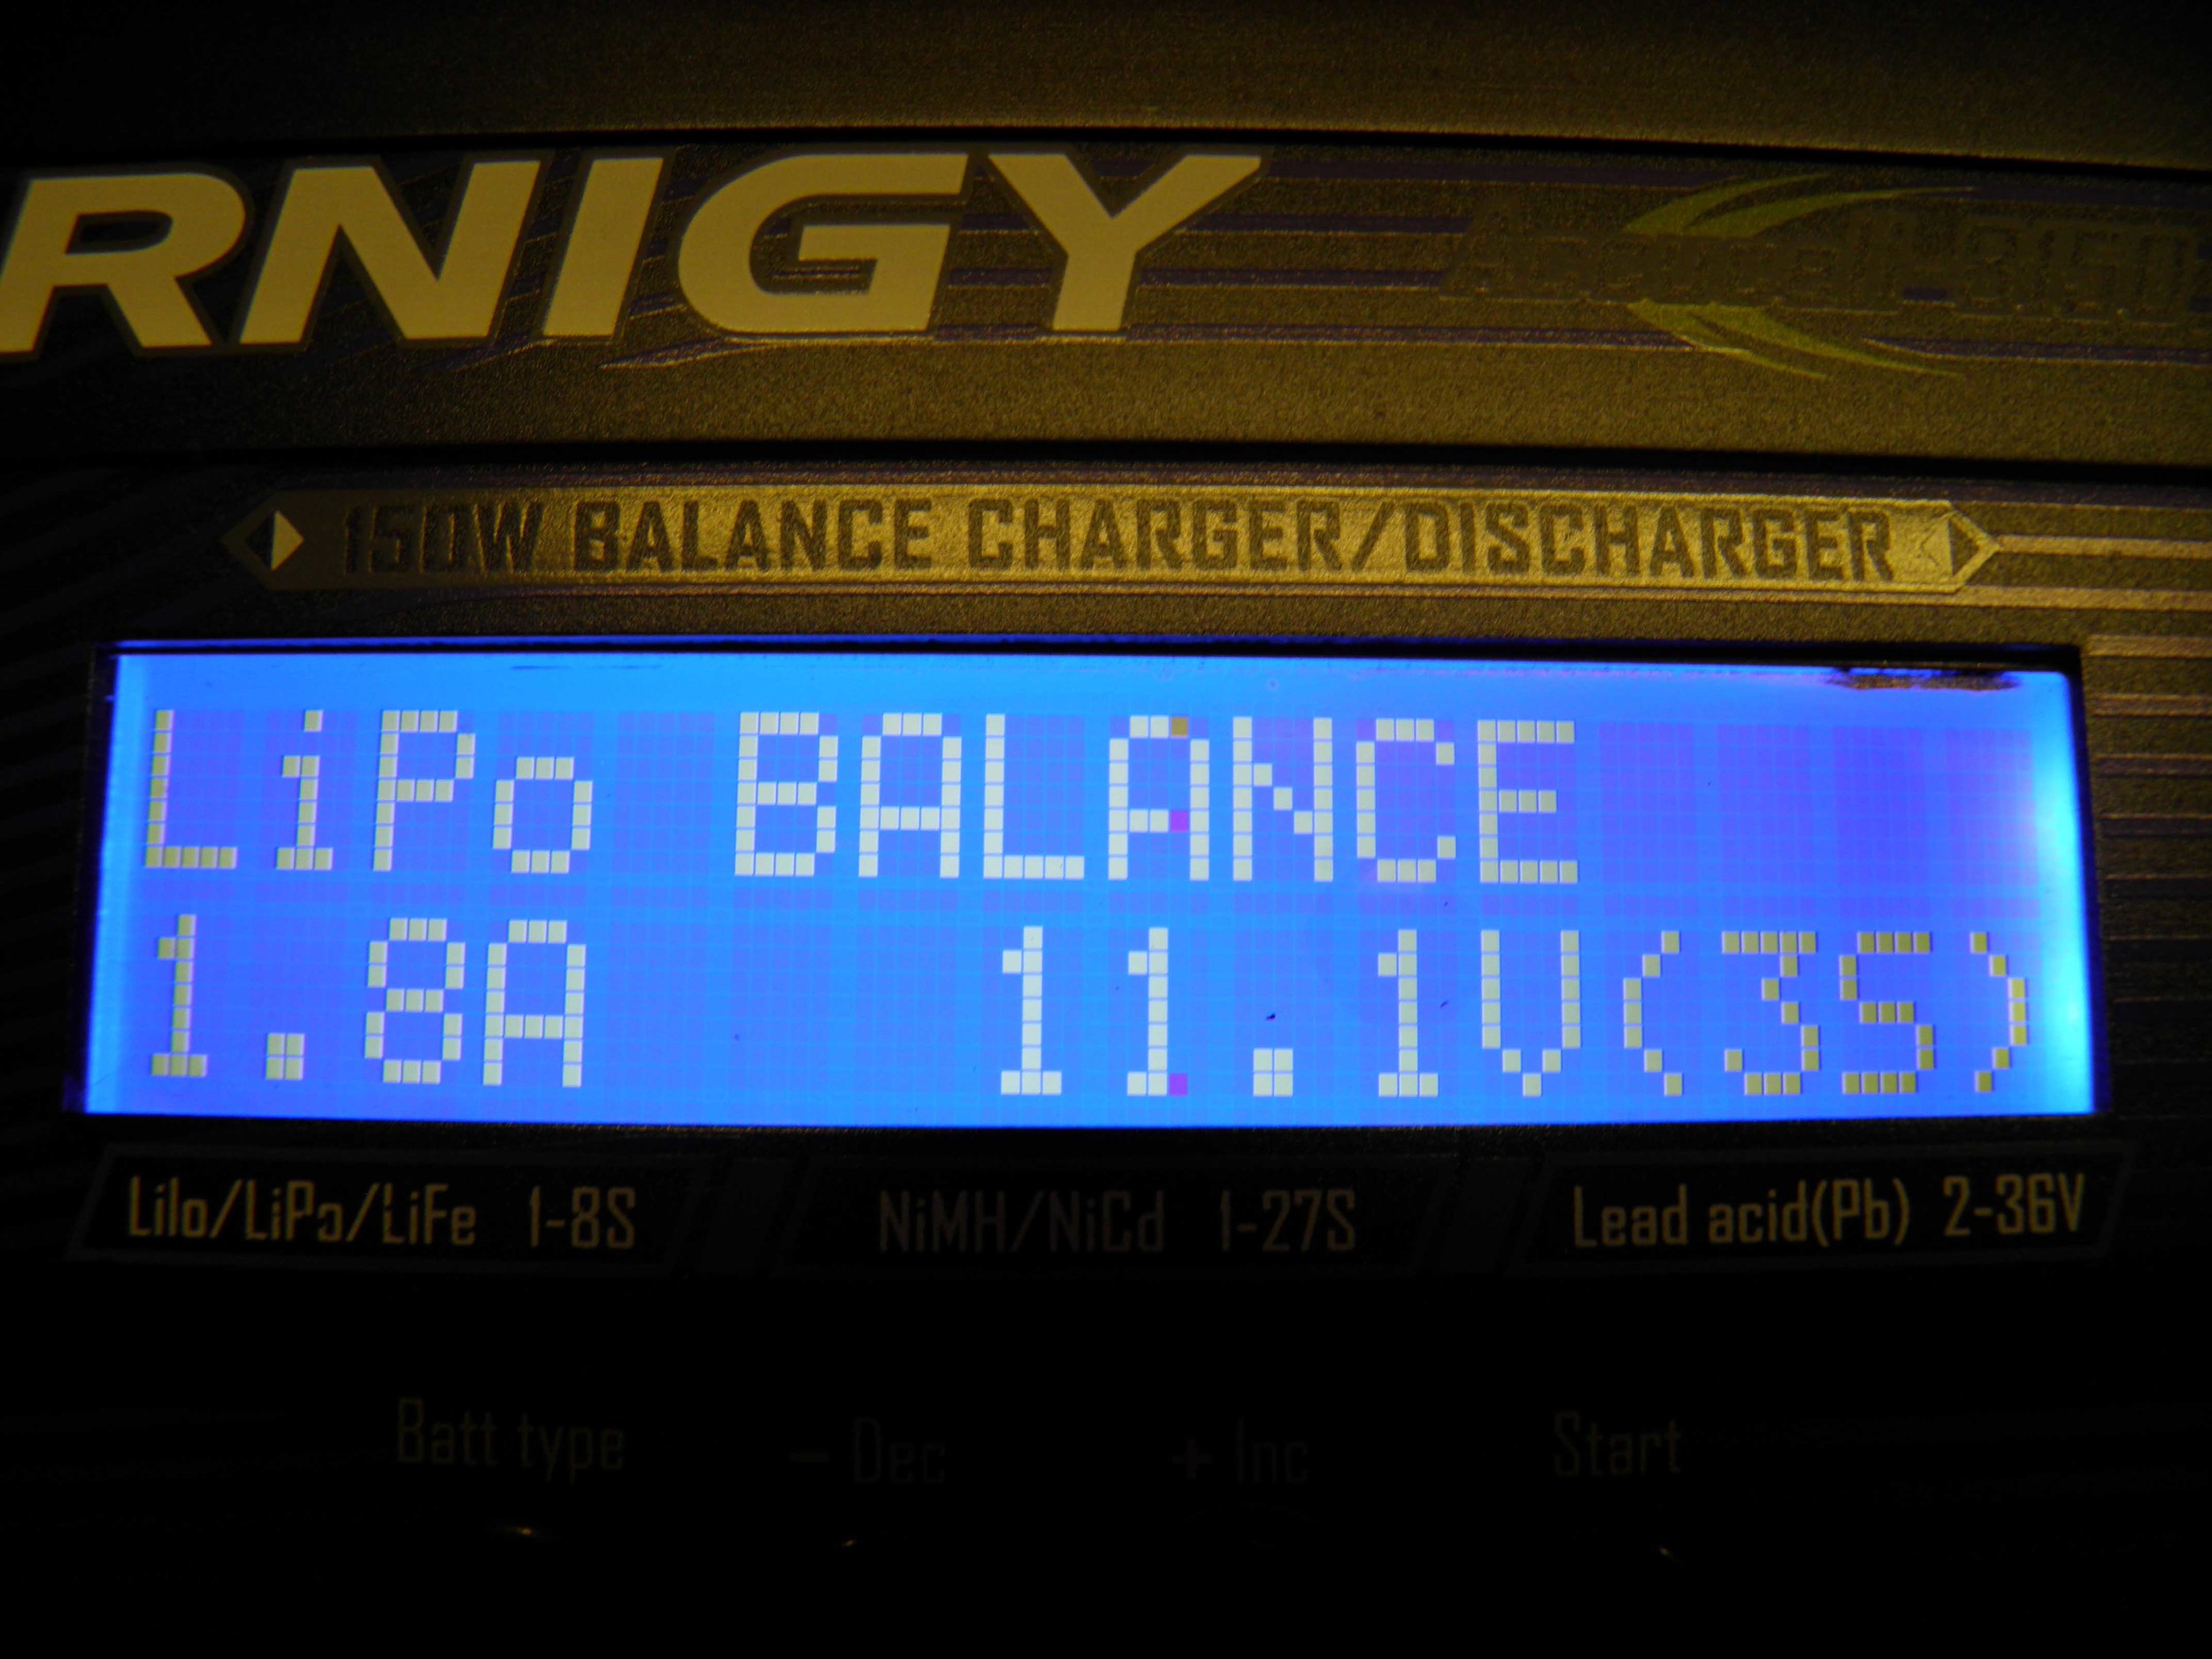
At this point, the batteries will need to be charged so that the quadcopter can be powered on and tested. I added a picture with the charging setup using my previously posted 550 Watt PSU Charger Power Supply and the balanced charger. If you purchased different batteries than I did, make sure your settings are correct and always use a fireproof charging bag.
Once all of the hardware is setup, and batteries are charged, the MutliWii Flight control board can be hooked up to the computer via USB. There's a Google Chrome app called baseflight that will allow you to connect up to your FCB for calibration and testing. The important thing here is to be absolutely certain your motors are spinning in the correct direction. The diagram shown on the FCB's packaging shows which way the motor should be rotating. If the motor is running in the incorrect direction, switch any two of its wires and test again to make sure they are running in the correct direction. There are a few other details to setting up the MultiWii FCB board but I'm not going to go into detail here since the information can be found on the MultiWii website and youtube.
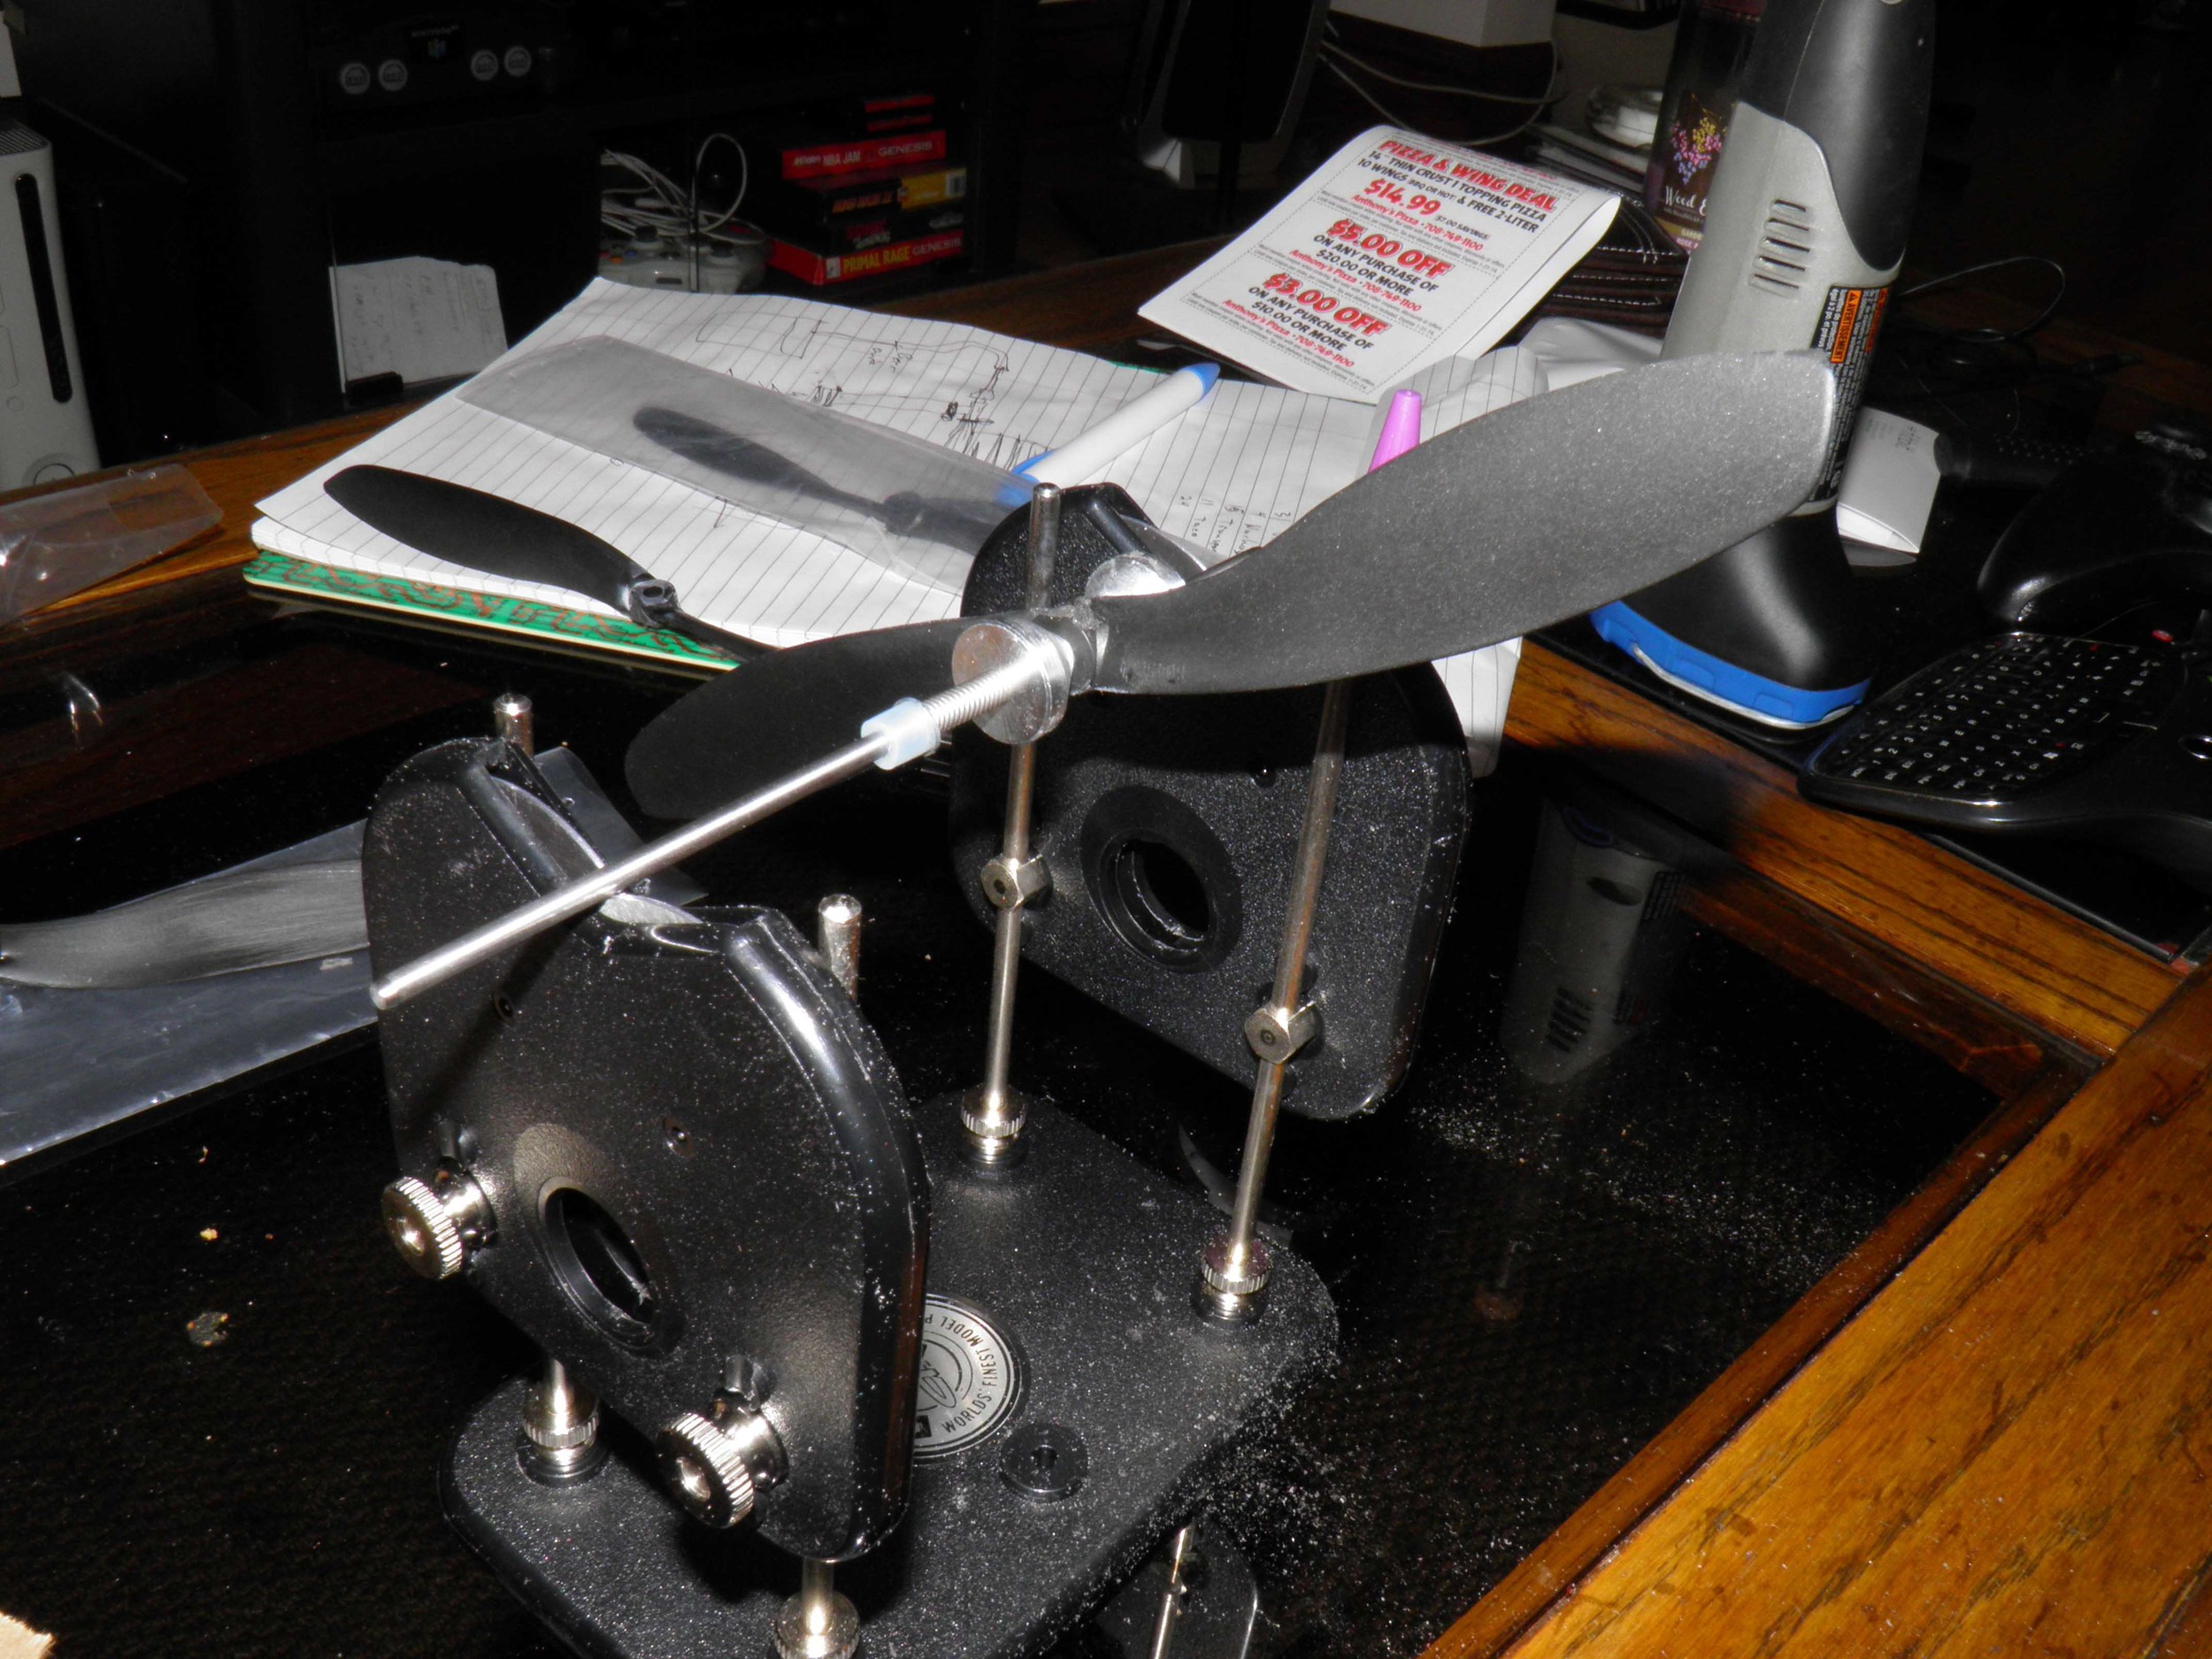
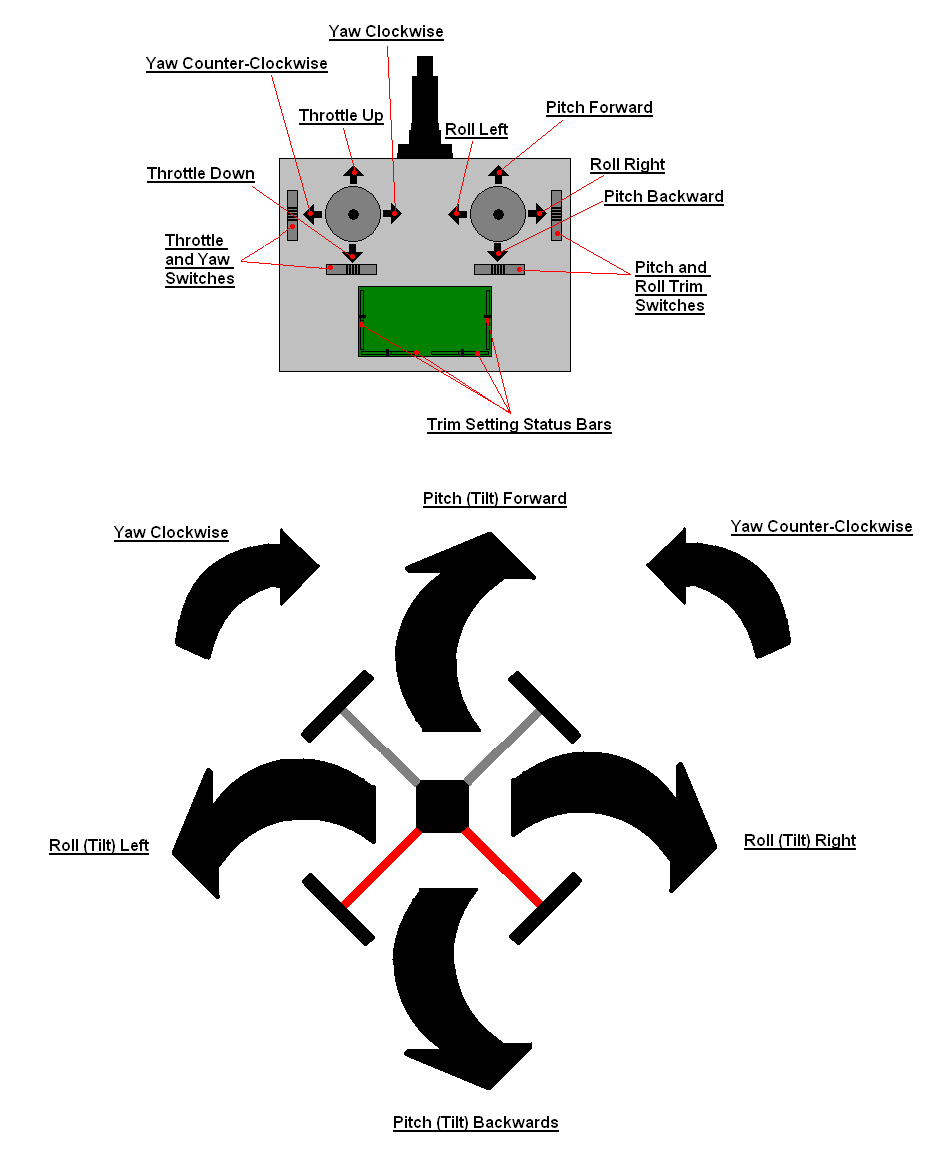
Once you are 100% confident that the quadcopter is functions correctly, you can now add your props. To reduce vibrations, the propellers should be balanced. There are a bunch of youtube tutorials out there that give instruction on how to balance your props. I originally used the metal nose cone nuts to secure my propellers to the motors but they would not stay tight. I took one of the motors to the hardware store and fitted lock washers and lock nuts. I suggest you do the same so you don't lose a propeller mid-flight, crash, and have to wait 3 weeks for a replacement frame like I did... Once everything is in working order and the propellers have been attached, you're ready to fly. Go to a very large open field with no trees. Connect up the battery, and arm the MultiWii FCB by pressing throttle down and yaw right. Slowly throttle up and adjust your trim settings based on the quadcopter's movement when it just begins to lift off. You want to tune it in so that when you liftoff, your quadcopter lifts straight up and doesn't drift in any direction. I've attached a diagram of the Turnigy 9X controls as well.