Basil Box Build - Part 3 - Top Frame and Lighting
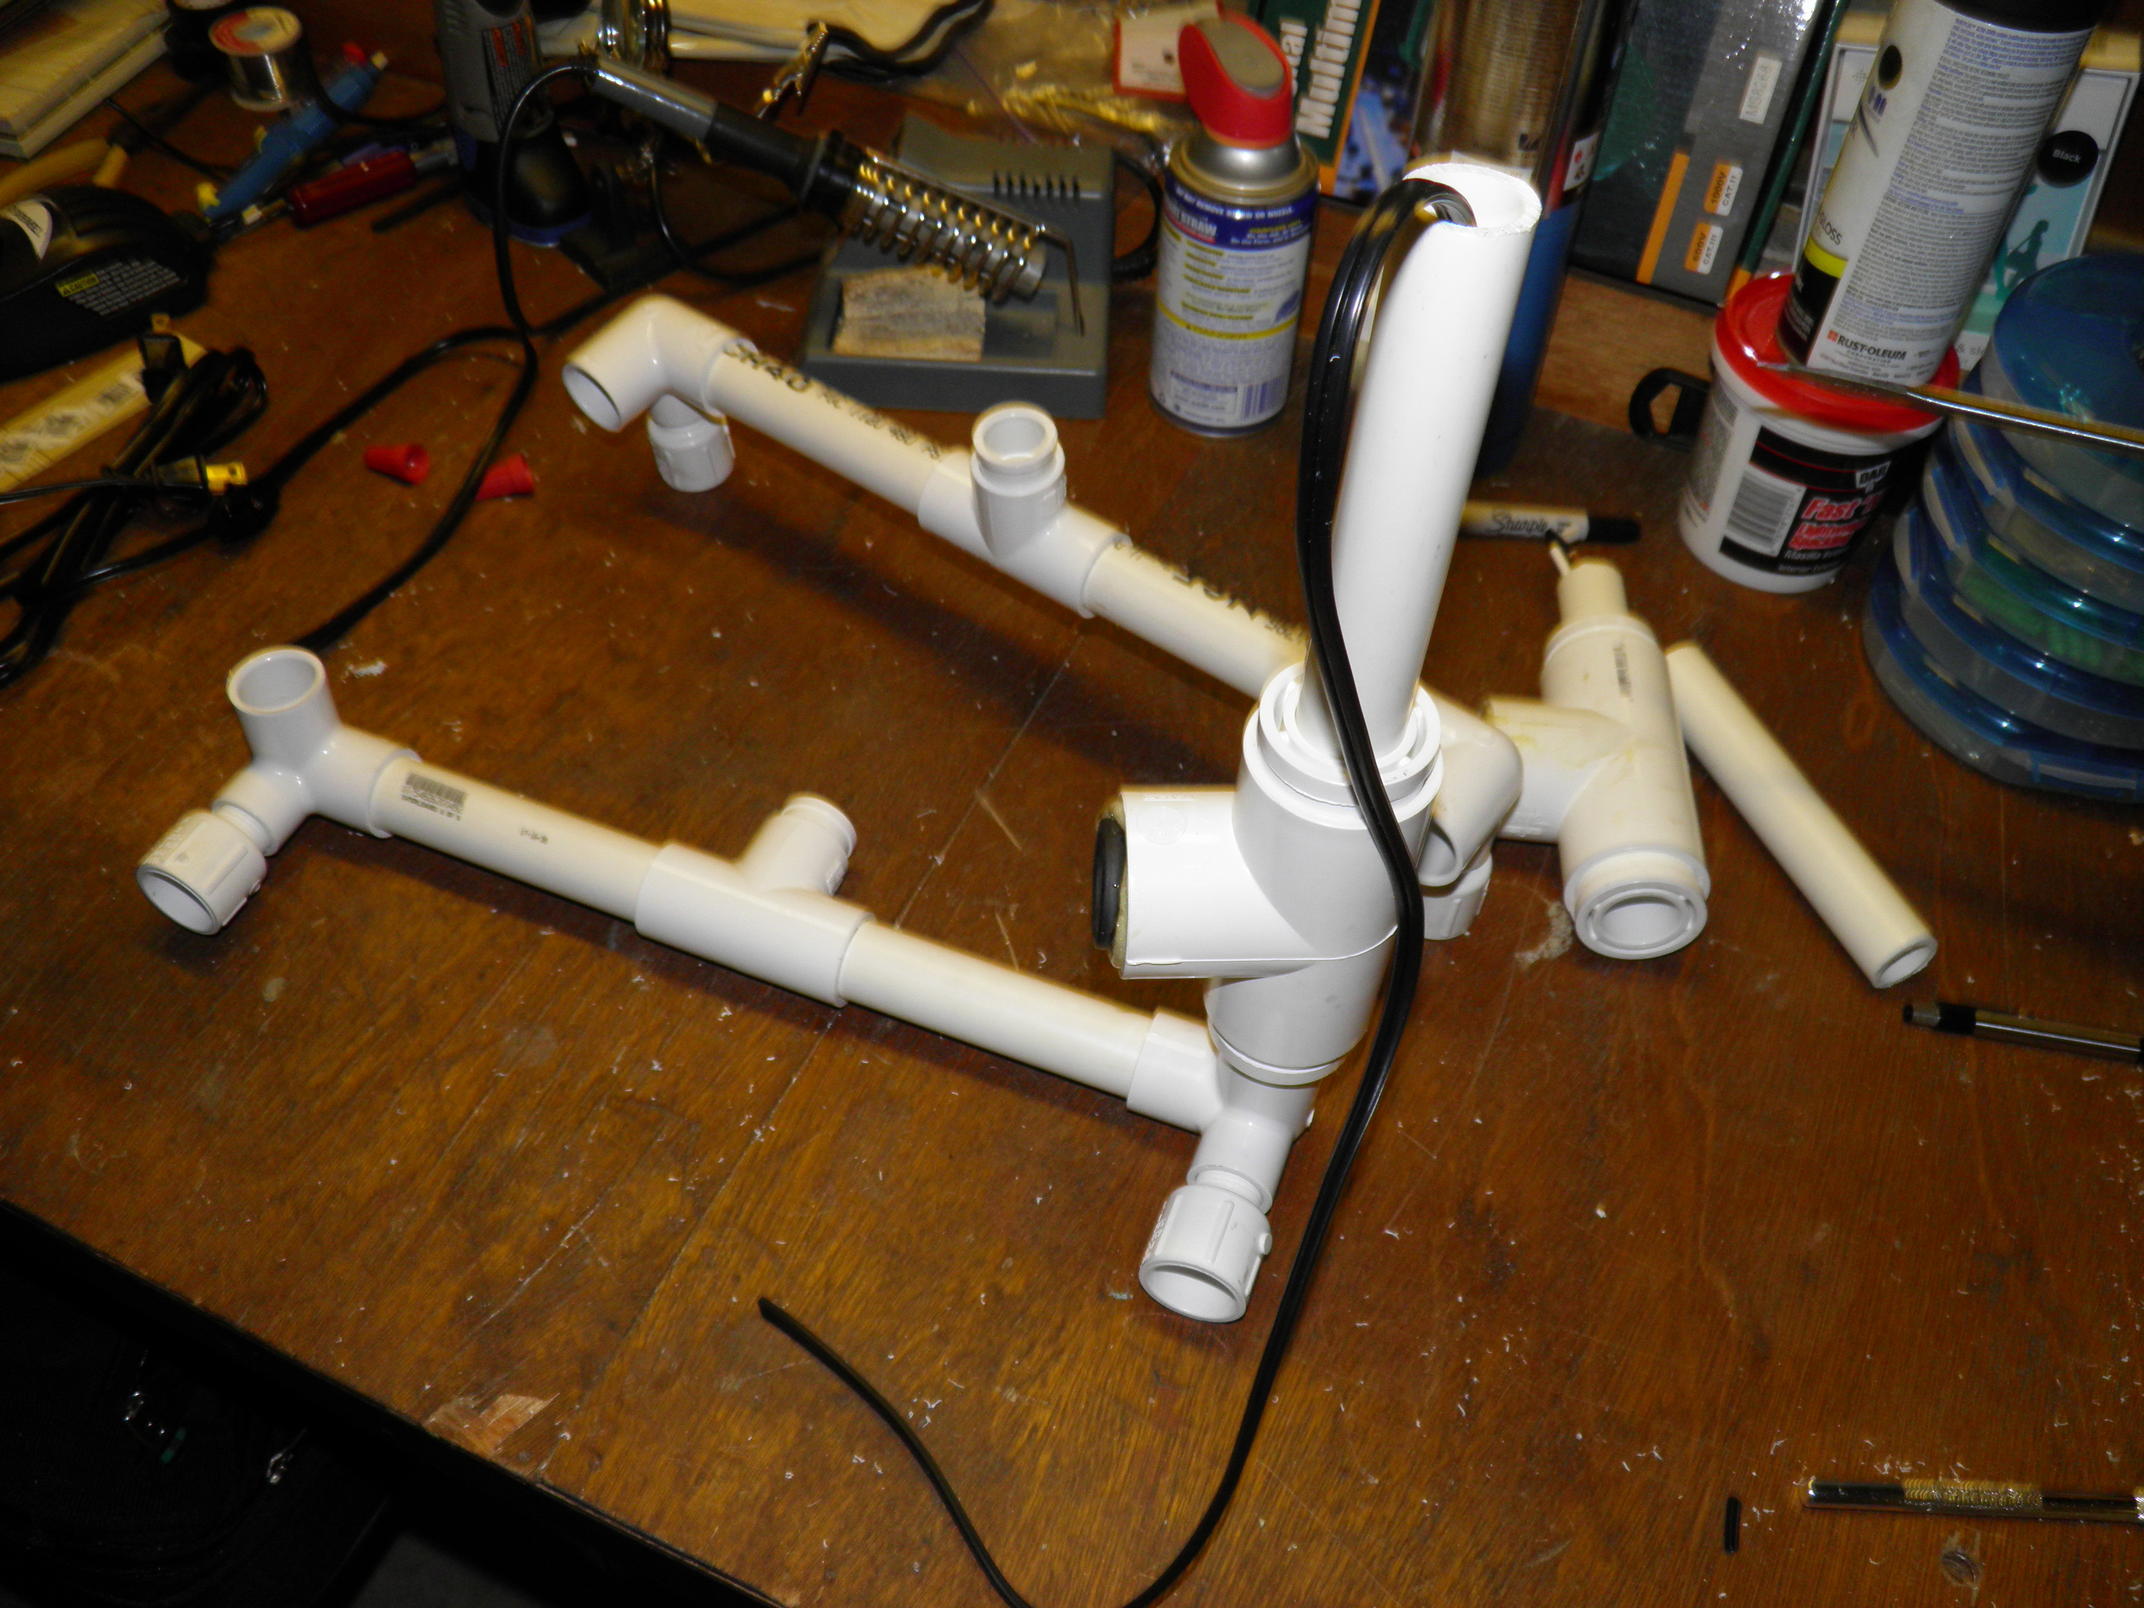
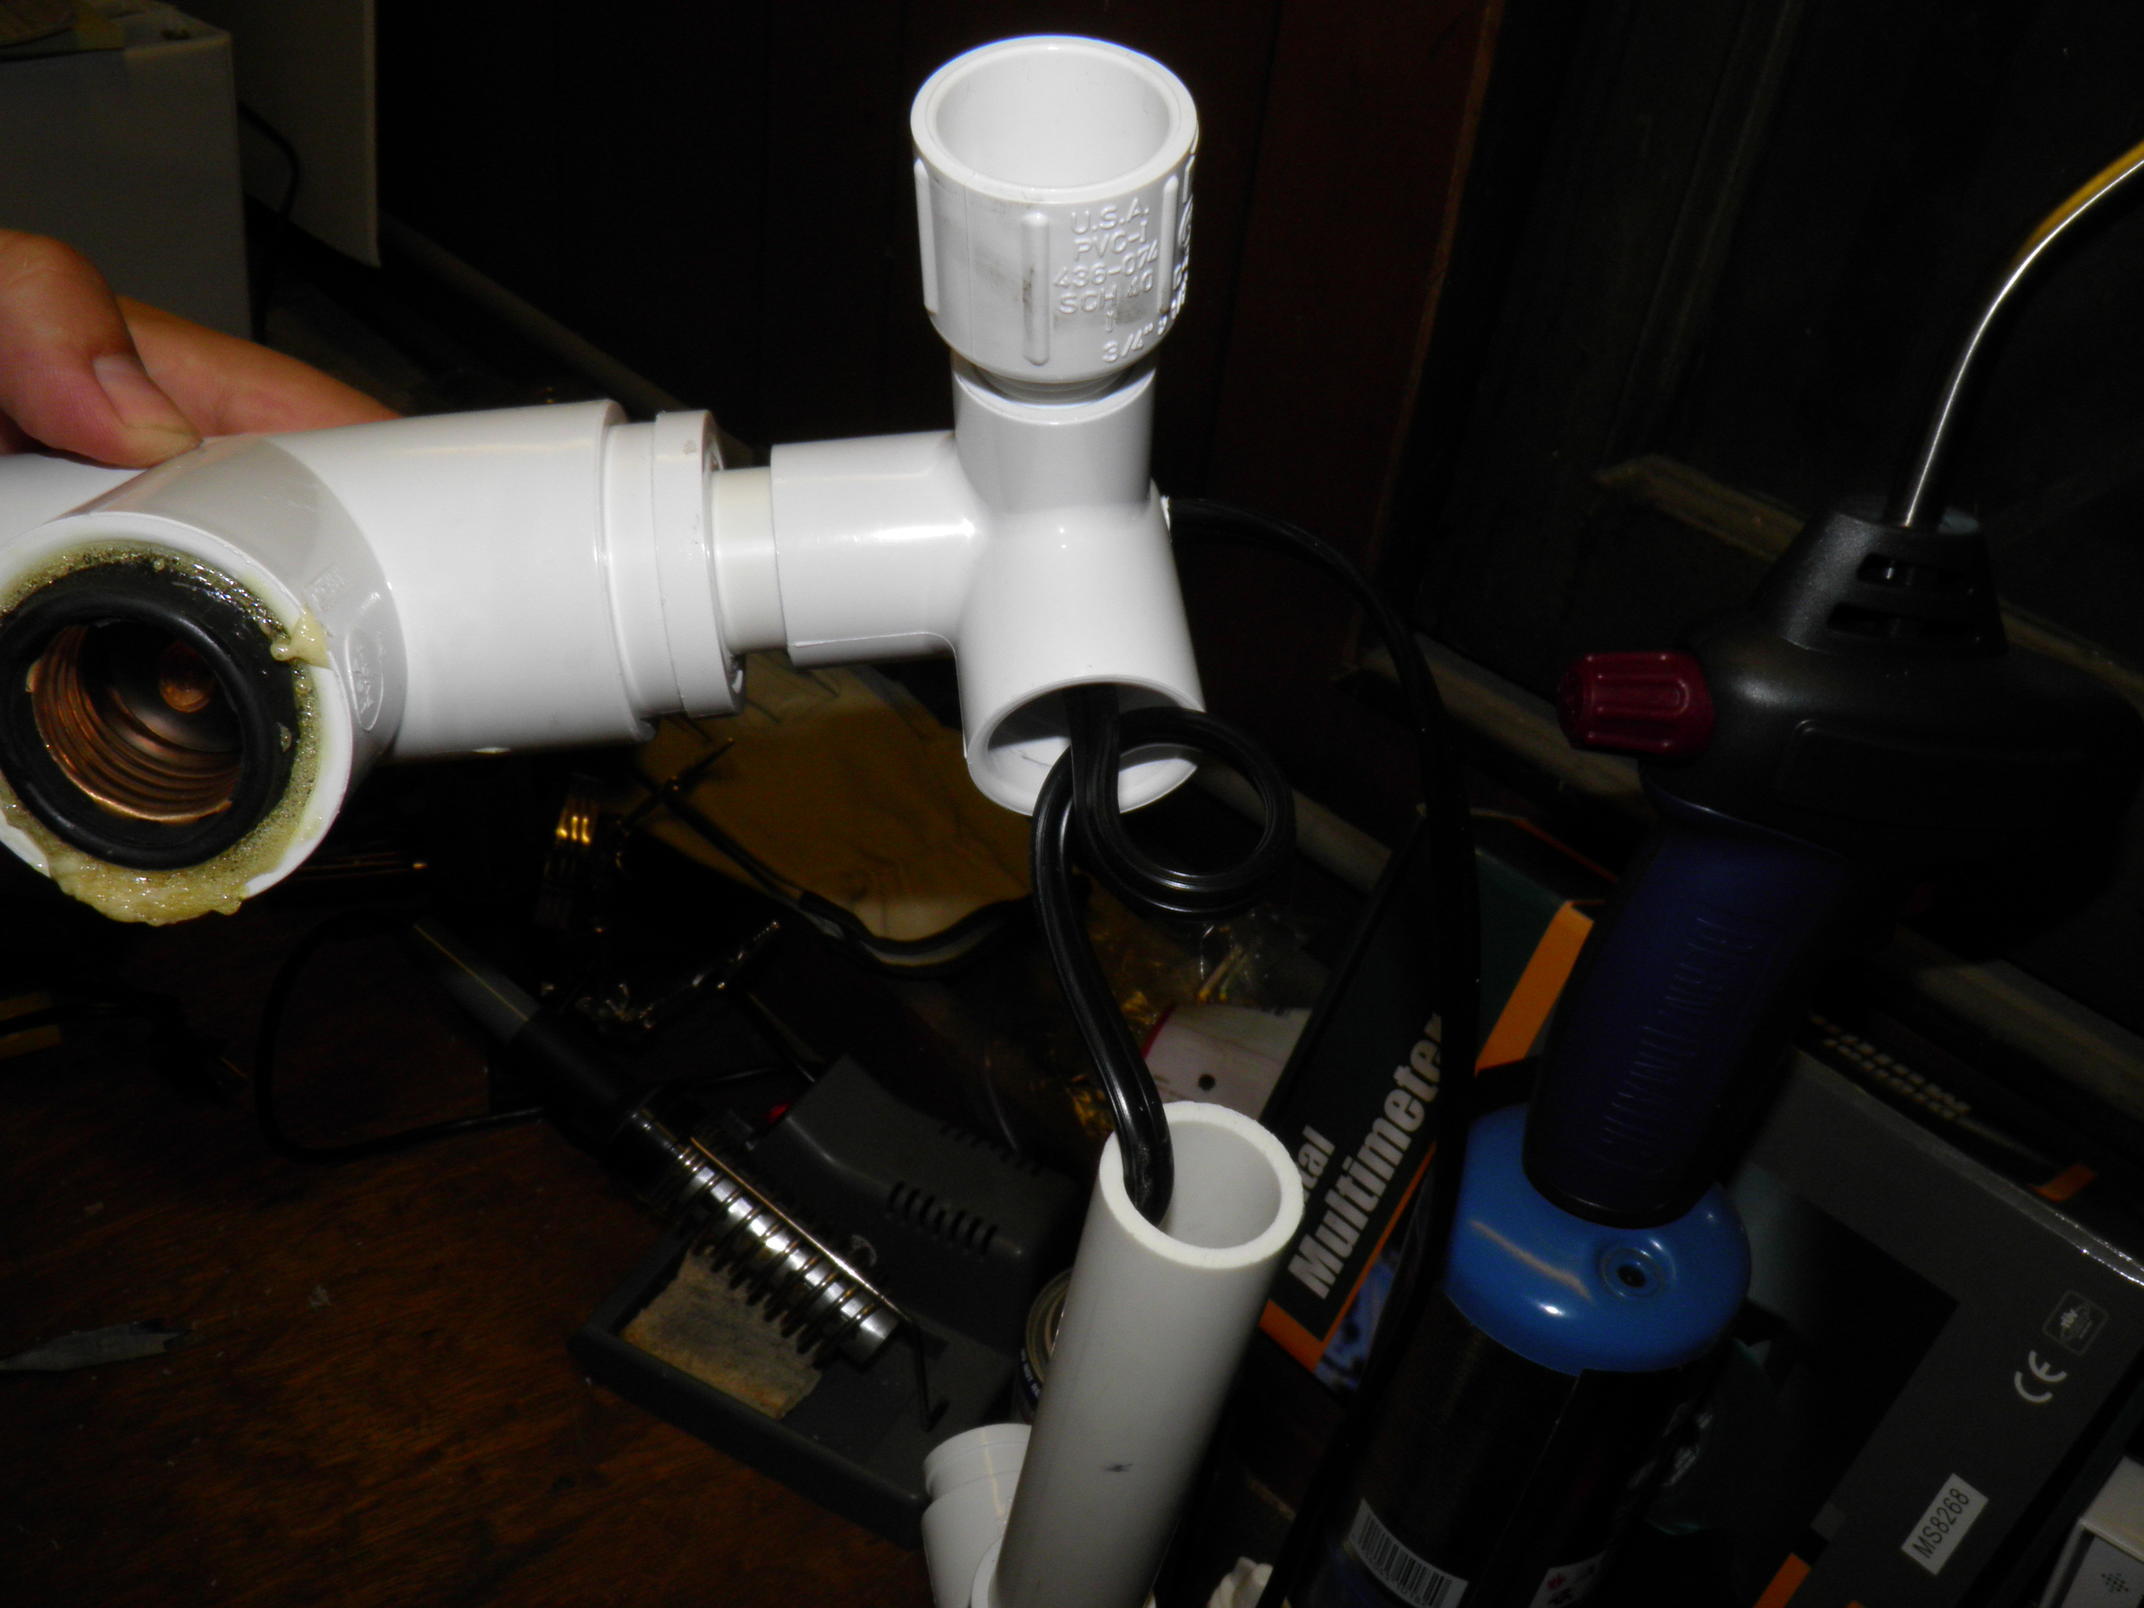
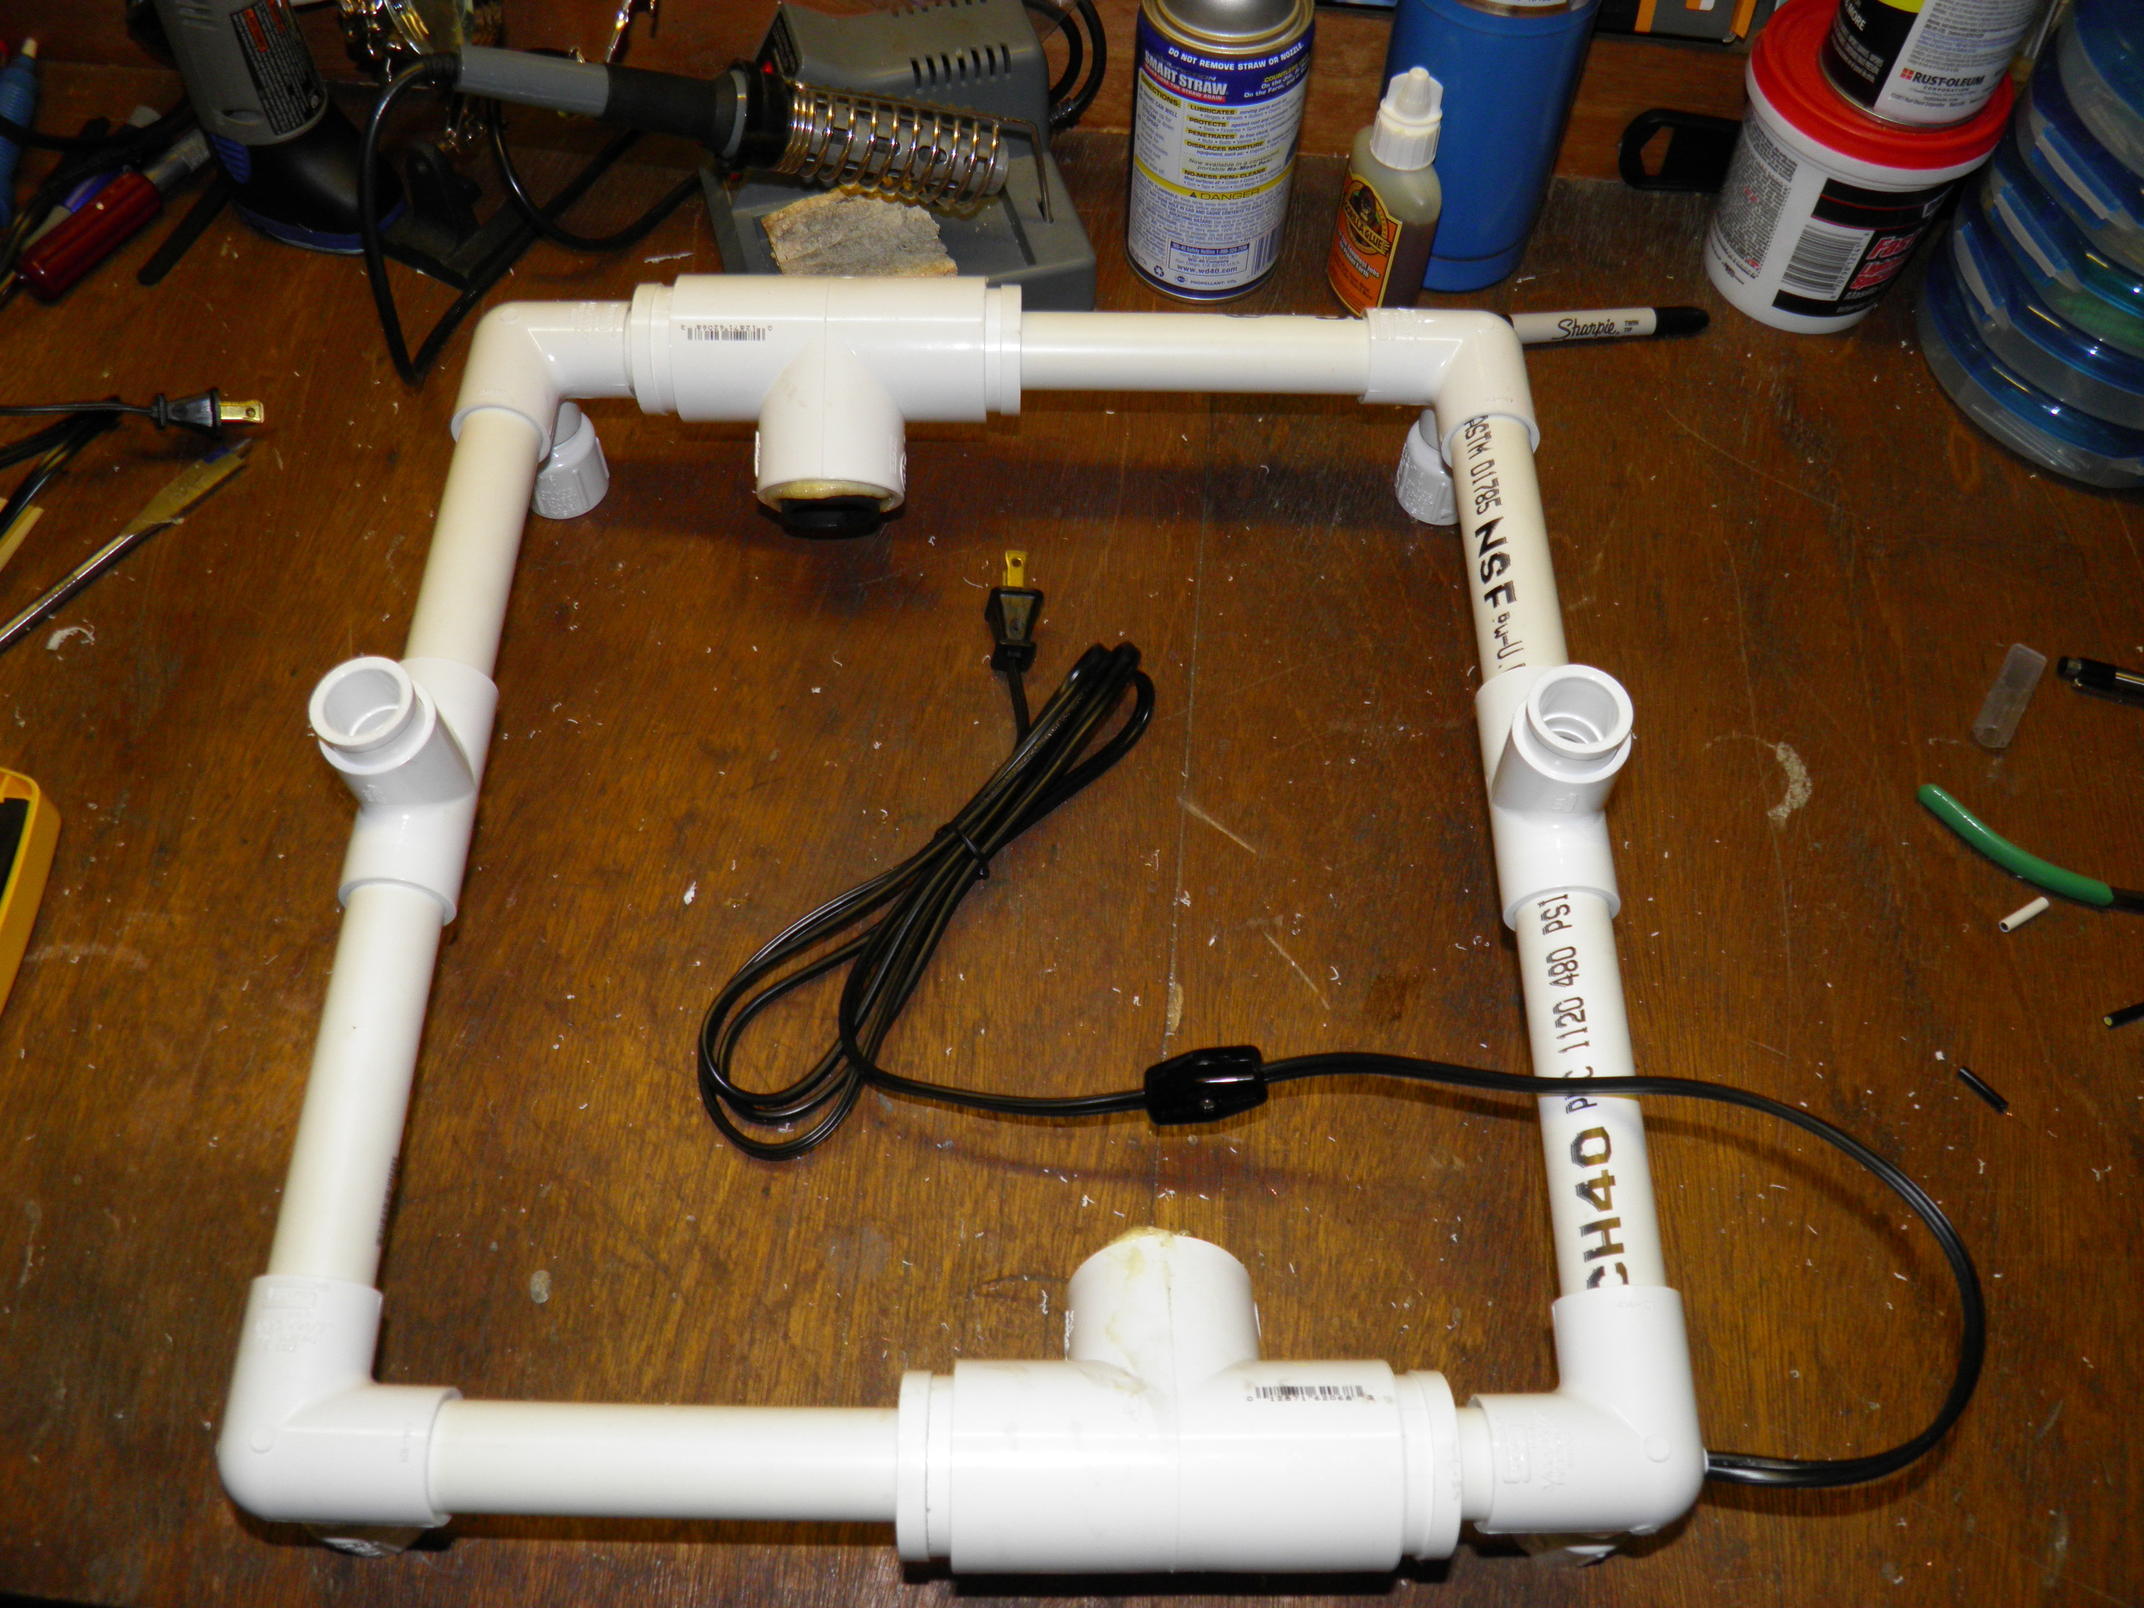
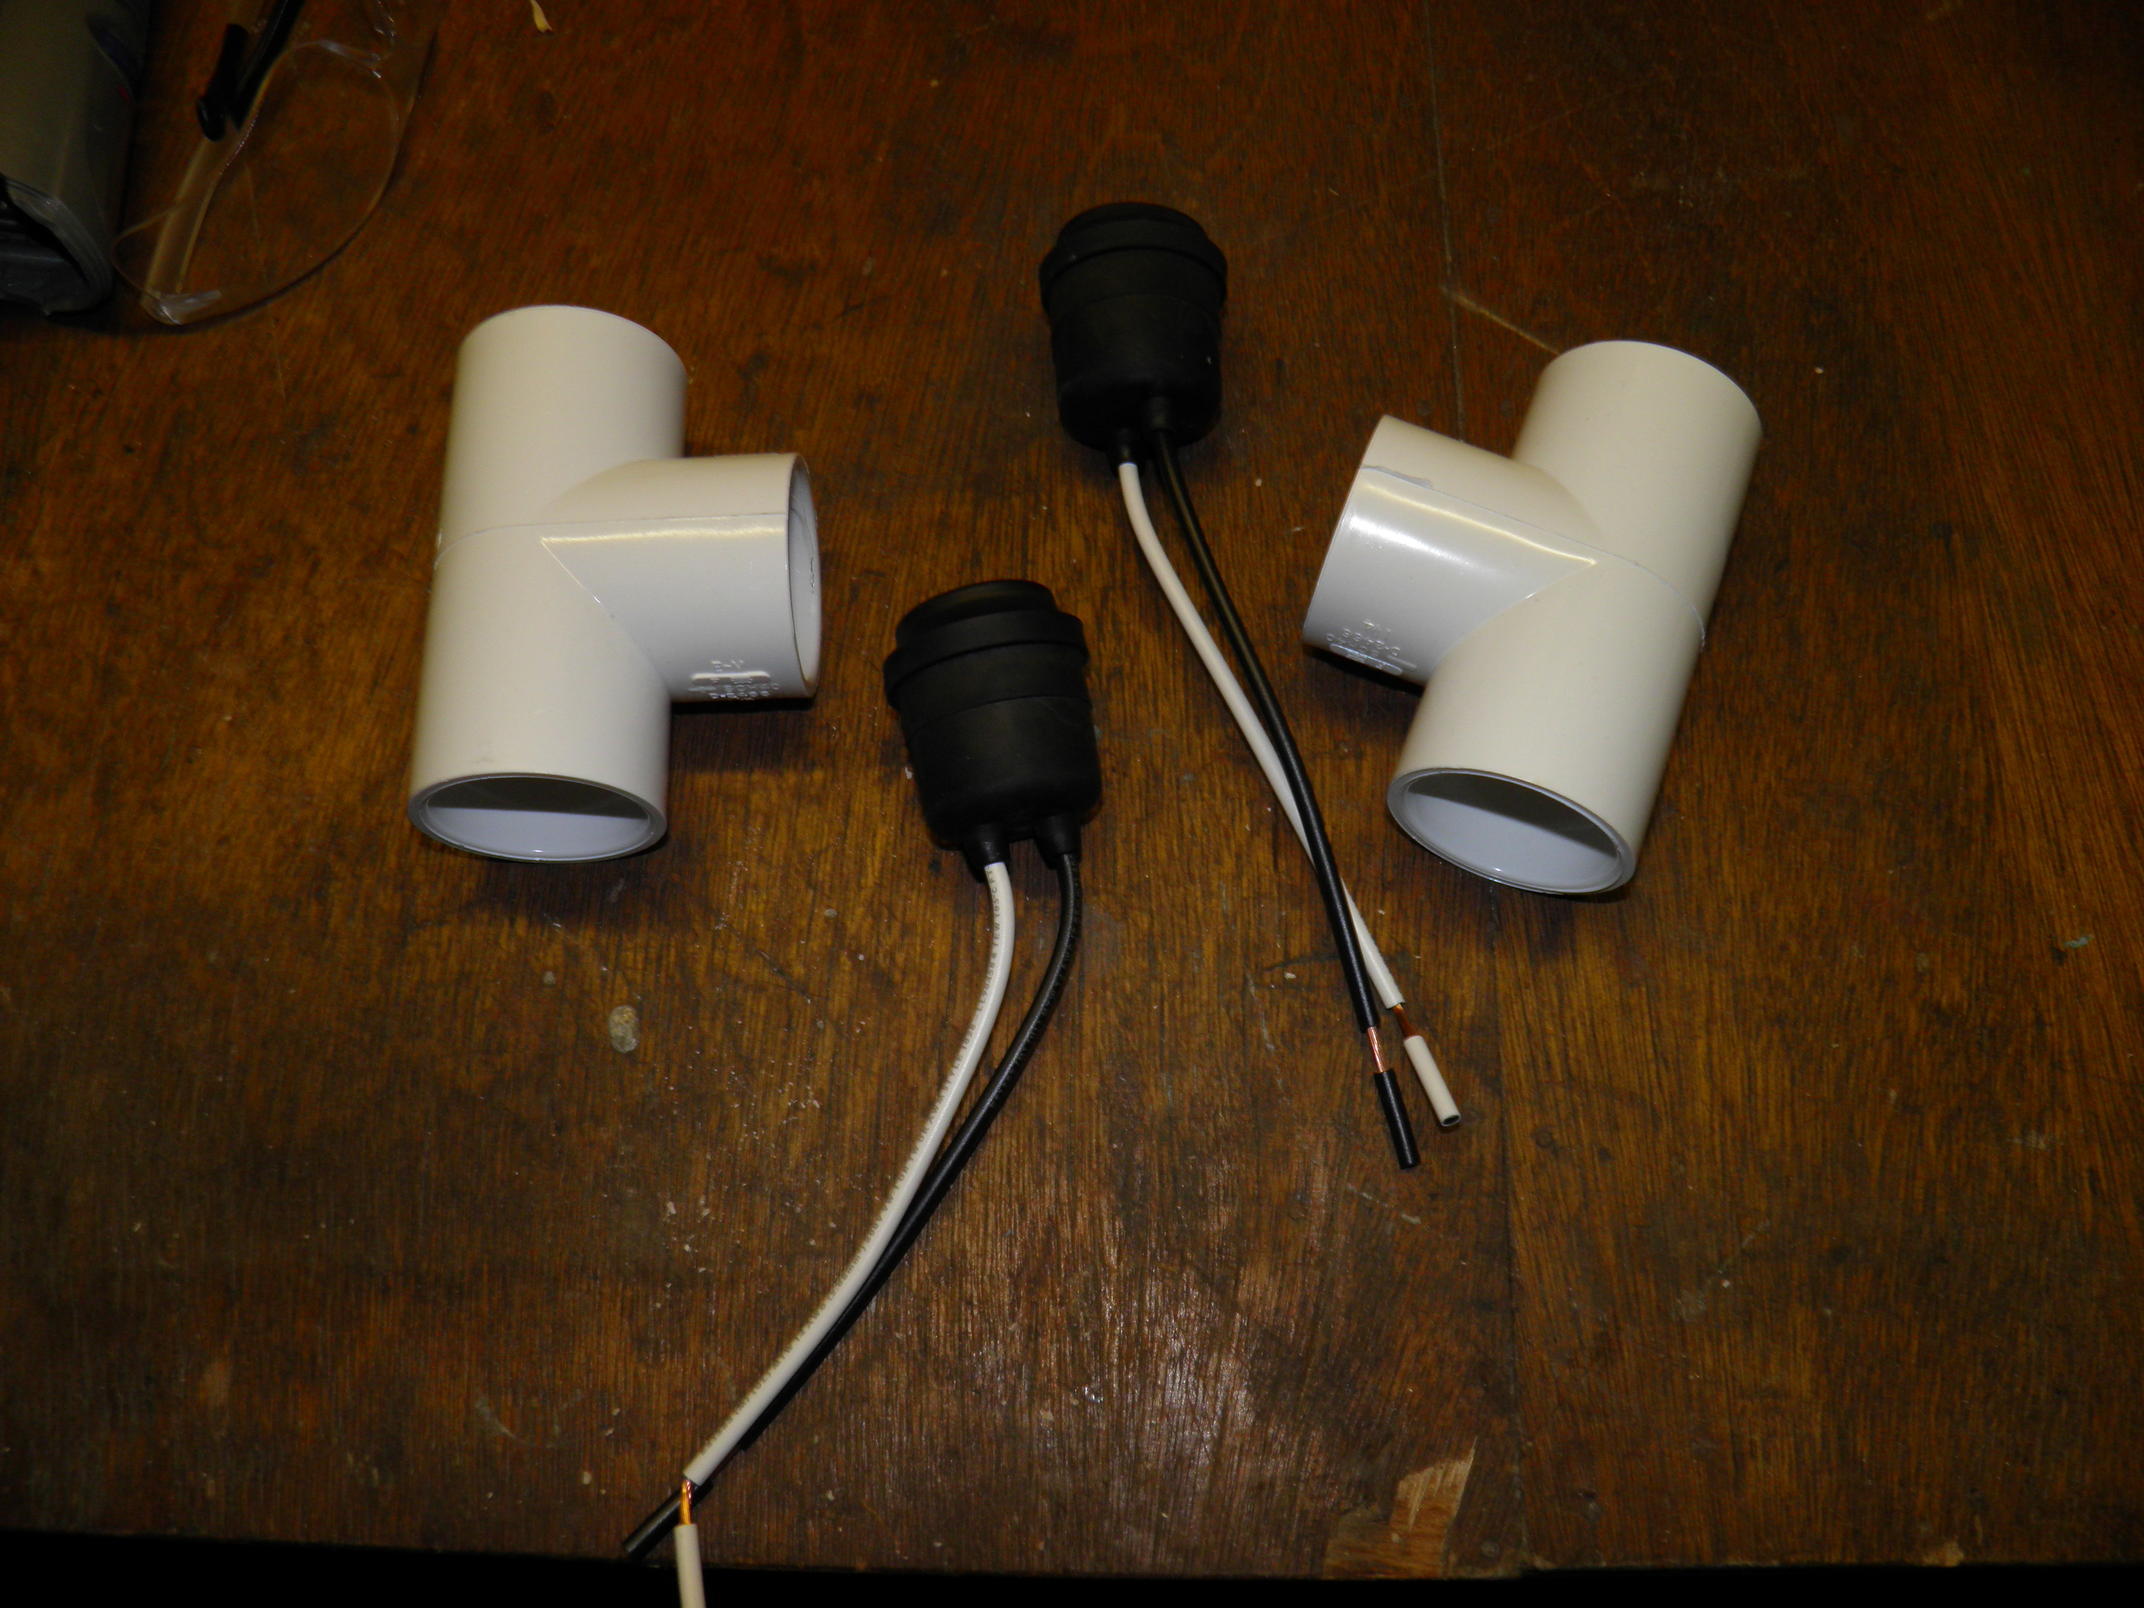
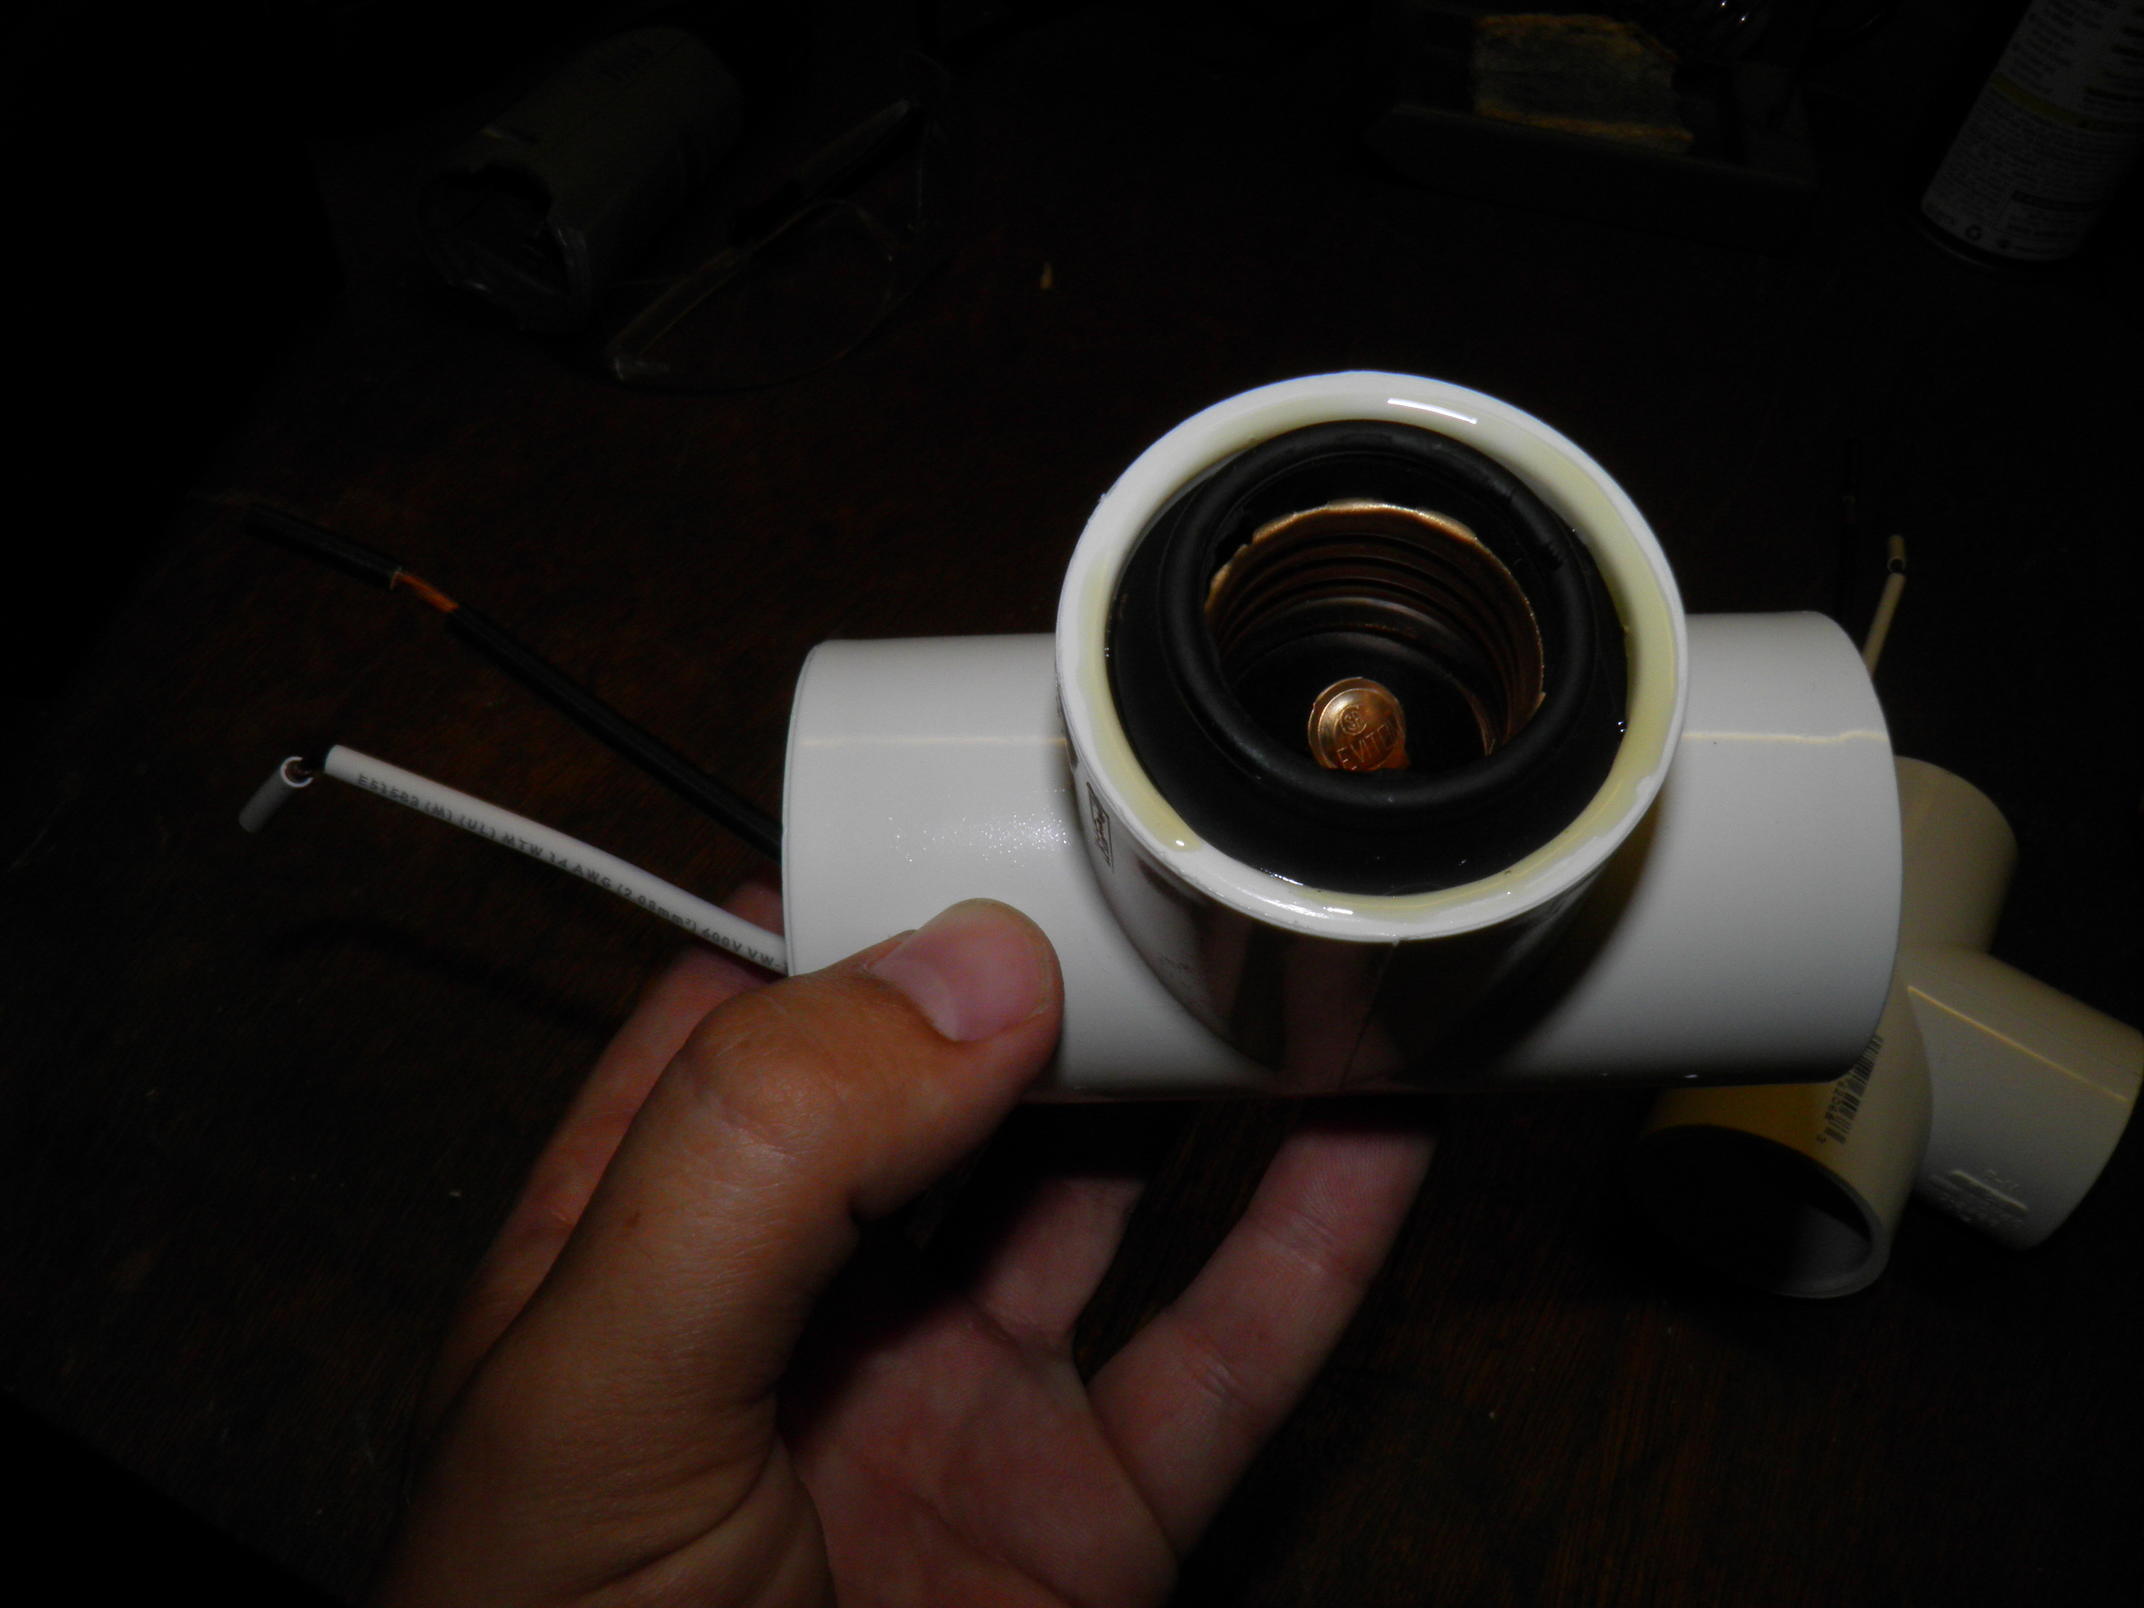
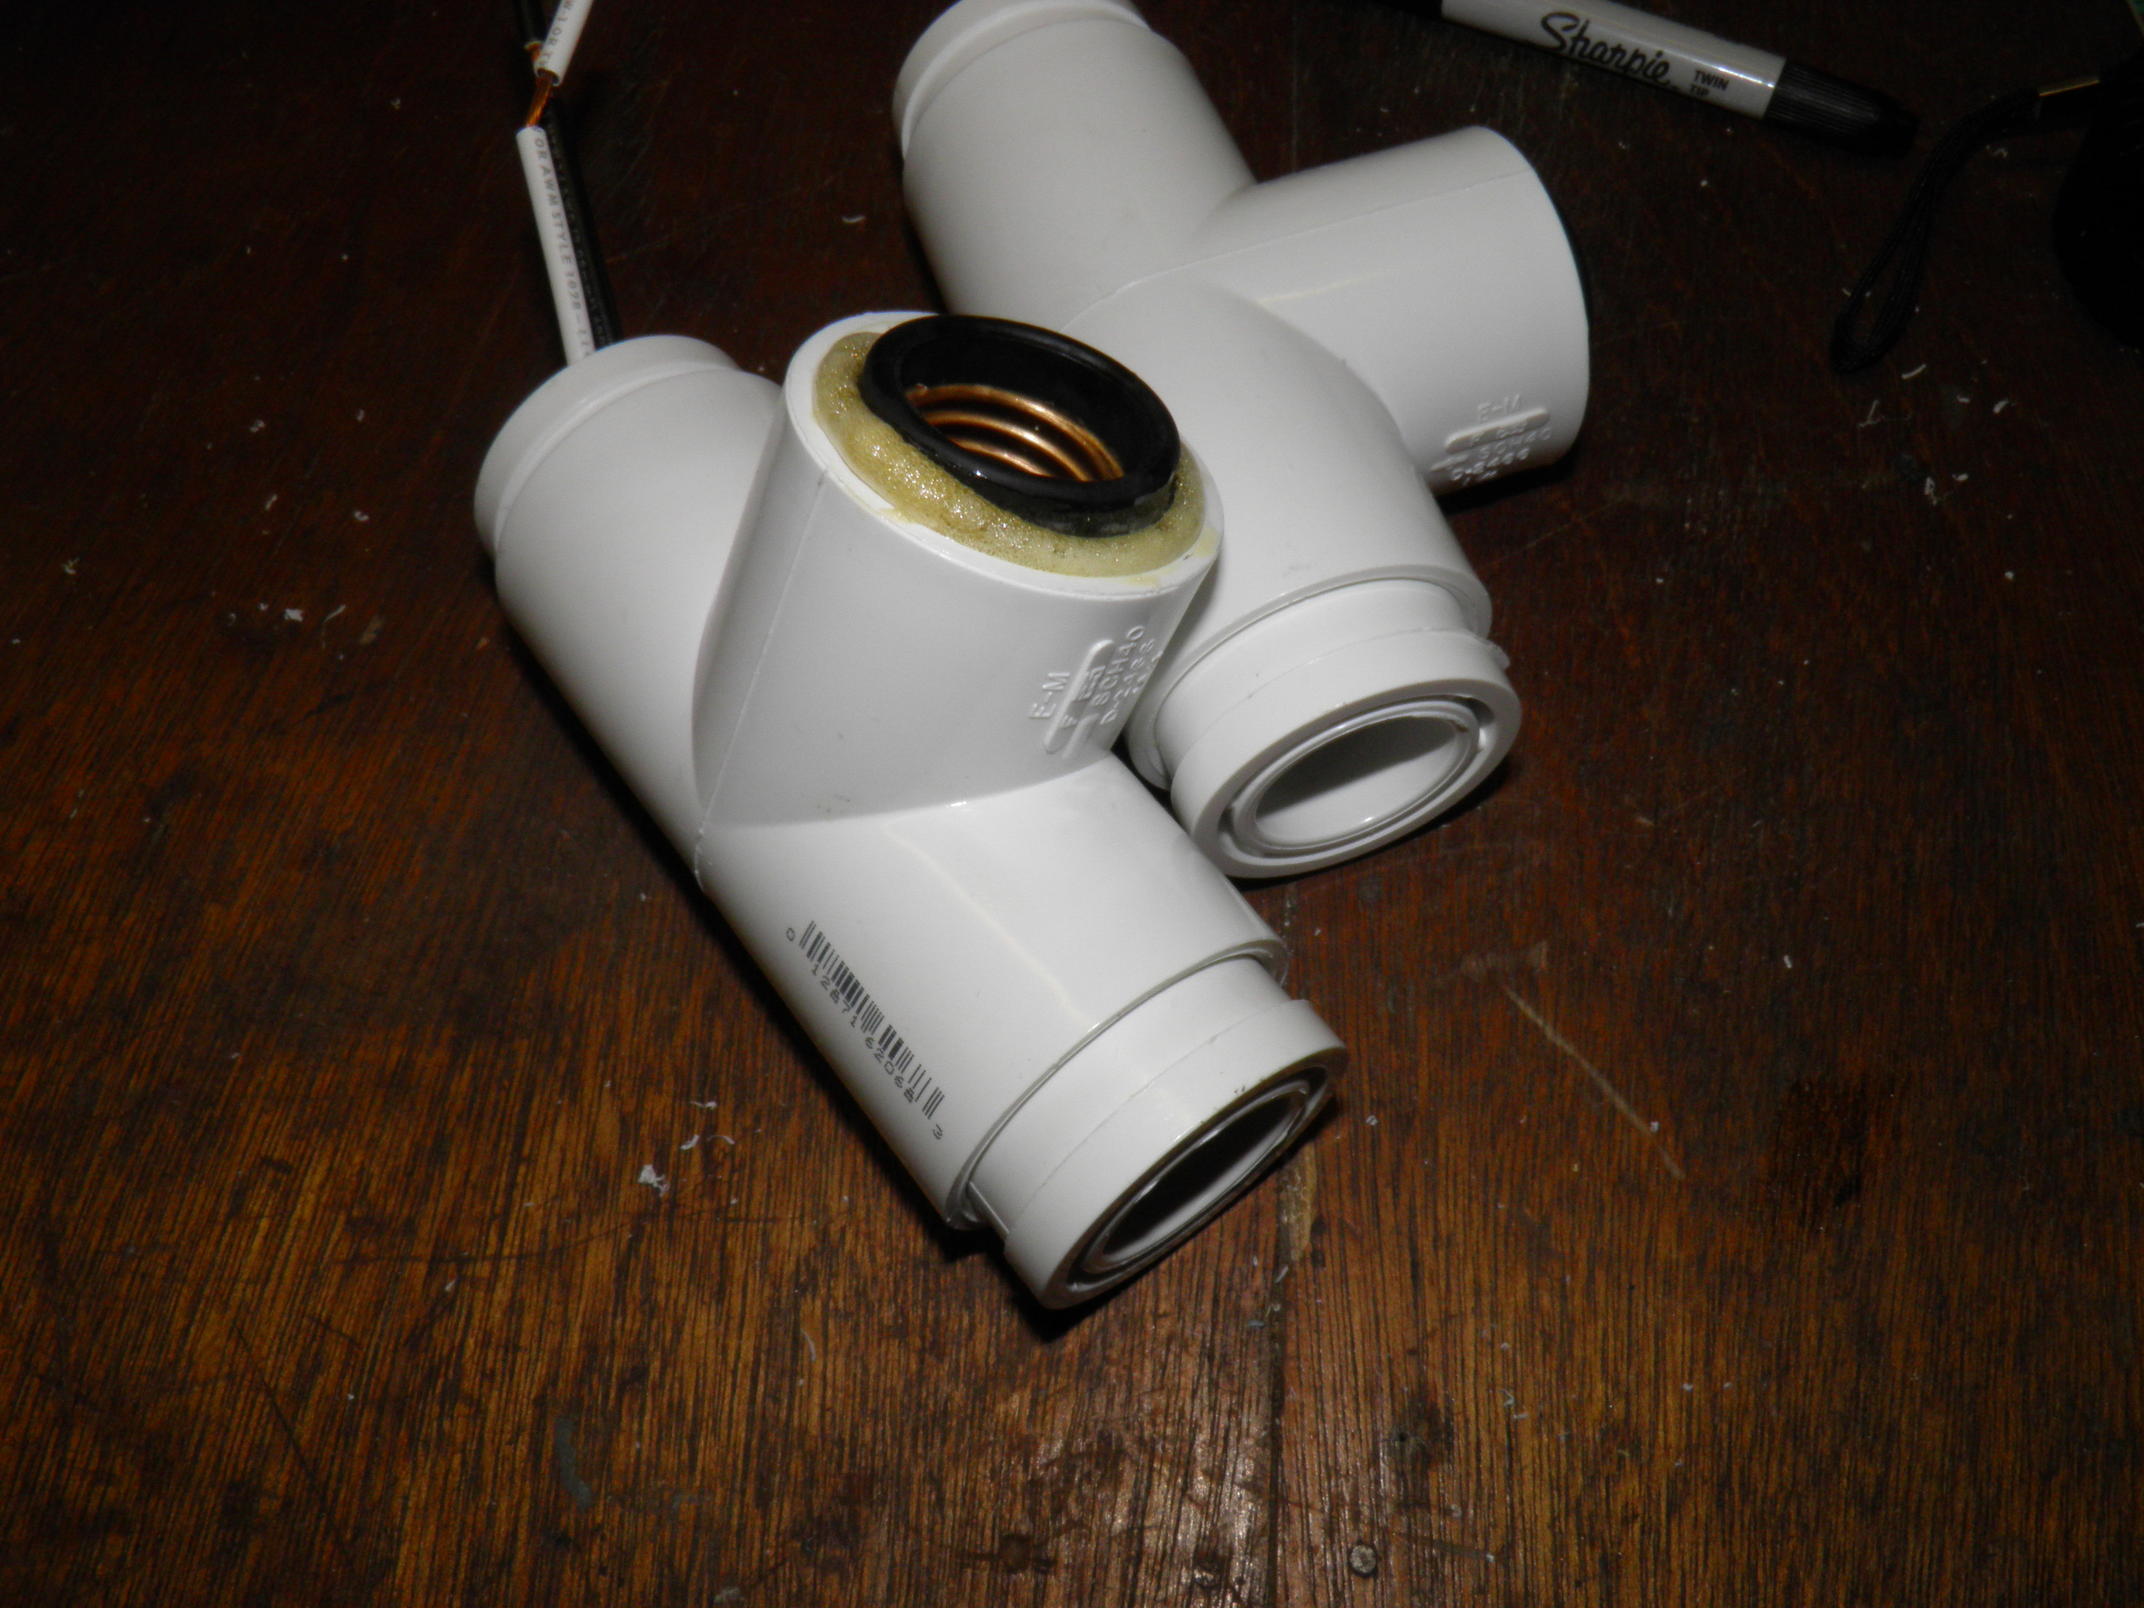
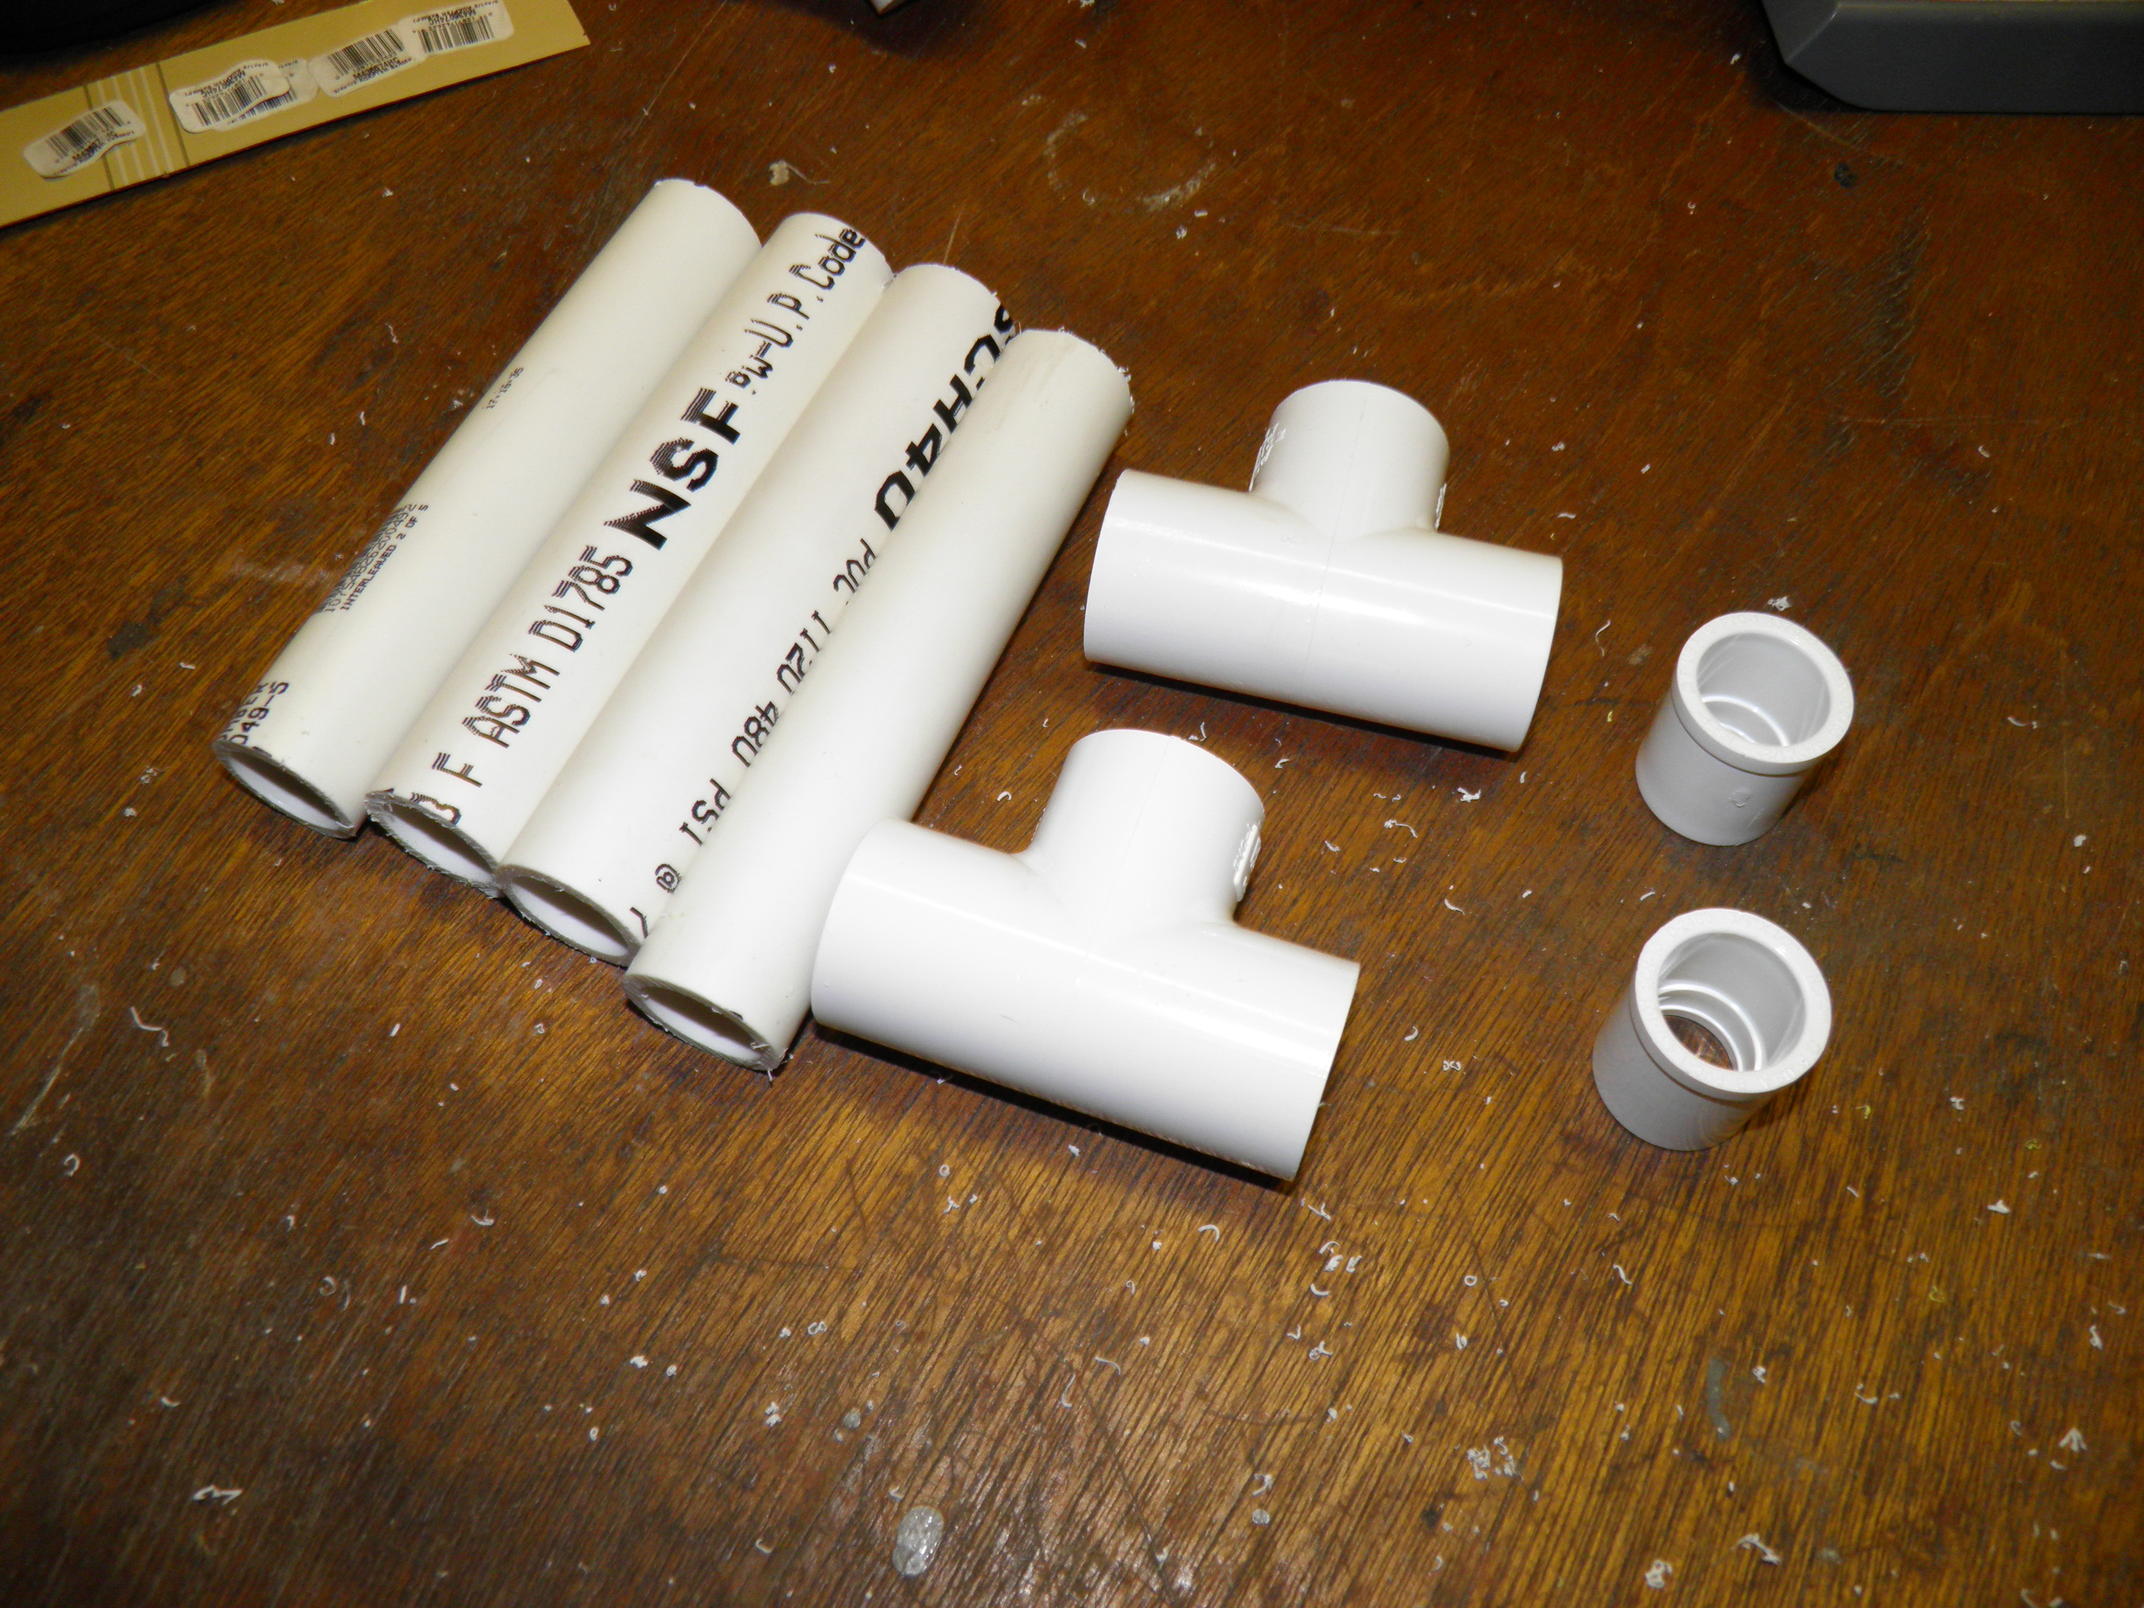
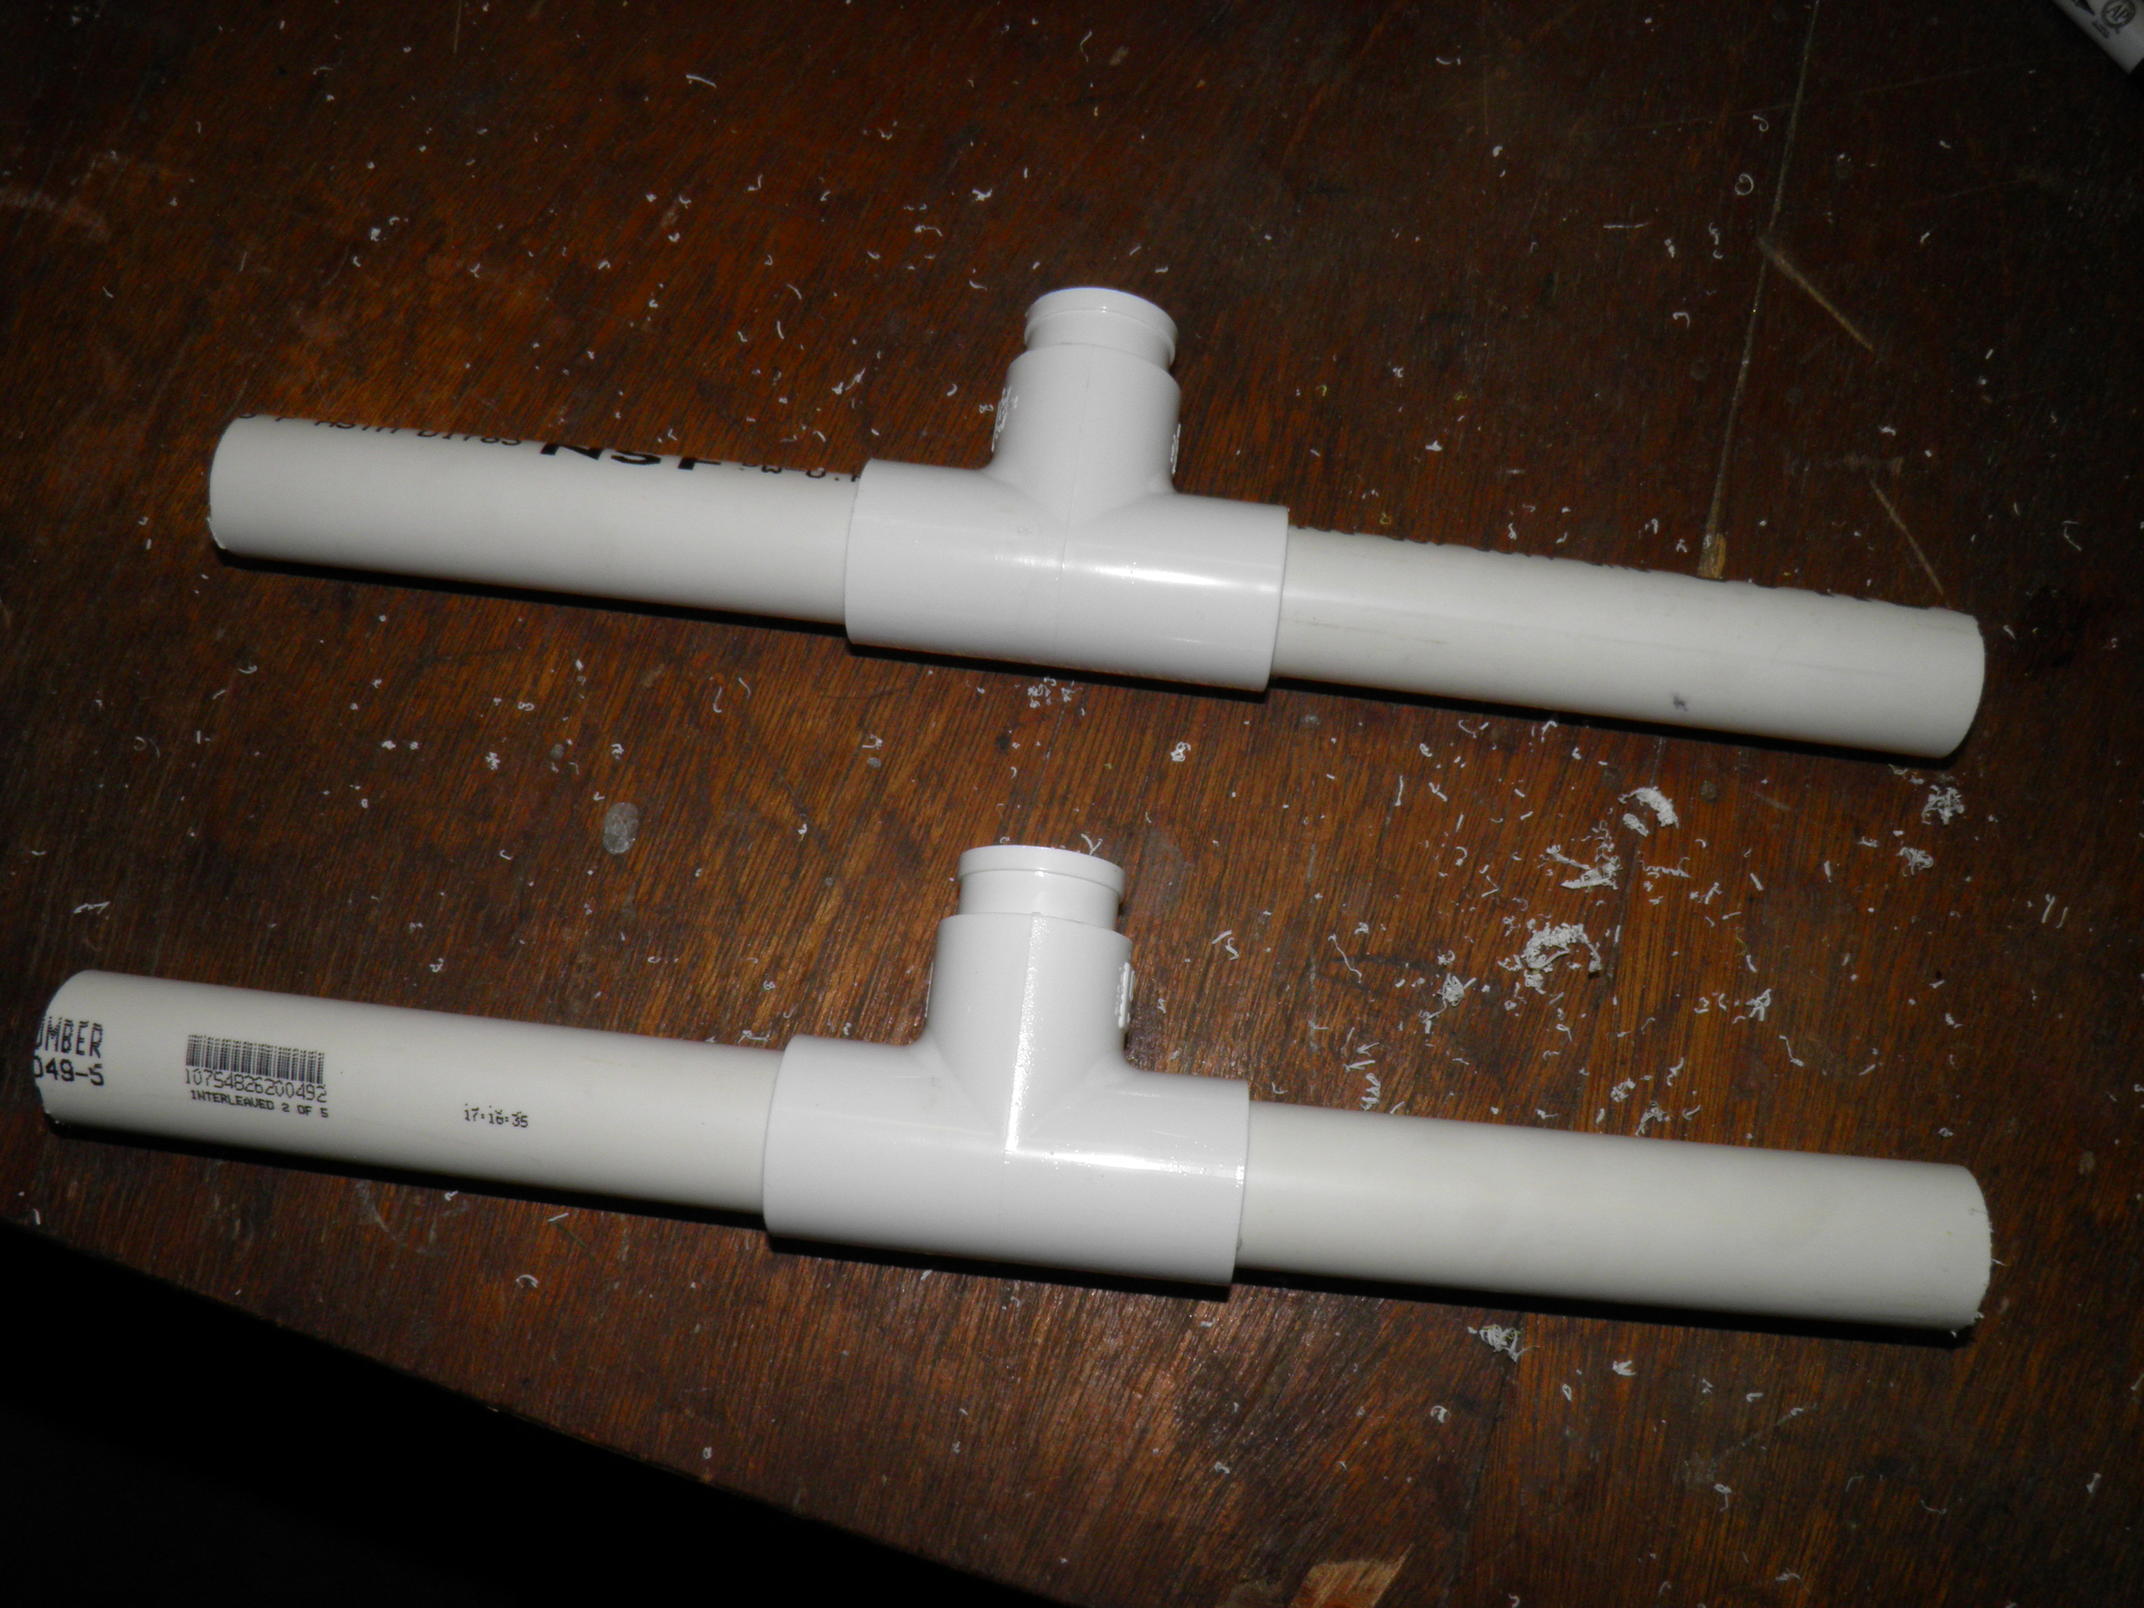
/To start the top frame and light, the first thing you'll want to do is glue your two weatherproof sockets into the 1-1/4" tees. I used gorilla glue this time since the hot glue I used last time did not hold up and gorilla glue cures pretty quickly. You can put the four 1-1/4" X 3/4" bushings into the tees at this time as well. Next, take the four 5-1/2" PVC lengths and connect them into the two 3/4" tees. These tees will stand straight up and provide a mounting location for the cardboard reflector. I used two plugs to add a bit more length to stabilize the reflector but you can just use short lengths of 3/4" PVC if needed. You can attach all the 1/2" threaded to 3/4" adapters to the 90 degree outlets at this time.
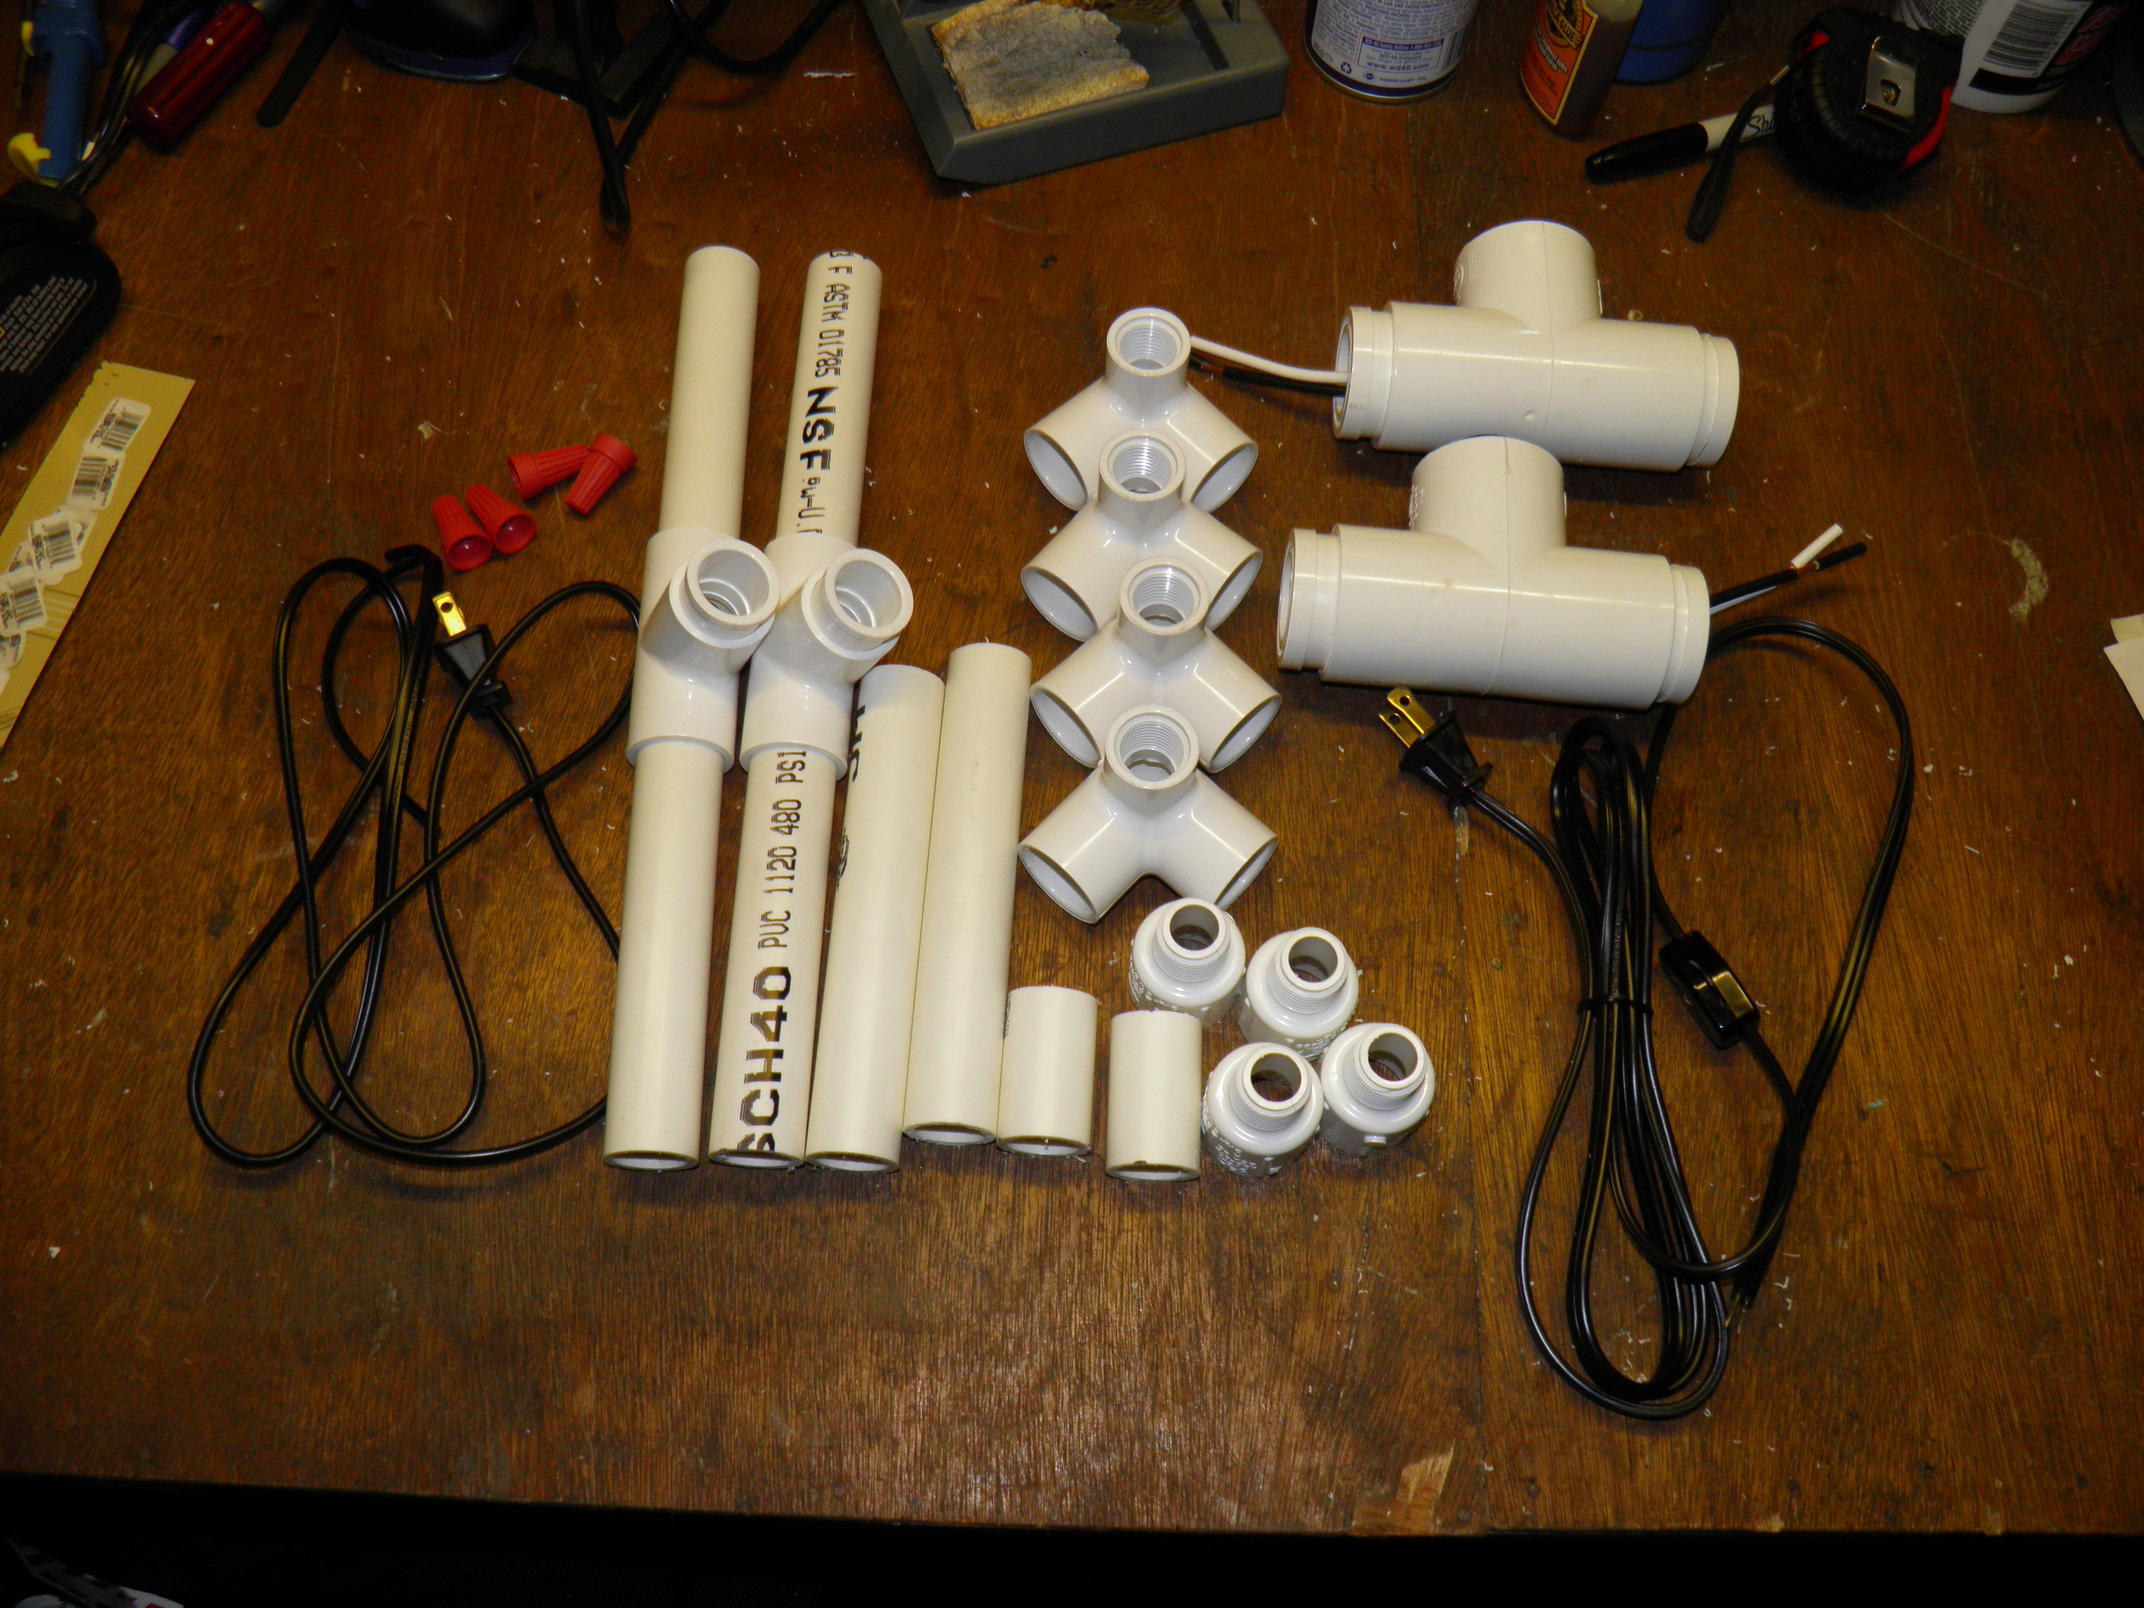
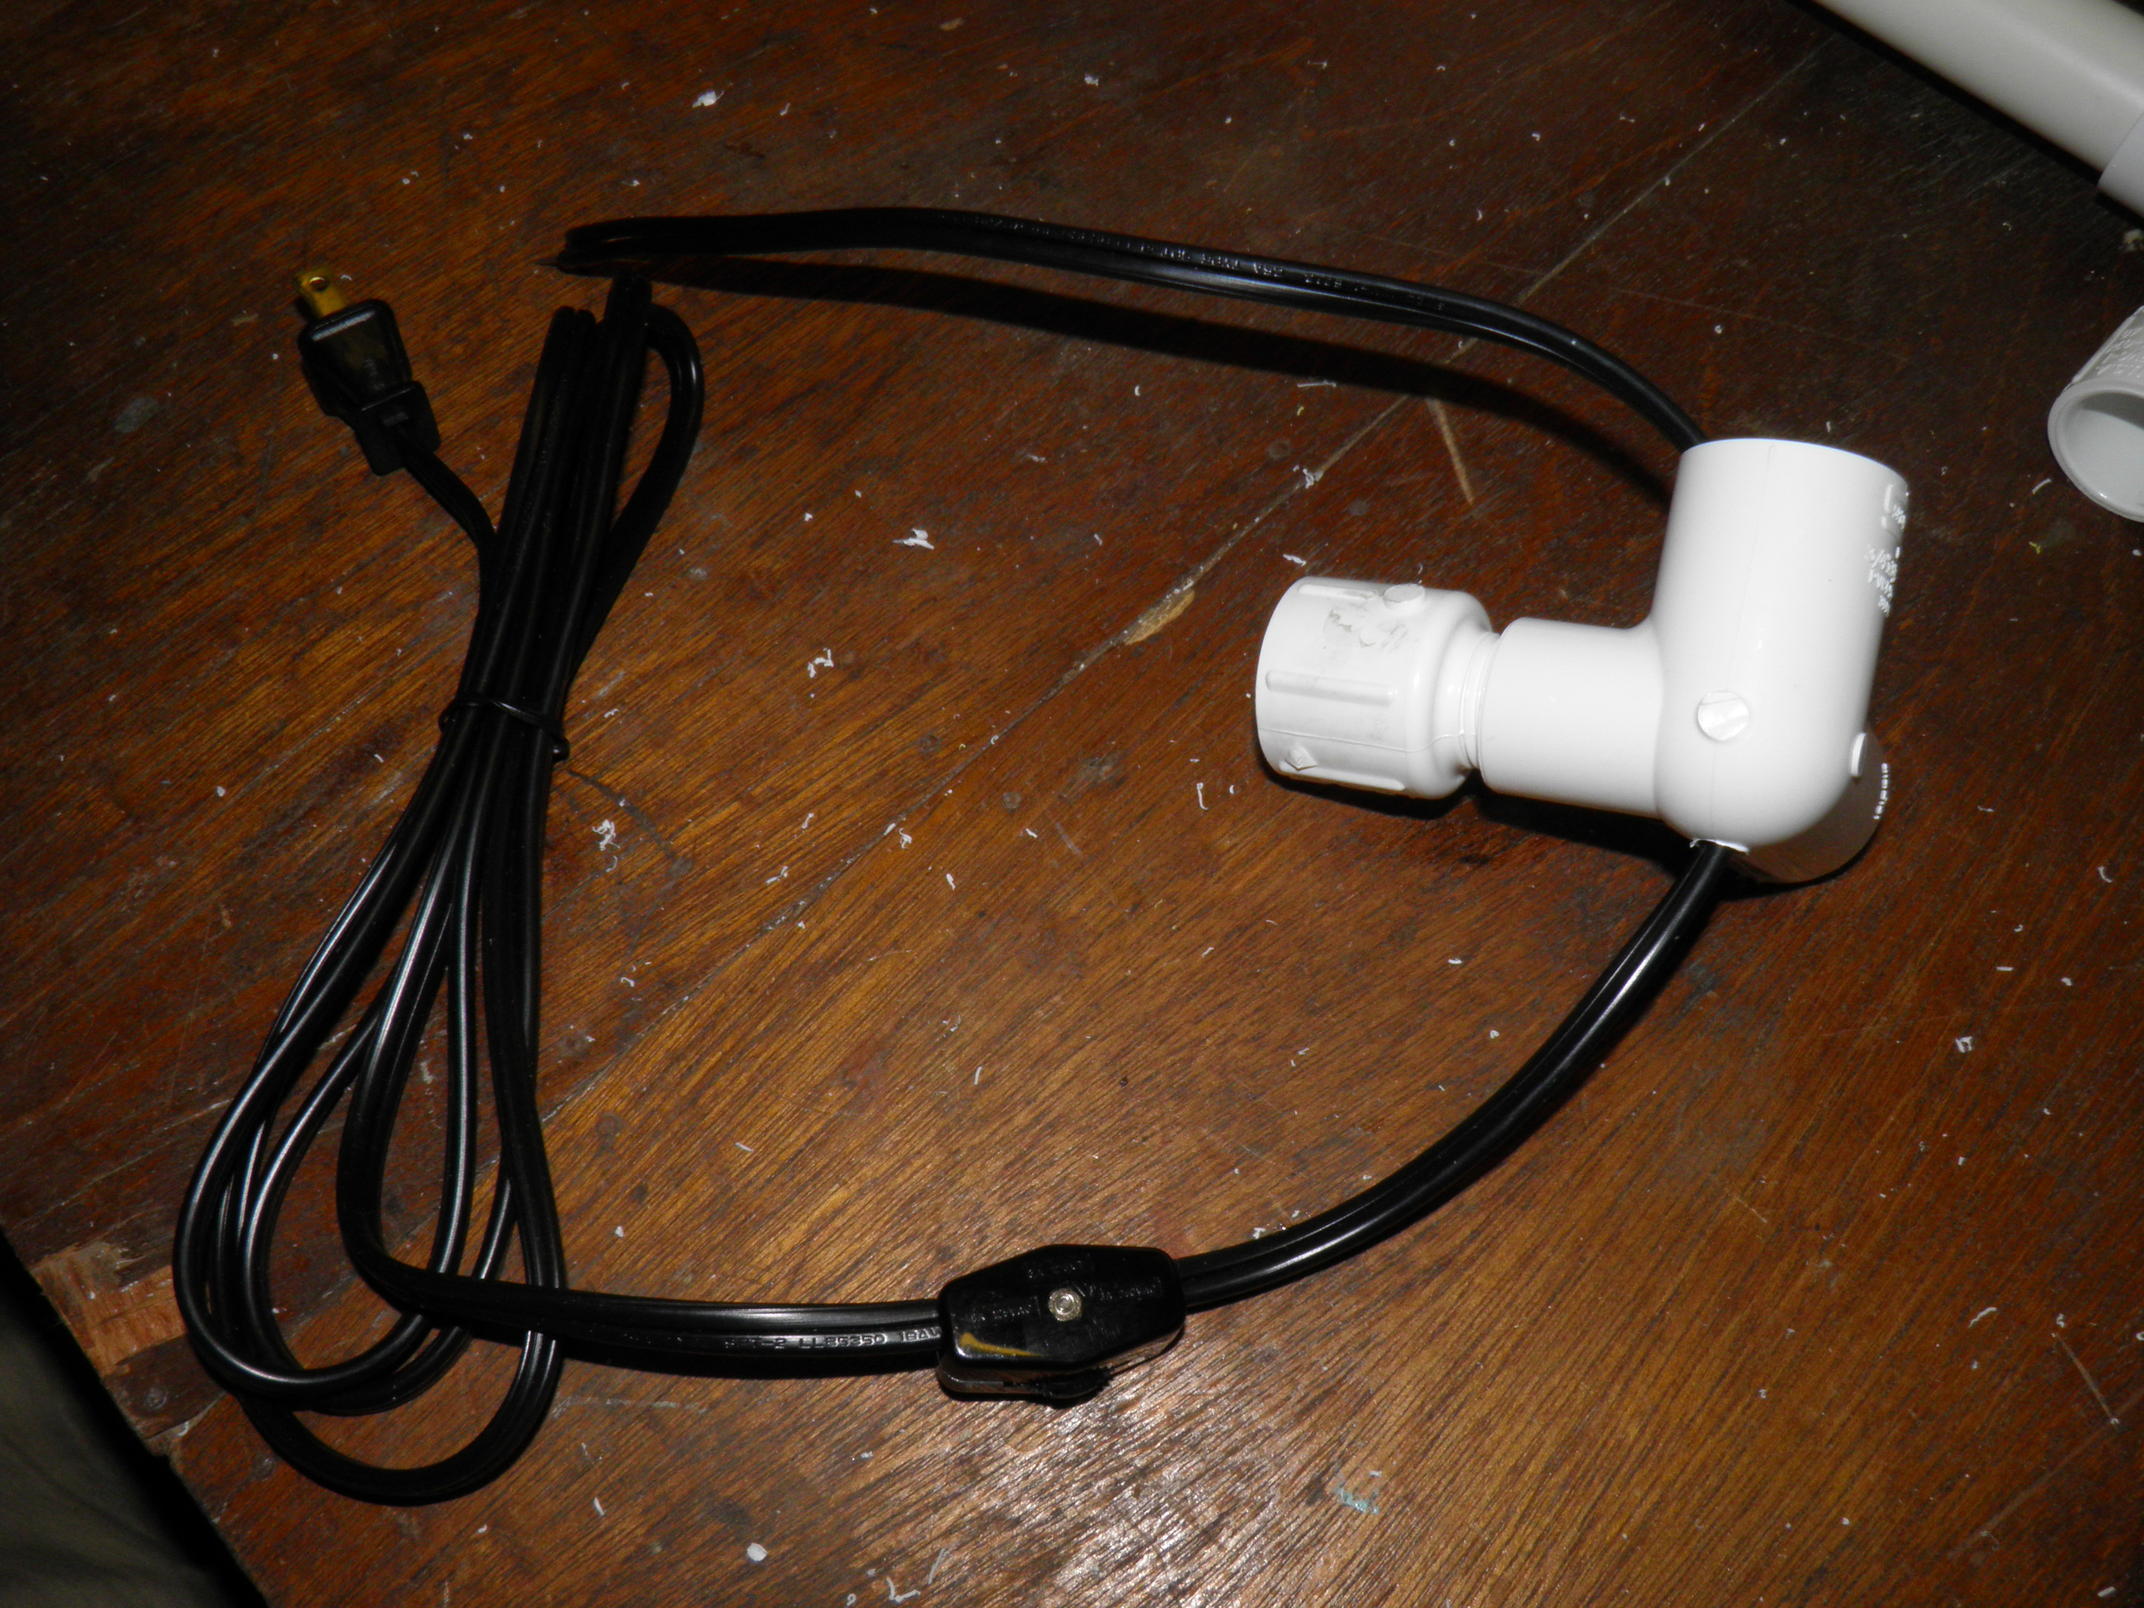
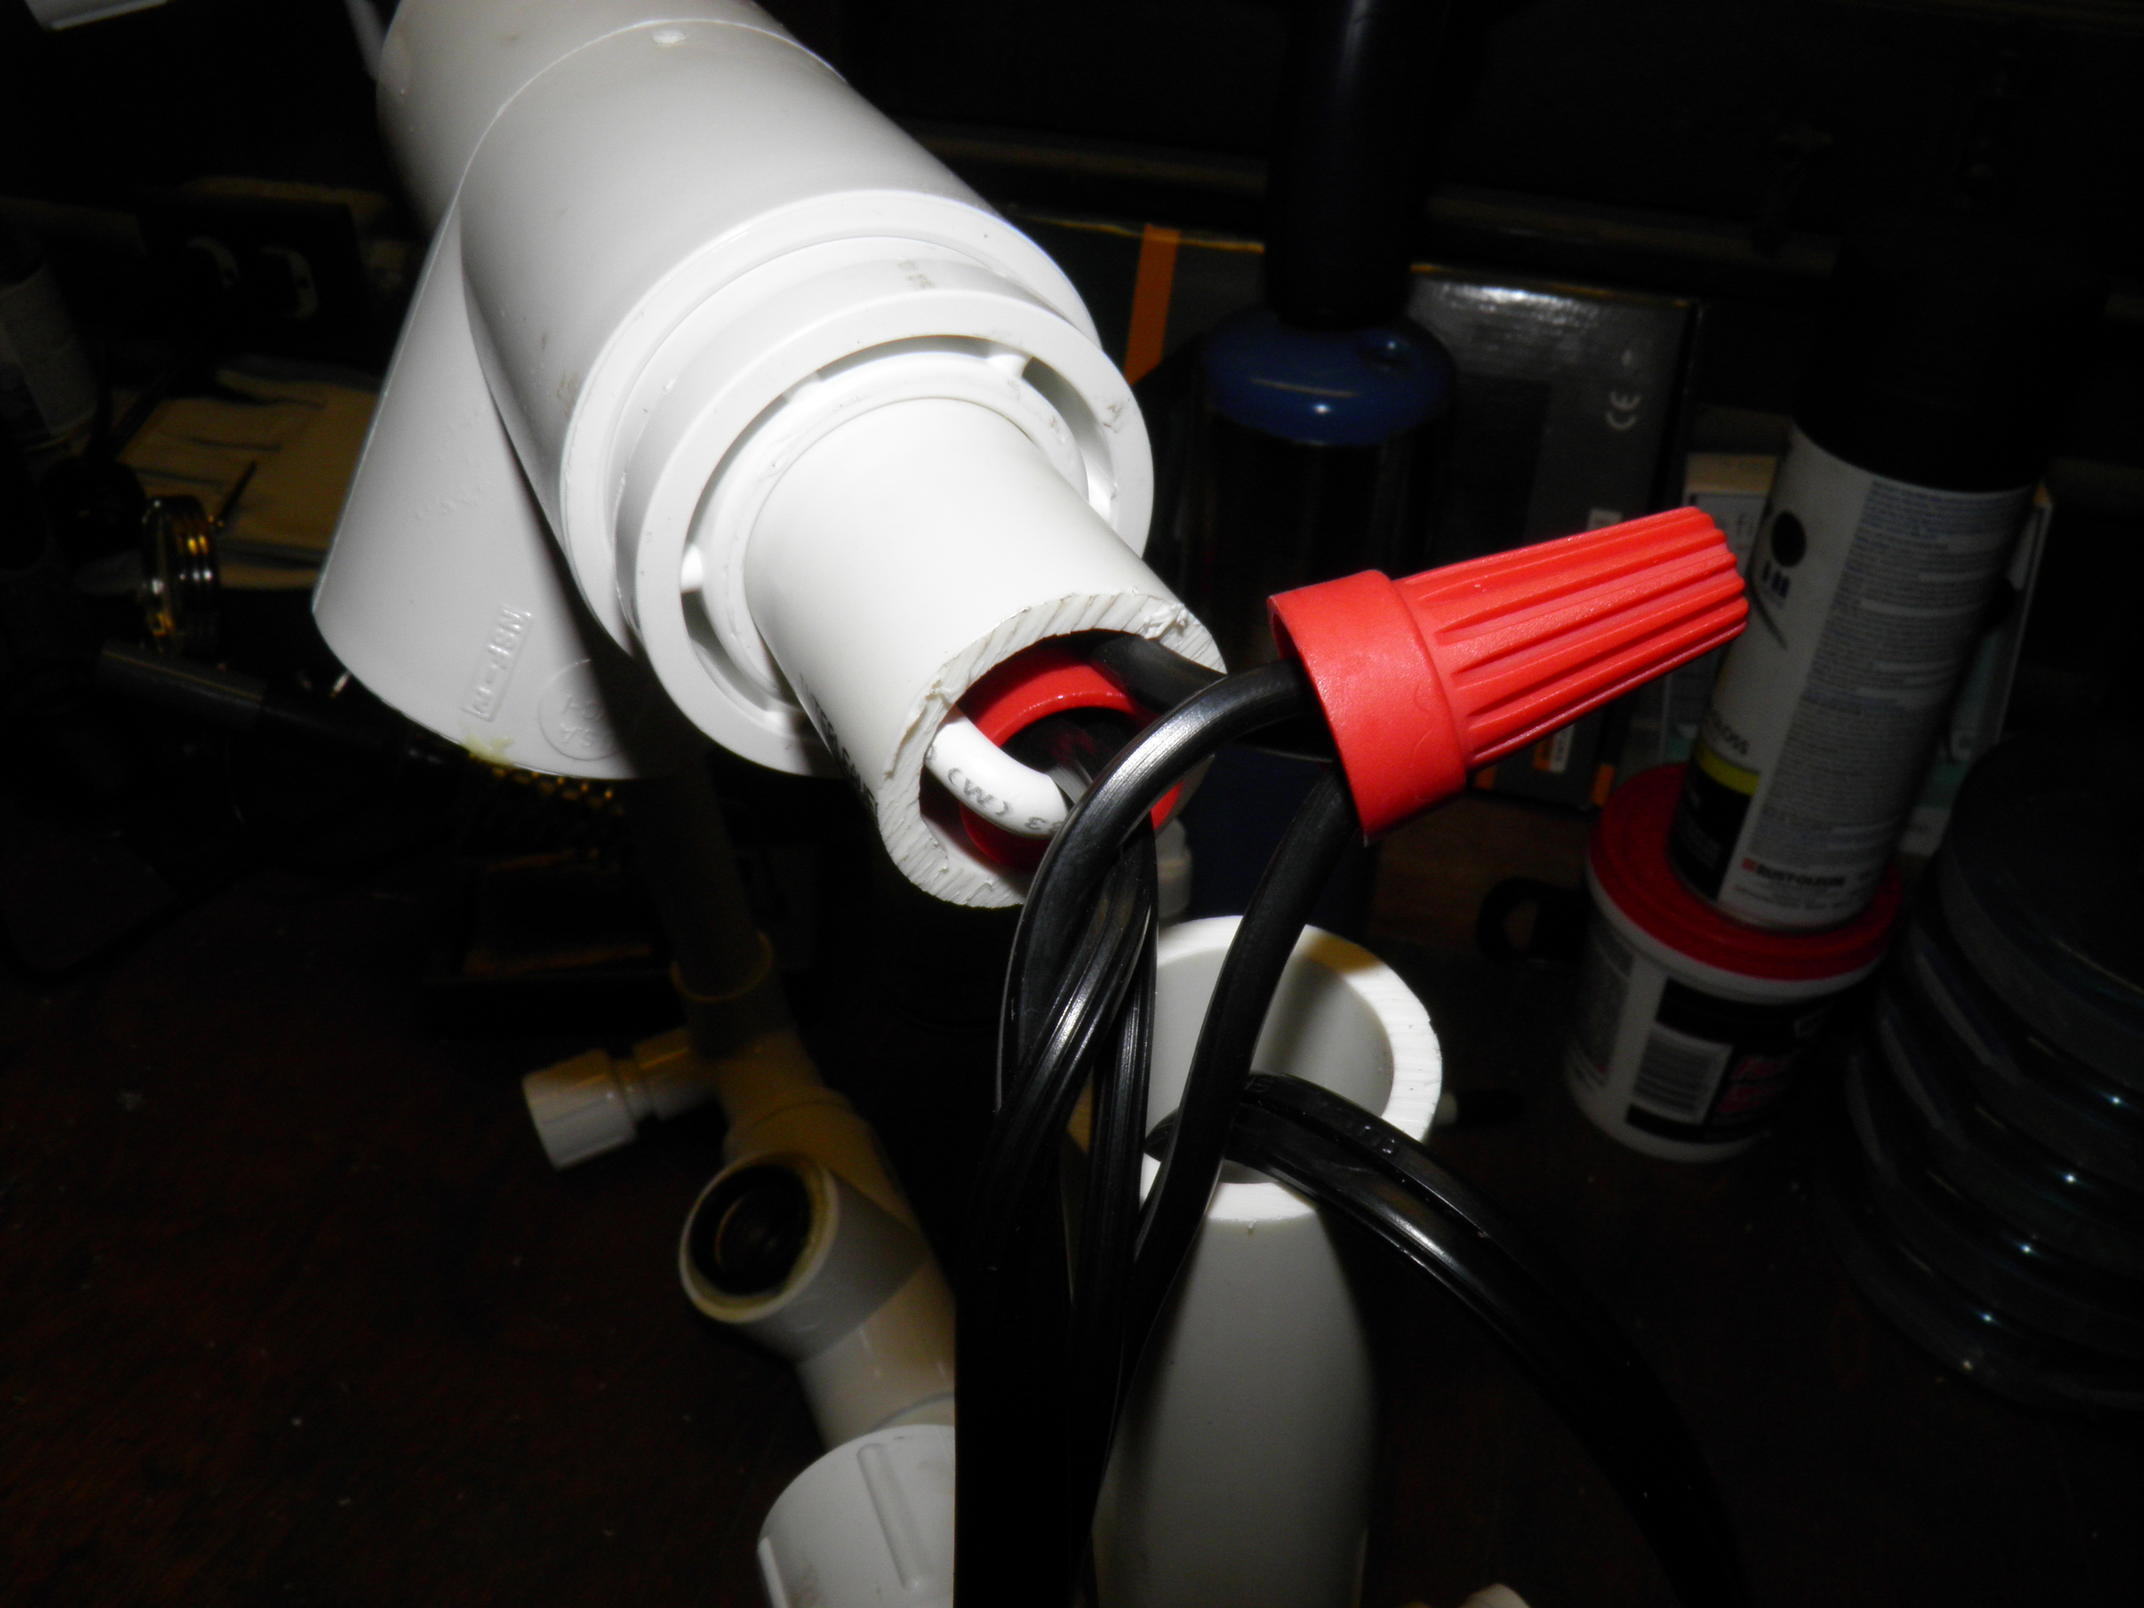
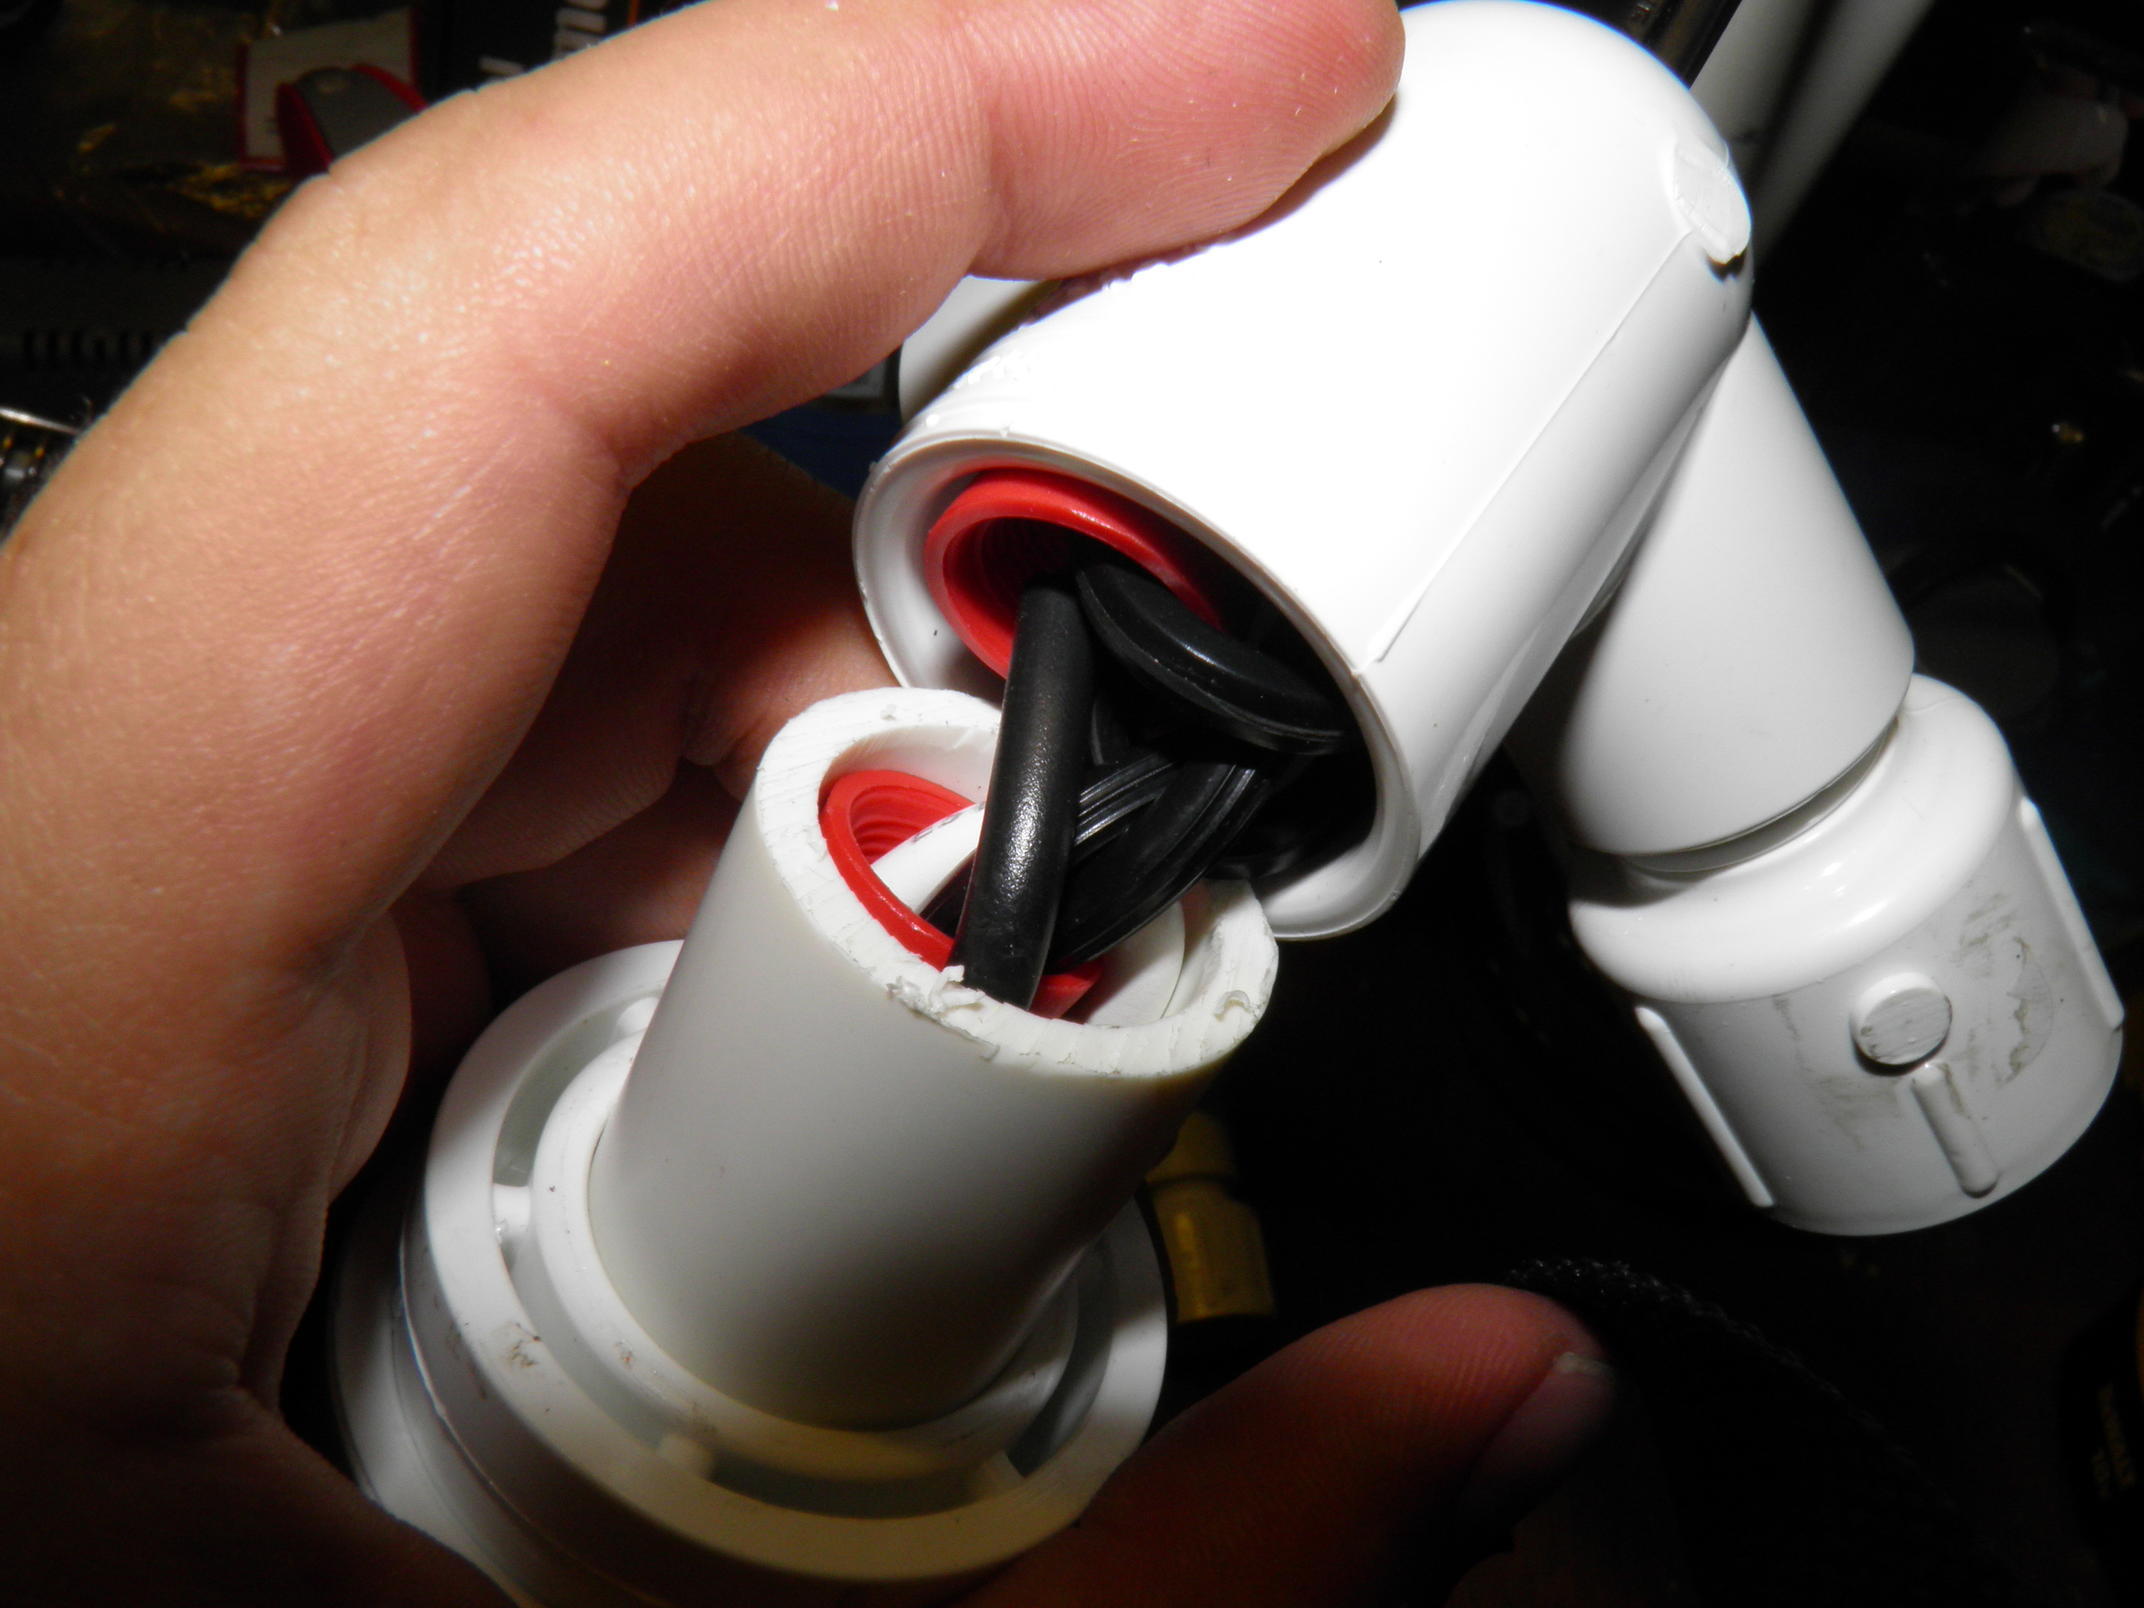
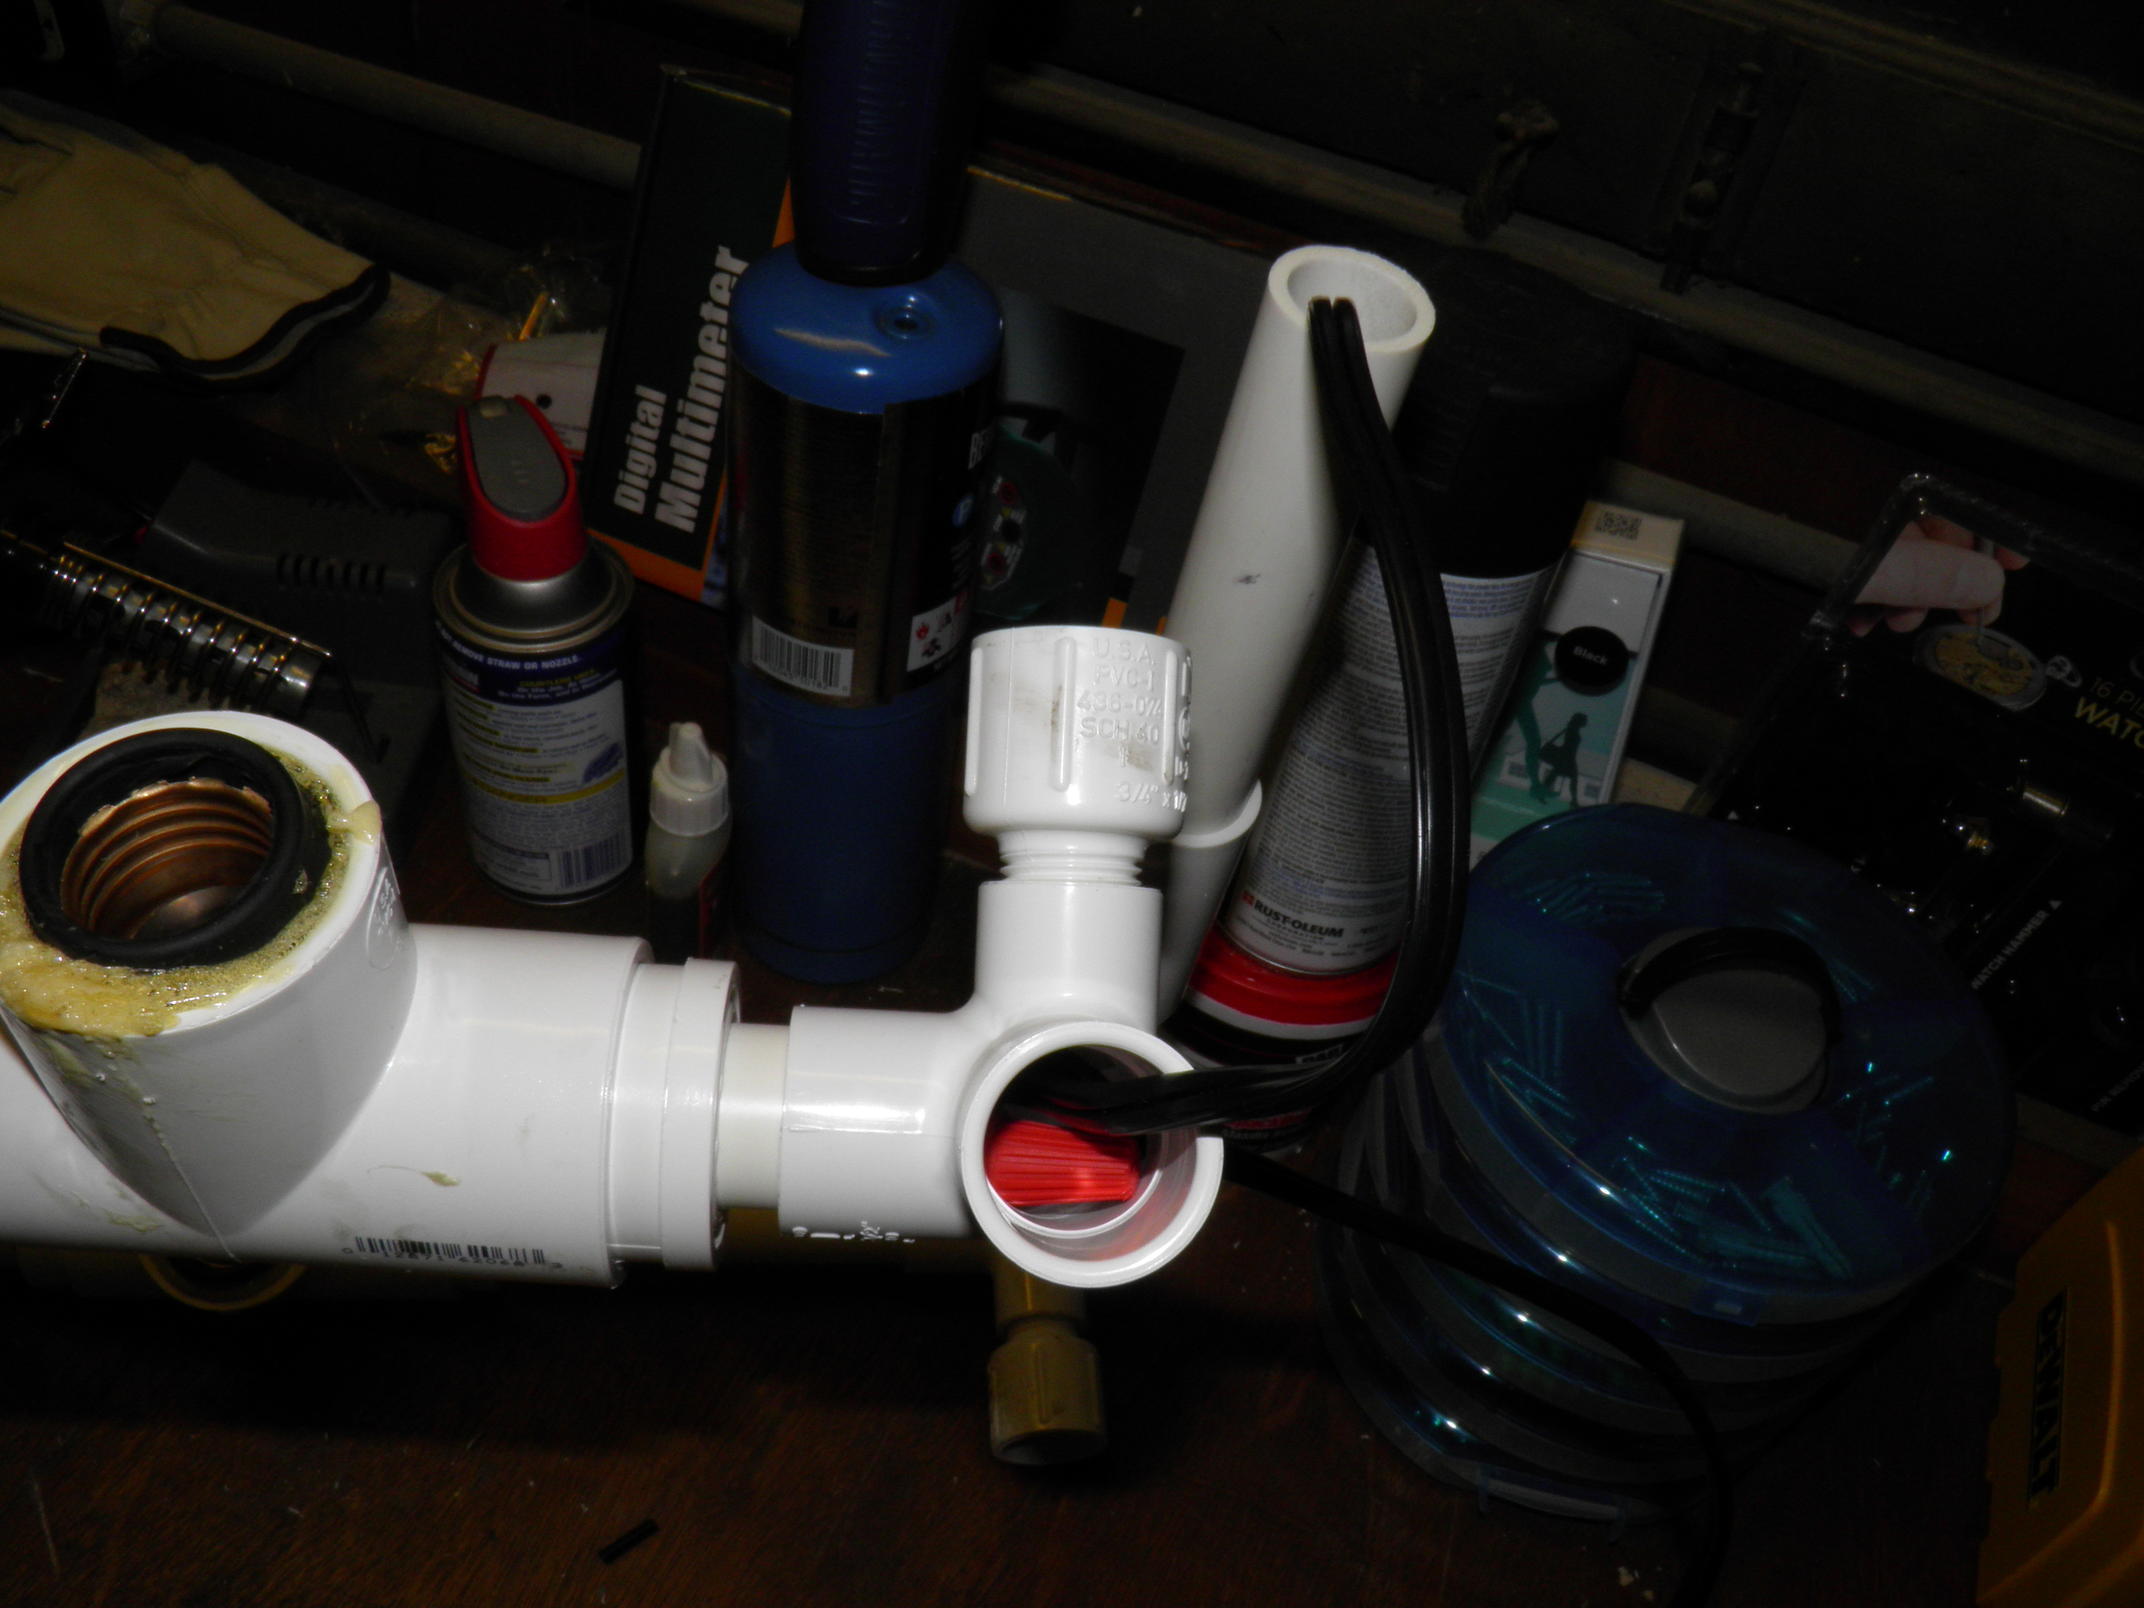
The lighting and wiring is probably the most challenging portion of this project. The fittings and wires had some tight fits and you have to ensure that the wire nuts are securely fastened. To create the top frame and lighting system you will need a 6 ft lamp cord, ~21" of wire cut from the 6 ft lamp cord, the two reflector mount sides made in the previous step, four 90 degree outlets, four 1/2" thread to 3/4" adapters, two 2" lengths of PVC, two 6" lengths of PVC, your light socket tees made in the previous step, and four wire nuts.
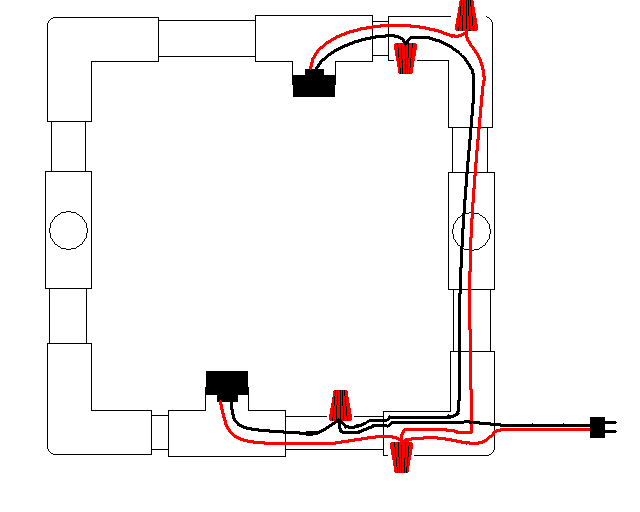
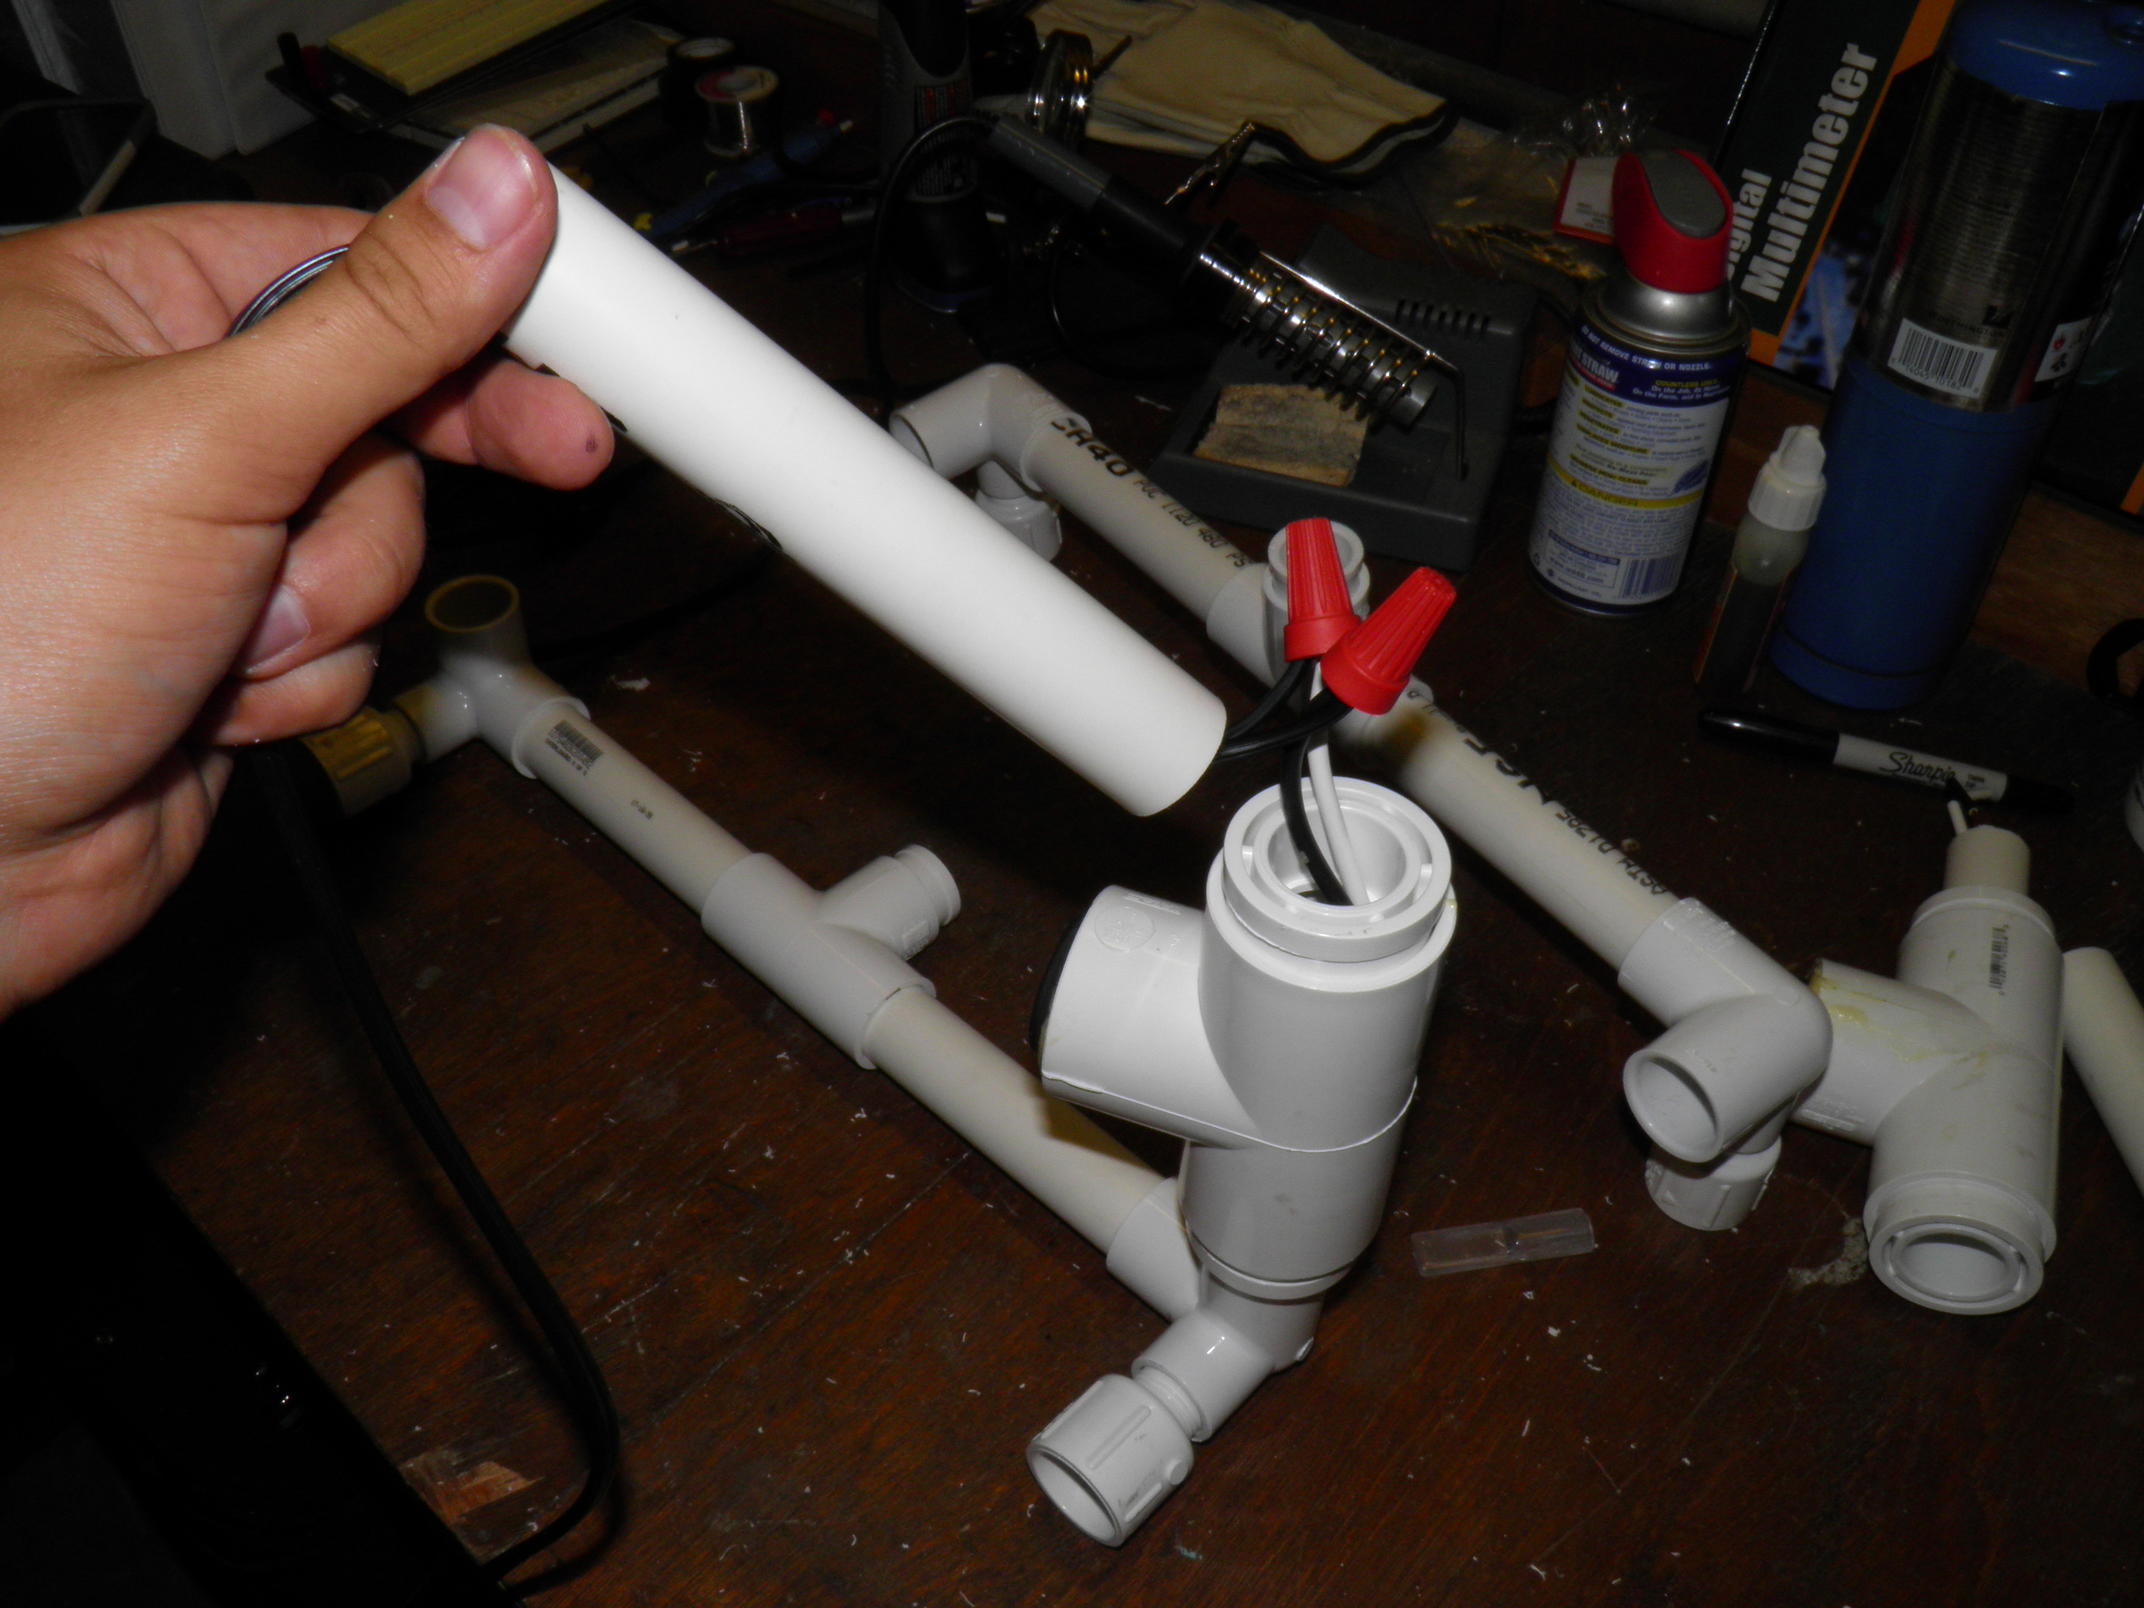
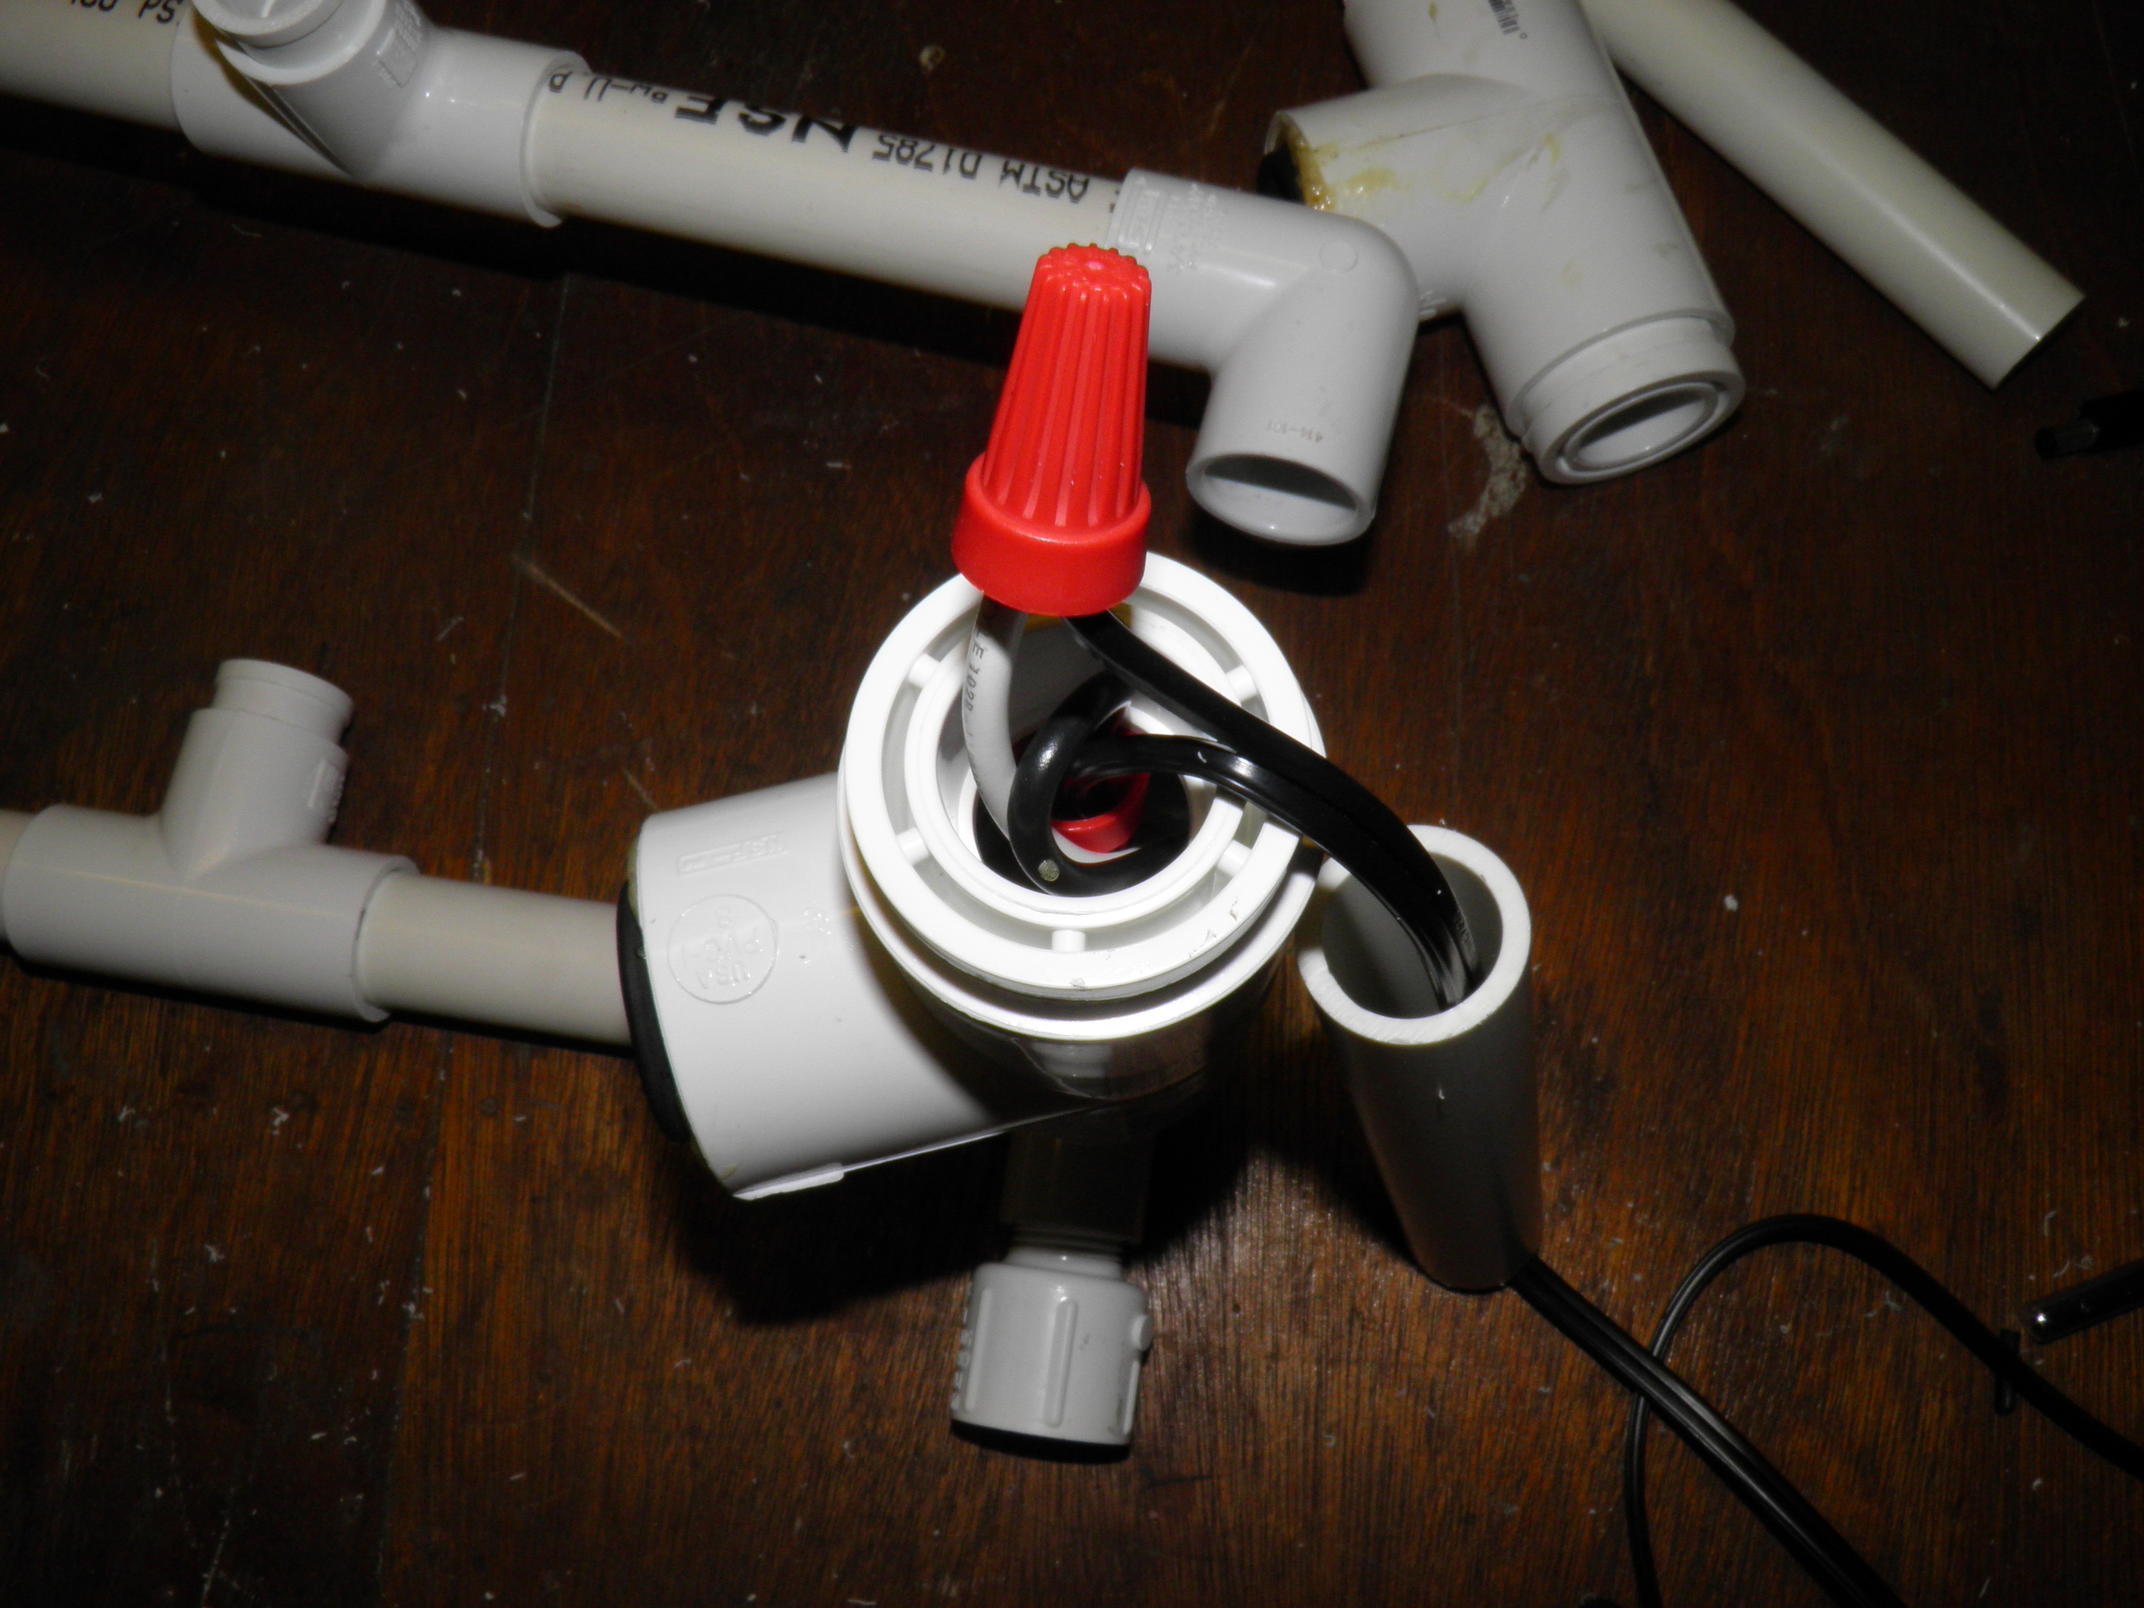
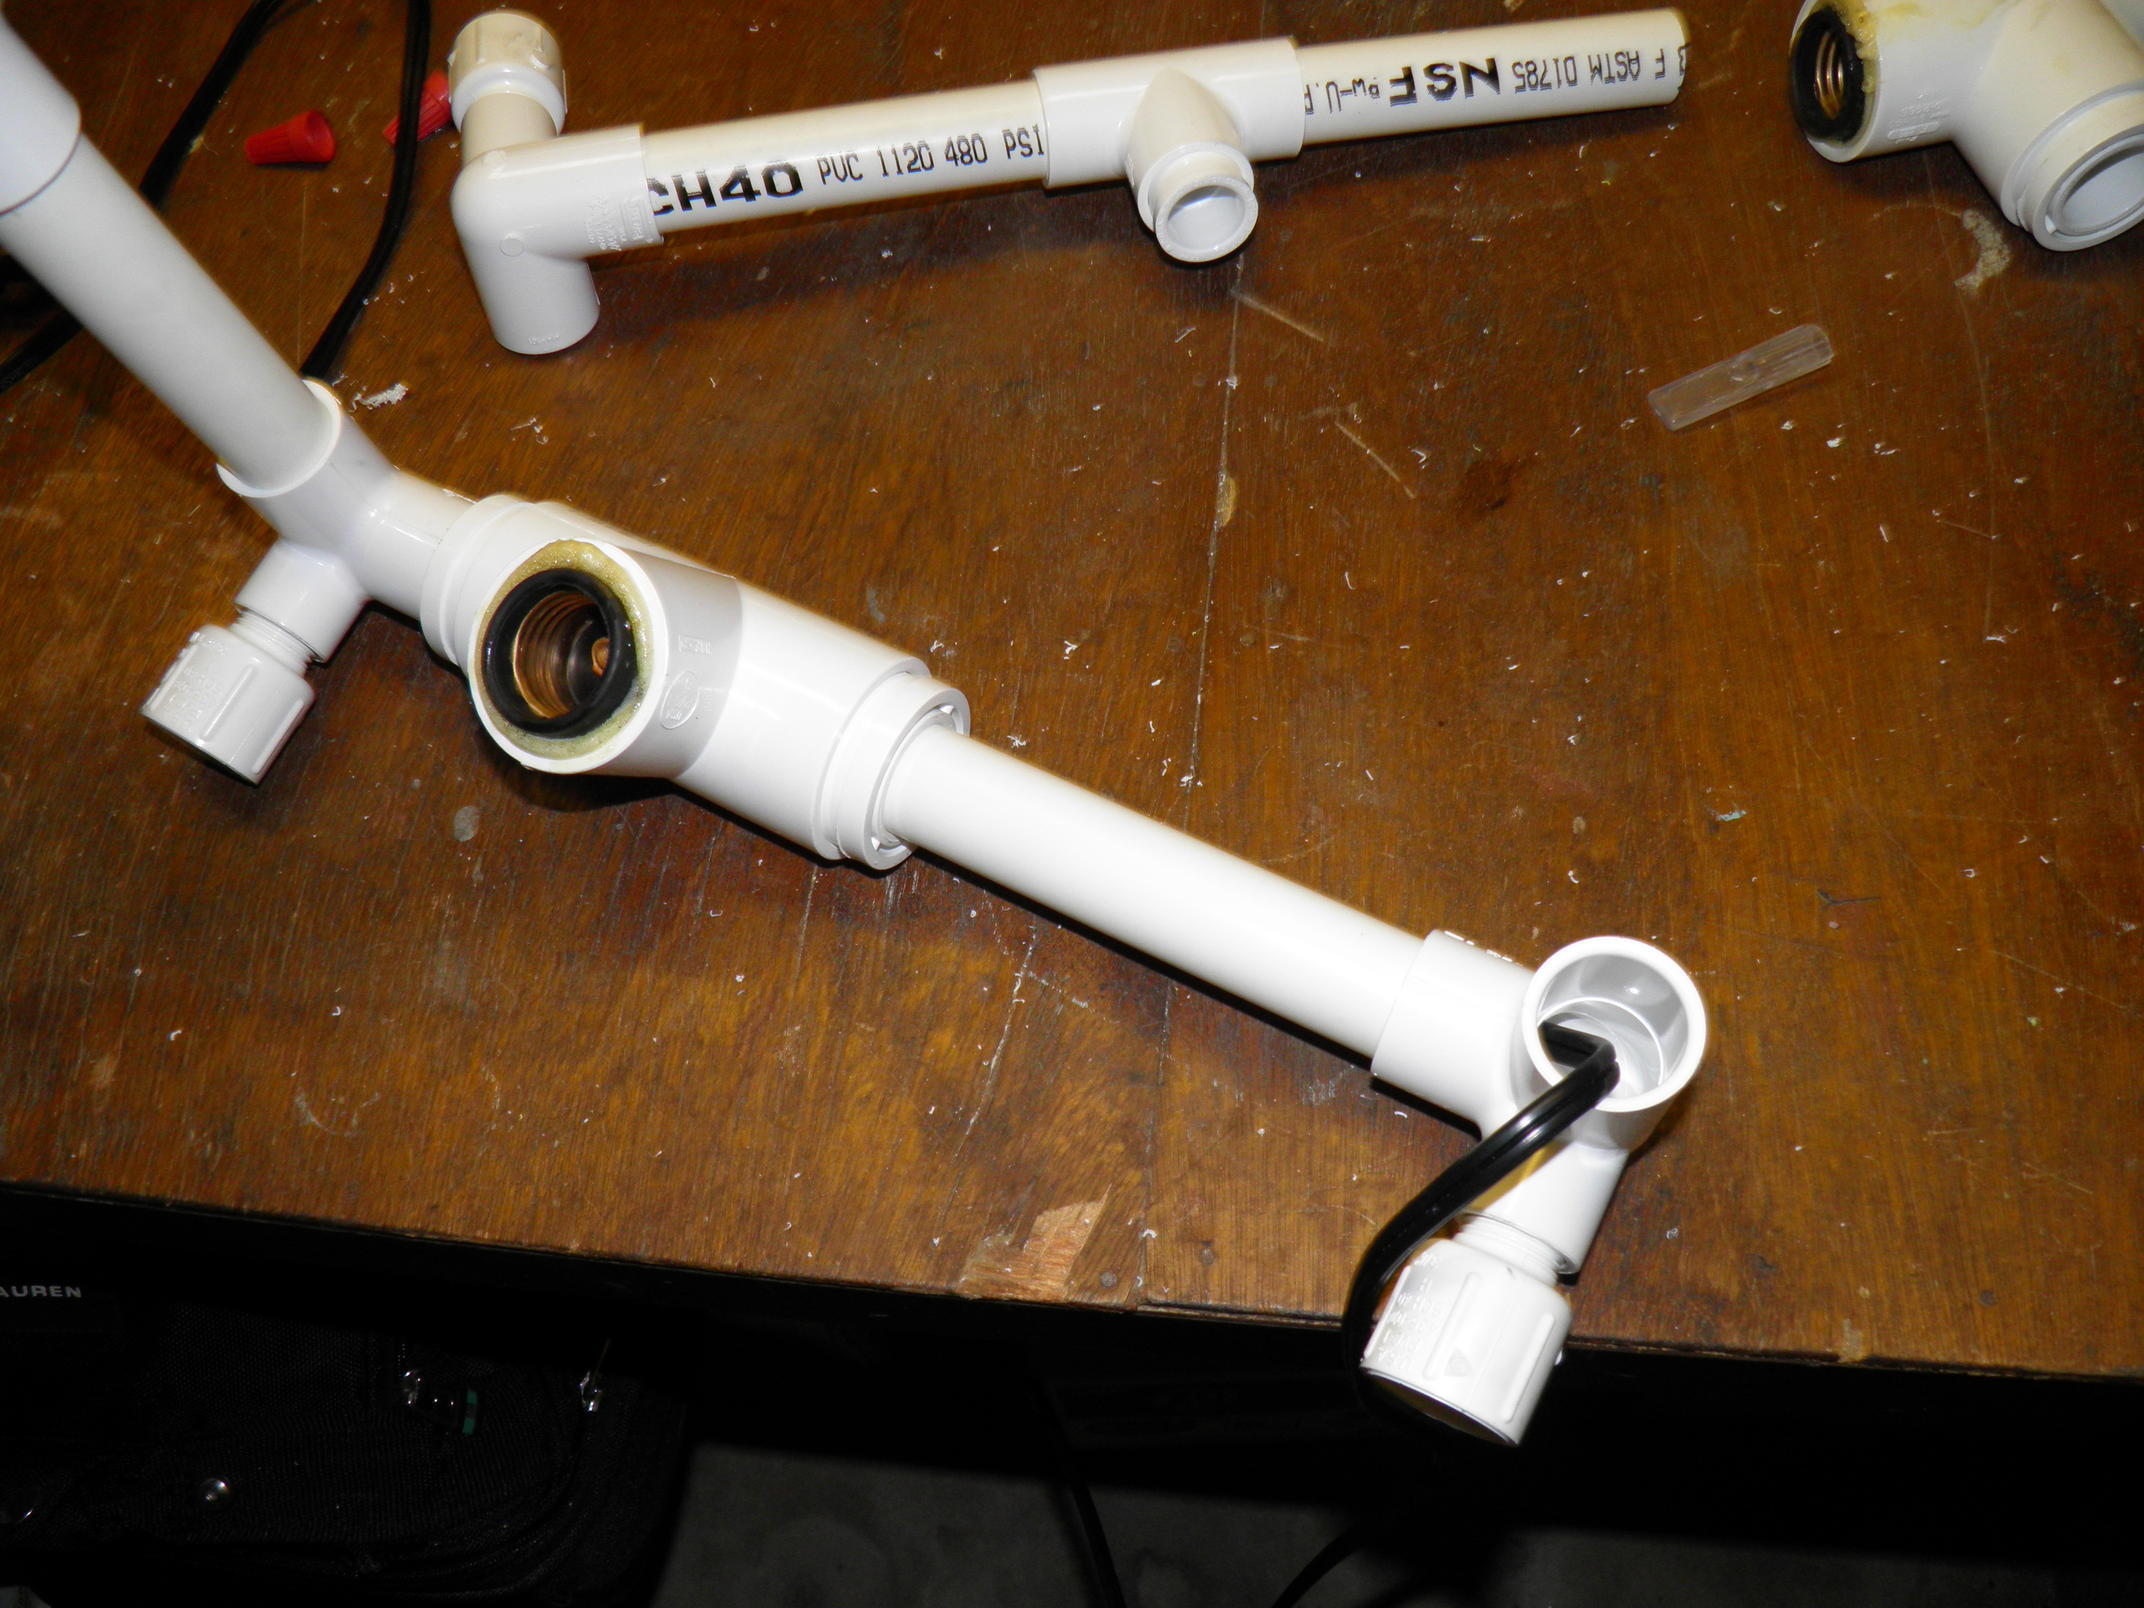
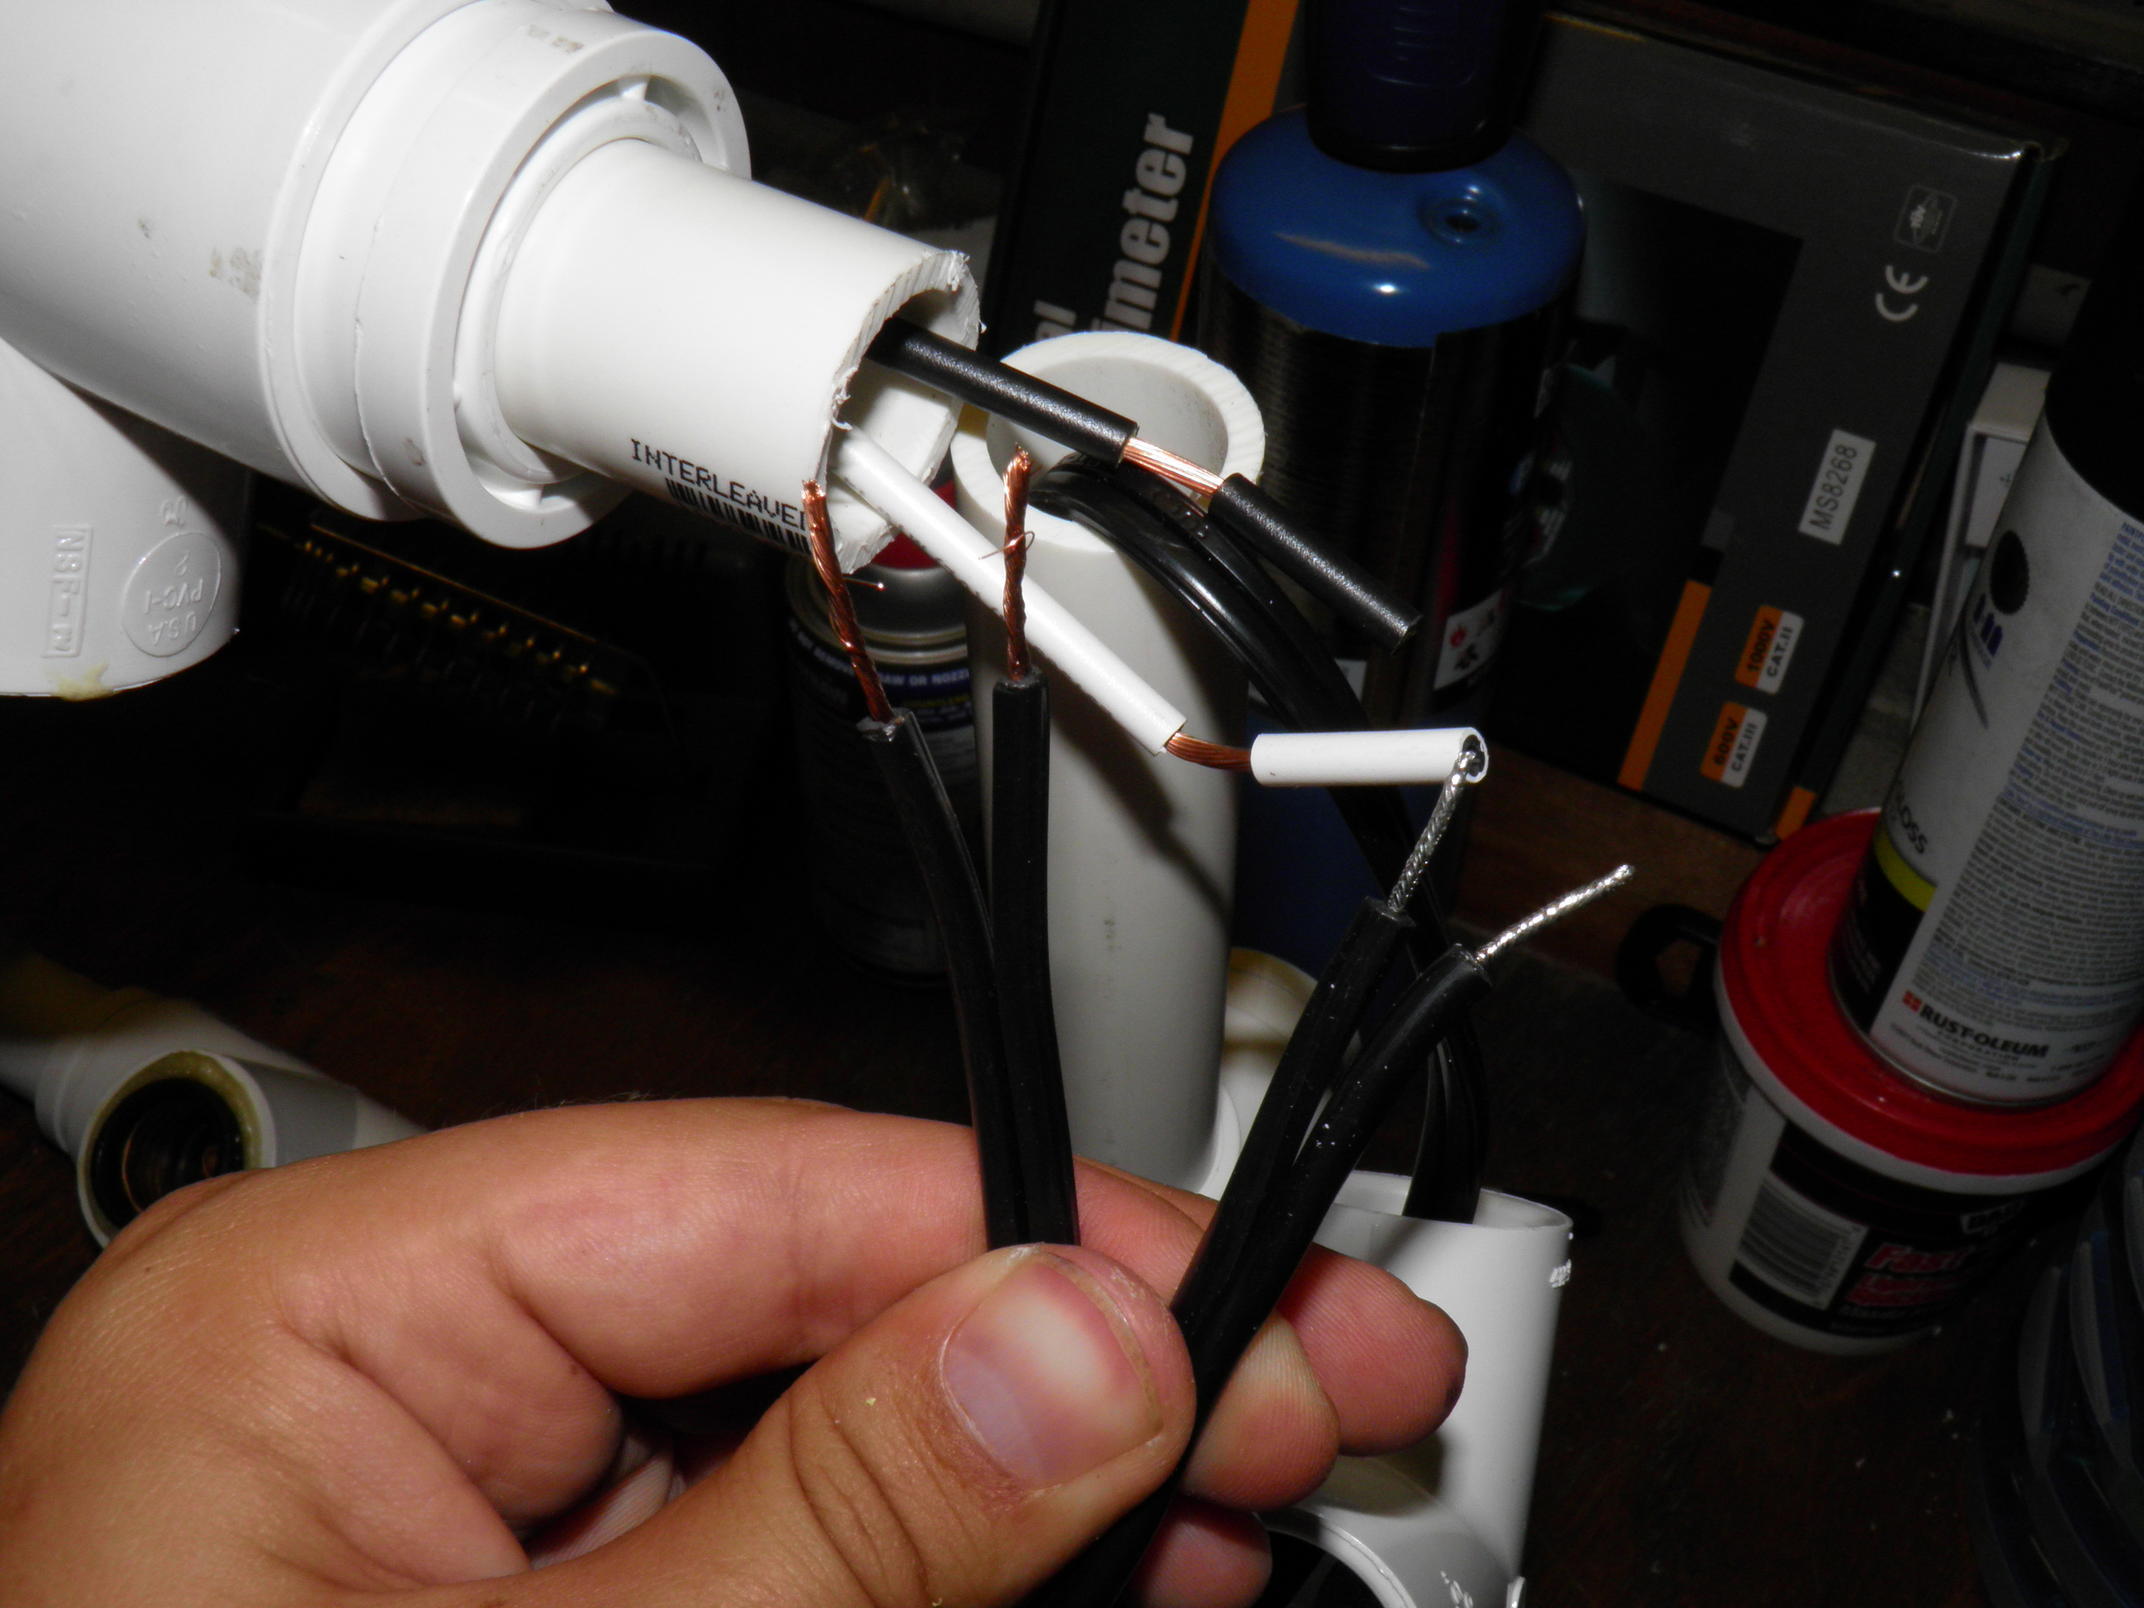
Start by taking one of the reflector mount sides and attaching two 90 degree outlet combos to each side. Attach one 2" length and one 6" length to the other open ends of the outlets. Attach one 1-1/4" light socket tee to each side with both sets of wires pointing up. I offset the length of hot wire and ground wire on each connection to allow for proper separation of wire nuts. Wire up the first light socket with two wire nuts and thread on the one remaining PVC length for that side and a 90 degree outlet. Thread the wire through the second reflector support side. Drill a 1/4" hole into the last 90 degree outlet, push the lamp cord that will plug into the wall through, and thread on the last section of PVC pipe. You should now have a set of wires coming from the wall plug, a set of wires coming from the first light socket, and a set of wires coming from the second light socket. Wire all three hot wires together and all three ground wires together with two wire nuts. Shove excess wire and wire nuts into the PVC pipe and press together. I did not use glue on any of the frame in case I wanted to salvage any parts or repair any wiring problems. Also note that the 1-1/4th tees can be twisted to adjust the light bulbs. Hopefully the pictures do a better job of explaining the steps if they sound confusing. I've included a quick wiring sketch to show how things go together as well. At this point you can test your wiring and make sure both lights work.