Basil Box Build - Part 5 - Three Weeks Progress, Trimming, and Rooting

Basil Box Build - Part 5 - Three Weeks Progress, Trimming, and Rooting

     It's been two weeks since I've transplanted my basil plant into the Basil Box and it's doing fantastic. Roots seem to have taken hold and growth has really picked up. You can see that the hydroponic basil leaf is much larger and a deeper green than the soil based leaf. As the basi grows you're going to have to trim it to keep it under control. I prune my basil by snipping off the largest stalk right around where you can see two sprouts coming out at 45 degrees.

Read More

Basil Box Build - Part 4 - Reflector, Final Touches, and Setup

Basil Box Build - Part 4 - Reflector, Final Touches, and Setup

    Once the top lighting frame is complete we can make the cardboard reflector. Make sure the top frame fits onto the base/legs before tracing and cutting your reflector to avoid incorrect dimensions. I flipped the top frame over and set it on a large piece of cardboard. I traced an outline of the frame, including the mounting tee holes, and cut it with a box cutter. I then covered it with aluminum foil/tape and made sure it fit nicely on the top frame mounting tees. If you bought the four optional couplings (which I recommend in order to adjust the height of the lights during your plant's growth) you should also cut four ~7" pieces of PVC to use as extensions. I then attached my air pump to the frame to keep this unit compact, but it isn't necessary. I used two zip ties and a small piece of cardboard to attach my pump. 


Read More

Basil Box Build - Part 3 - Top Frame and Lighting

Basil Box Build - Part 3 - Top Frame and Lighting

     To start the top frame and light, the first thing you'll want to do is glue your two weatherproof sockets into the 1-1/4" tees. I used gorilla glue this time since the hot glue I used last time did not hold up and gorilla glue cures pretty quickly. You can put the four 1-1/4" X 3/4" bushings into the tees at this time as well. Next, take the four 5-1/2" PVC lengths and connect them into the two 3/4" tees. These tees will stand straight up and provide a mounting location for the cardboard reflector. I used two plugs to add a bit more length to stabilize the reflector but you can just use short lengths of 3/4" PVC if needed. You can attach all the 1/2" threaded to 3/4" adapters to the 90 degree outlets at this time.

Read More

Basil Box Build - Part 2 - Water Reservoir, PVC Pipe Lengths, and Bottom Base Frame

Basil Box Build - Part 2 - Water Reservoir, PVC Pipe Lengths, and Bottom Base Frame

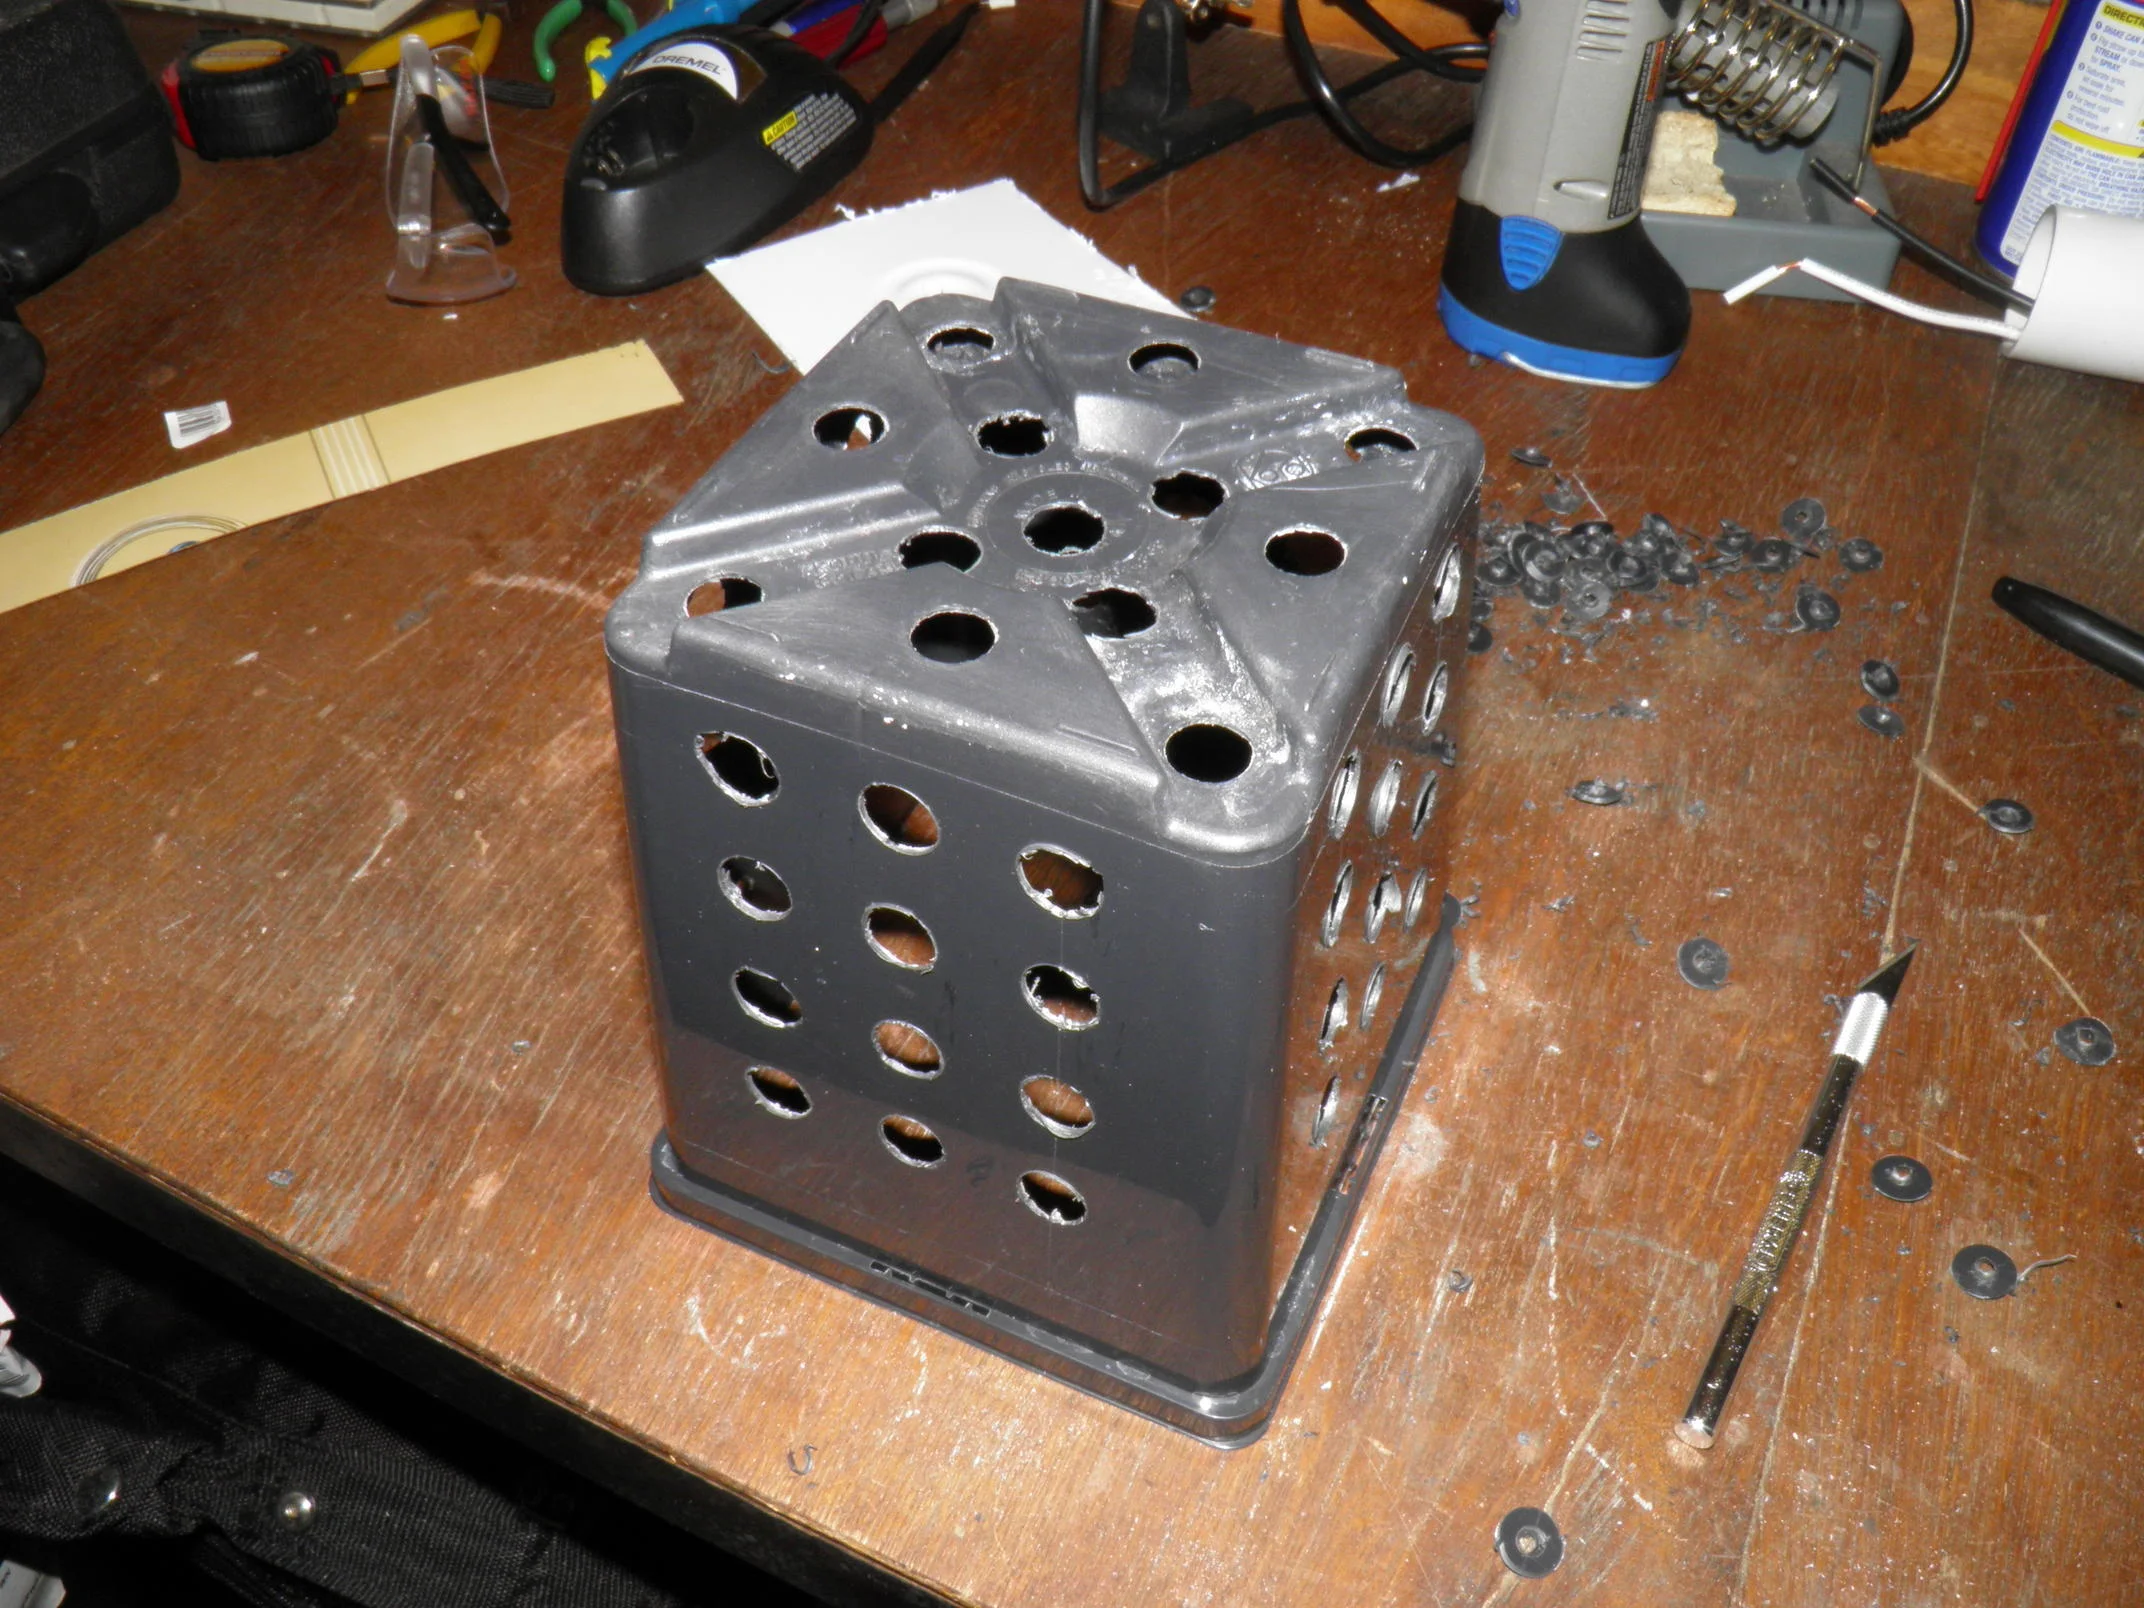
      I chose a DWC or deep water cultivation system design because of their simple setup and few parts. A basic DWC system uses a water container, a planting pot that is submerged in the water/nutrients, and an air pump placed in the water to supply the roots with oxygen. I started off the build by tracing a 5" pot outline on the center of the lid of my 2 gallon bucket. I then shrunk the dimensions by about 1/4" so the pot would sit nicely in the lid and not fall through. I used a Dremel tool to cut the hole and then some vodka and a paper towel to remove any leftover marker. I then drilled a 1/4" hole in the lid for the air hose. Next I drilled twelve 1/2" holes on each side using a grid pattern drawn by scraping a knife along the plastic. You may be able to by-pass all this if you can find a 2 gallon net-pot lid, but I had the square pot laying around. 

     To supply the roots with oxygen, I made a quad air-stone setup with 3 drip irrigation tees, some tubing, and a four pack of air-stones. You could alternatively buy a larger air stone and cut out the cost of buying the drip irrigation kit from Harbor Freight but these small air-stones were the only ones available at the time and I had leftover fittings from the cheap drip irrigation kit.  

Read More

Basil Box Build - Part 1 - Overview and BOM

Basil Box Build - Part 1 - Overview and BOM

     Last year I followed this Instructables tutorial  to build a hydroponic garden and it turned out really nice. I used it to grow lettuce, basil, and tomatoes. After a couple months, the lettuce started bolting and flowering and the tomatoes outgrew the setup. In the end, I used the setup to grow three basil plants for about six months. It took up a whole lot of space, required a large amount of water and nutrients in the reservoir, and got dirty very quick. My girlfriend and I were moving so I started to pack it all up. I began to clean it so we could set it back up at a later time, but it was so slimy, moldy, and gross I decided to salvage the valuable parts (pump, lights, and drip irrigation pieces) and trash the rest. We missed the fresh basil (hence the name "The Basil Box") so I decided to draw up a design for a setup that would take up less space and could be cleaned/maintained easier. The objectives I took into consideration for this design were:

  • Reasonably Priced
  • Easy to Maintain (adding nutrients and adjusting lights) 
  • Easy to Clean
  • Easy to Break Down and Pack Away
  • Small Form Factor (Final dimensions were about 1.25 ft x 1.25 ft x 2.5 ft) 
Read More